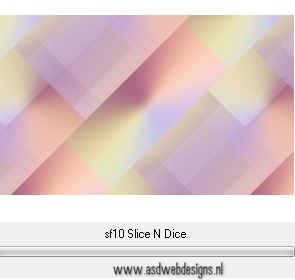
Effects - Plugins -
<I.C.NET
Software>
- Filters
Unlimited - &<Background
Designers IV>
-
sf10 Slice N Dice
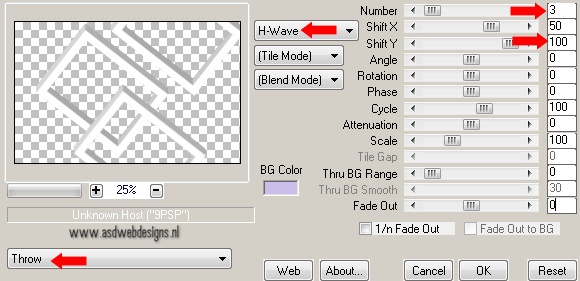
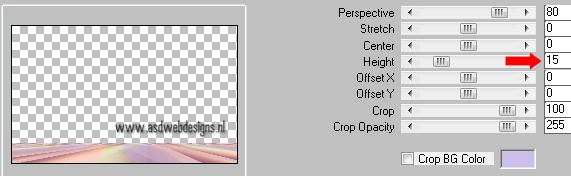
Effects - Plugins -
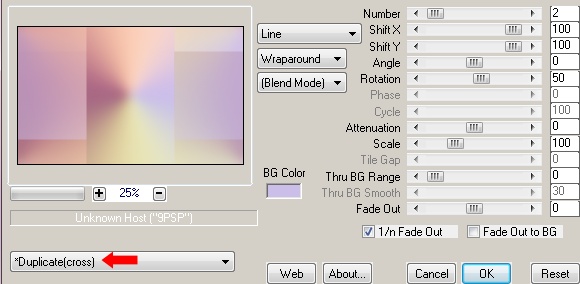
MuRa's Meister -
Perspective Tiling
Layer Palette - Click on the Fourth
Layer from the Top (Group Raster 3)
Layers - Arrange
- Bring to Top
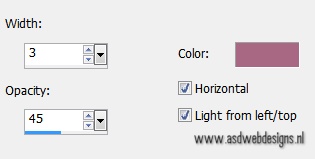
Effects - Edge
Effects - Enhance
More
12
Layer Palette - Click on the Second
Layer from the Top
Layers -Duplicate
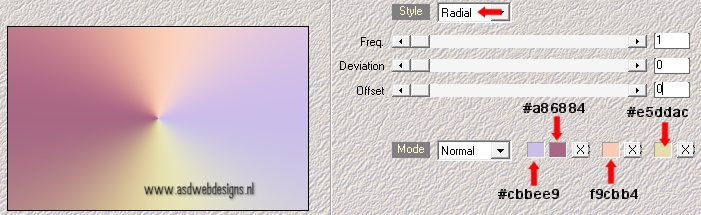
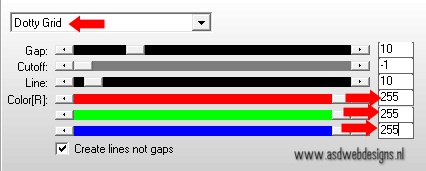
Effects - Texture Effects - Blinds
- Color:
#a86884 
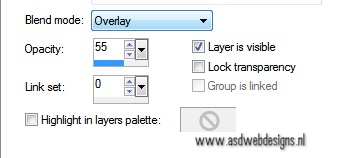
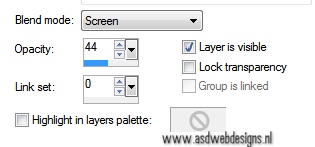
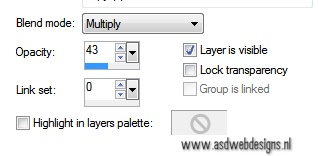
Layer Palette -
Double click on this Layer and set the Blend Mode to
"Multiply" and the Layer Opacity to
43
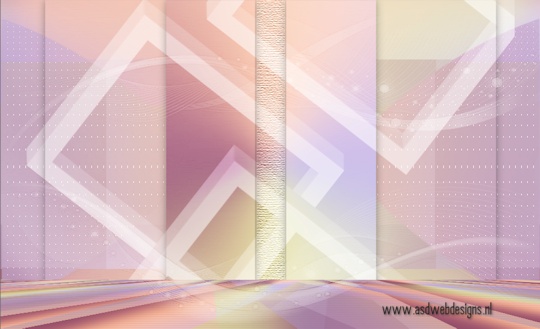
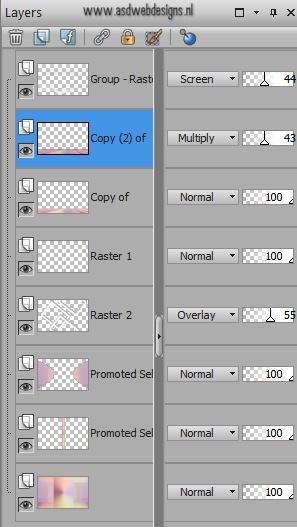
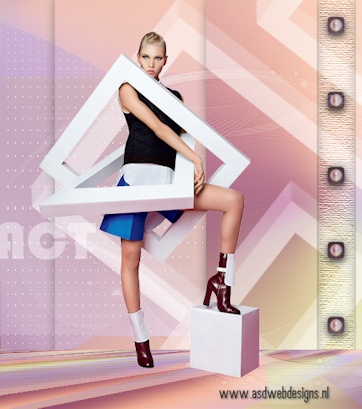
Your work and Layer Palette Look like this now:
13
Open Tube "336_KaD_Text"
Edit - Copy
On your work image: Edit - Paste
as New Layer
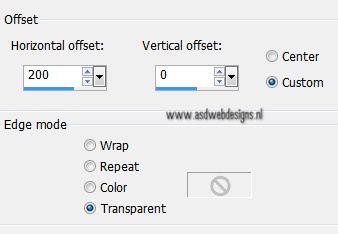
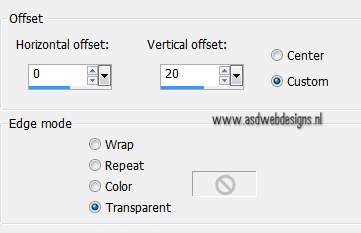
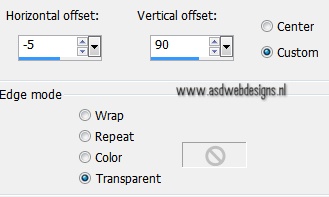
Effects - Image
Effects - Offset
14
Open Tube "336_KaD_Deco"
Edit - Copy
On your work image: Edit - Paste
as New Layer
Effects - Image
Effects - Offset
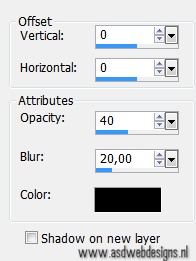
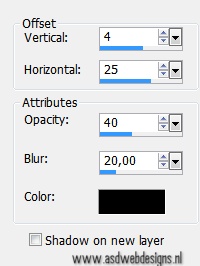
Effects 3D Effects -
DropShadow - Color: #000000

Layers - Merge -
Merge all (Flatten)
Edit - Copy
15
Layers - New
Raster Layer
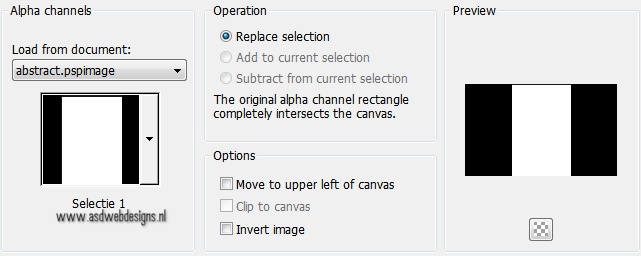
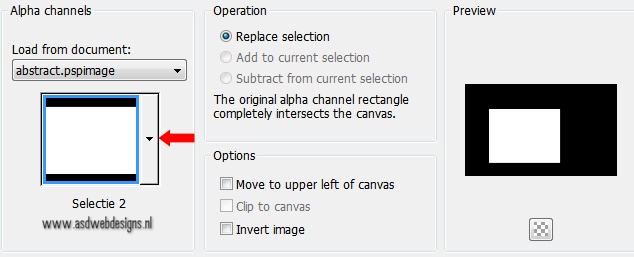
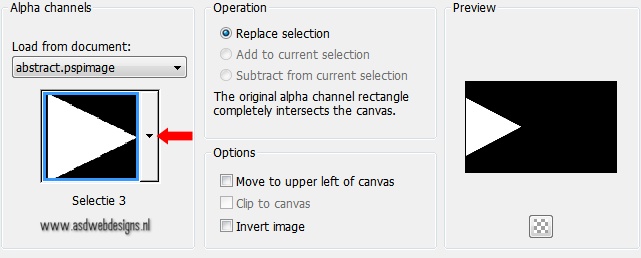
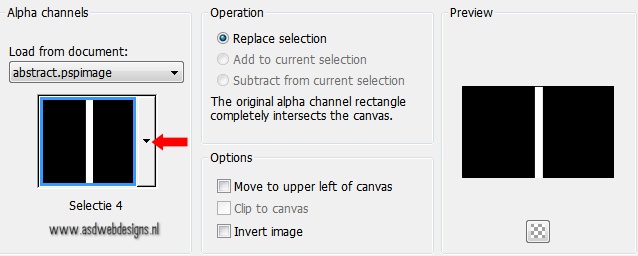
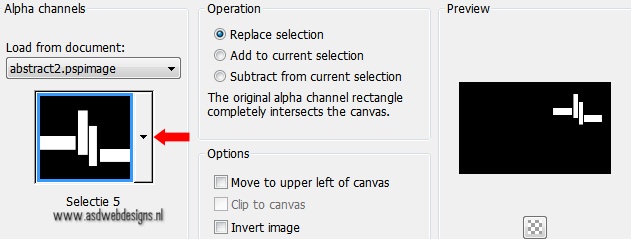
Selections -
Load/Save Selection
- Load Selection
From Alpha Channel -
Selection #5
Edit - Paste into
Selection (Image is
still in your PSP
memory)
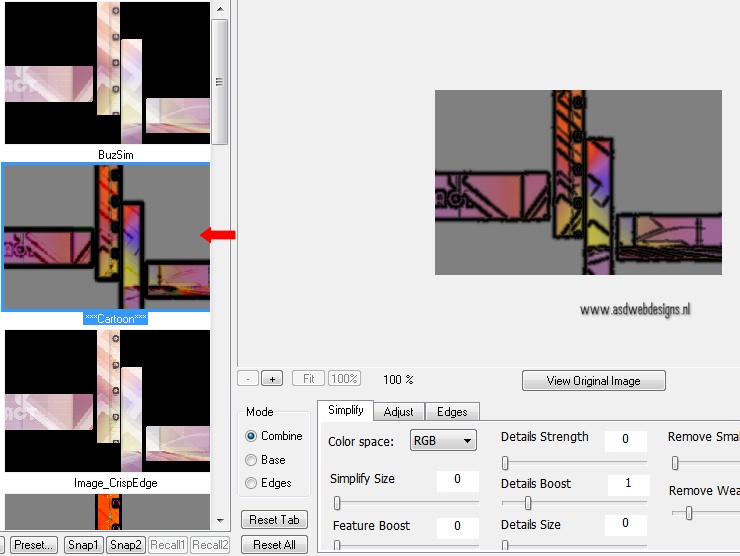
Effects - Plugins -
Topaz Labs -
Simplify 2 -
Preset Cartoon
Note: If the Filter is not working for you , deselect and use the "336_KaD_Deco2"
tube from the Materials - Paste as New Layer on your Image and move
into place , Look at the lesson example, continue from
*** (scroll
down)
Effects - Plugins -
Alien Skin Eye Candy
5 - Impact - Glass
- Settings
Tab:
Preset
Clear
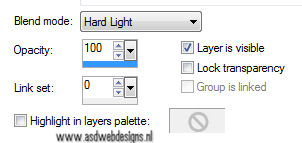
Layer
Palette - Double
click on this Layer
and set the Blend
Mode to "Hard
Light"
Keep Selected
16
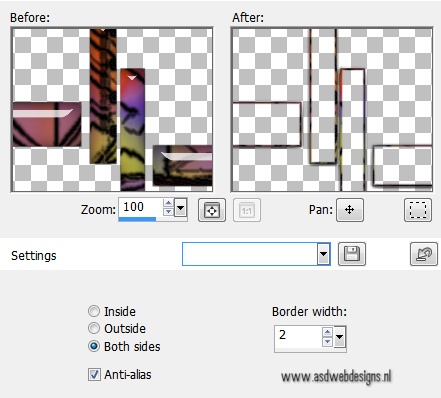
Layers - New Raster
Layer
Selections - Modify - Select
Selection Borders
Fill the Selection
with the
Foregroundcolor

Selections -
Select None
Layer Palette - Click on the
middle layer
***
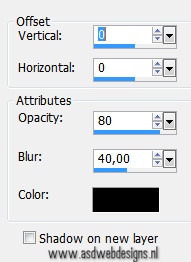
Effects 3D Effects -
DropShadow - Color: #000000
Open Tube "Tocha24353"
Edit - Copy
On your work image: Edit - Paste
as New Layer
Image - Resize - 40% - Resize
all Layers not
checked
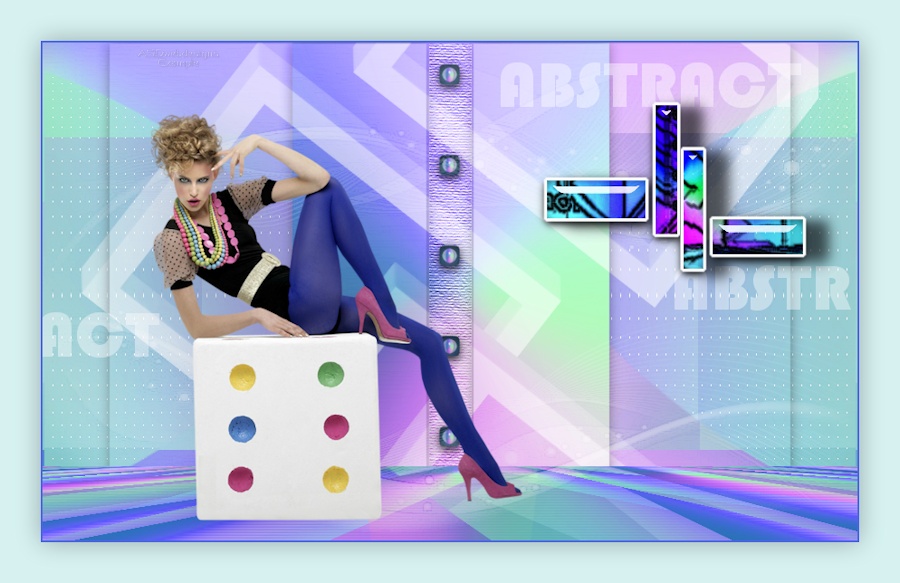
Move to the Left
like this:
18
Image - Add Borders - Symmetric
checked - 3 px - #a86884
Selections -
Select All
Image - Add Borders - Symmetric
checked - 45 px -
Foregroundcolor
Effects 3D Effects -
DropShadow - Color: #000000
Selections -
Select None
19
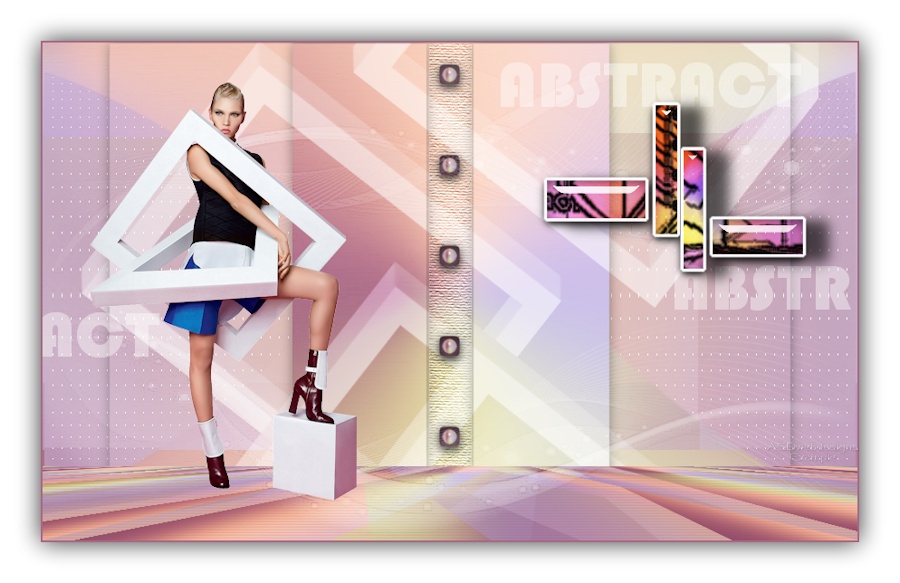
Image - Resize - Width 900 Pixels
- Resize all layers checked
Add your name or watermark, save as JPG
file and you're done!