Open "356_KaD_Alfakanaal"
This image contains Alpha Selections
Window - Duplicate
(or shift+D) - Close the original and proceed on the copy
Effects - Plugins - Mehdi
- Wavy Lab 1.1
02

Layers - Duplicate
Image - Resize - 80%
- Resize all Layers not checked
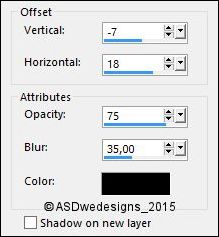
Effects - 3D Effects -
Dropshadow -
Color #000000
 - Shadow on new layer checked!
03

Layers - Duplicate
Image - Mirror -
Mirror Horizontal ( Image - Mirror
in previous PSP Versions)
Image -
Mirror -
Mirror Vertical (
Image - Flip in
previous PSP
Versions)
Layers - Merge -
Merge Down
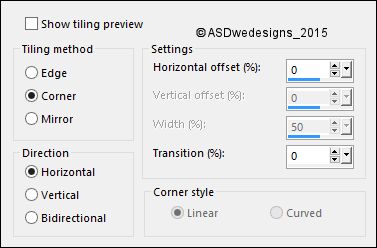
Effects - Image
Effects - Seamless Tiling
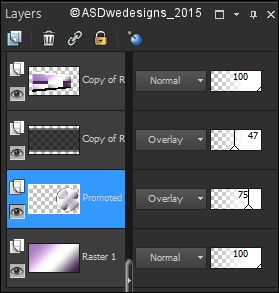
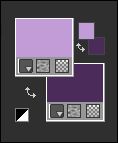
Layer Palette -
Double click on this Layer and set the Blend Mode to
"Overlay" and the Layer Opacity to 47
04

Layer Palette -
Click on the Top Layer
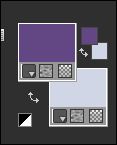
Color Palette: Swap
Materials
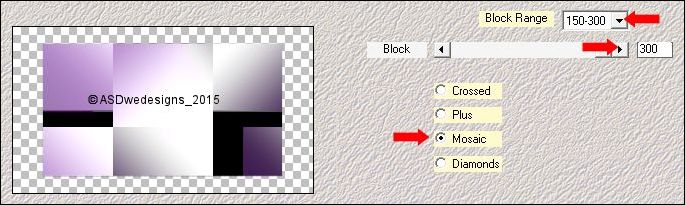
Effects -
Plugins - Mehdi - Sorting Tiles
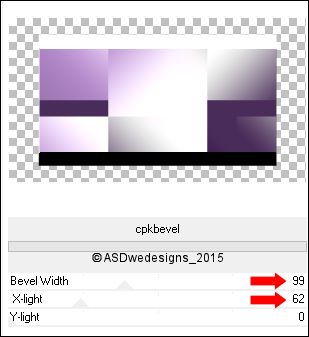
Effects - Plugins - <I.C.NET
Software> - Filters Unlimited 2.0 -
CPK Designs - Cpkbevel
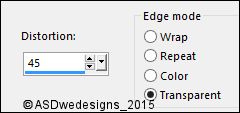
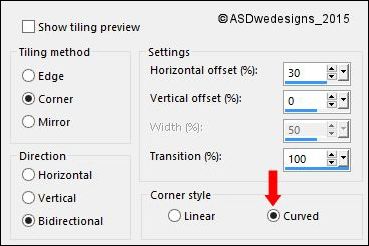
Effects - Geometric
Effects - Perspective Horizontal
Effects - Image
Effects - Offset
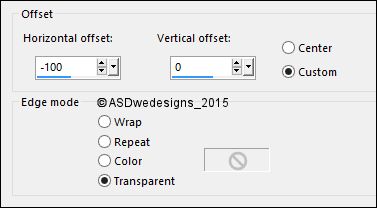
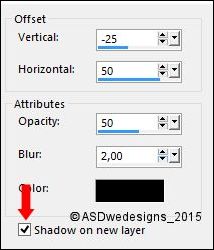
Effects - 3D Effects -
Dropshadow -
Color #000000
- Uncheck Shadow on new layer!!

Repeat with the Vertical and
Horizontal Offset to Minus 2
05

Layer Palette -
Click on the Bottom Layer
Selections - Load/Save
Selection - Load Selection From
Alpha Channel - Selectie 1
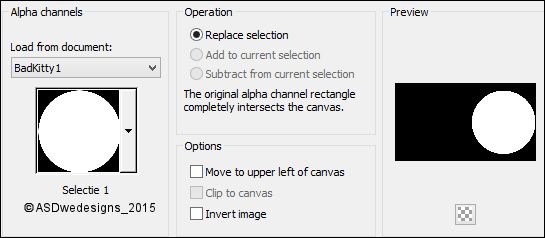
Selections - Promote Selection to
Layer
Effects - Plugins - <I.C.NET
Software> - Filters Unlimited 2.0 -
&<Bkg Kaleidoscope> - Cake Mix

Selections -
Select None
Effects - 3D Effects -
Dropshadow -
Color #000000
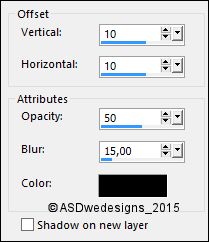
Repeat with the
Vertical and Horizontal Offset to
Minus10
Layer Palette -
Double click on this Layer and set the Blend Mode to
"Overaly" and the Layer Opacity to 75
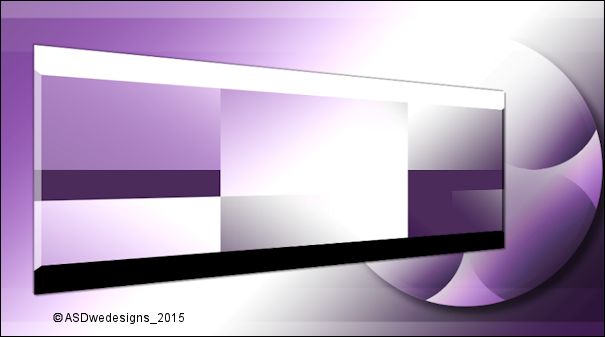
Your work and
Layer Palette look like this now:
06

Color Palette: Swap
Materials
Layer Palette -
Click on the Top Layer
Layers - New Raster
Layer
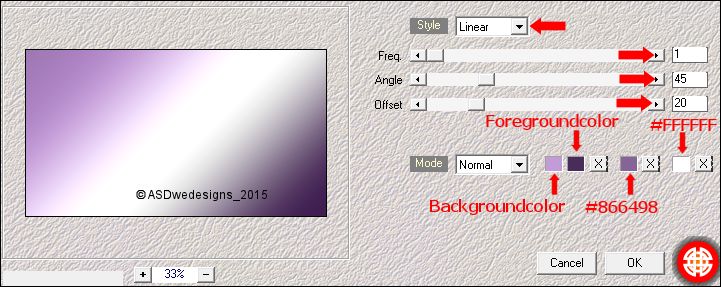
Fill with the
Foregroundcolor

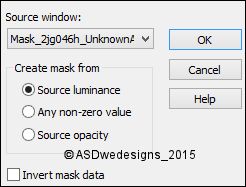
Layers - New Mask
Layer - From Image -
Mask_2jg046h_UnknownAuthor
Layers - Merge - Merge Group
Image - Resize - 70% - Resize all
Layers not checked
Image - Mirror - Mirror
Horizontal ( Image - Mirror in
previous PSP Versions)
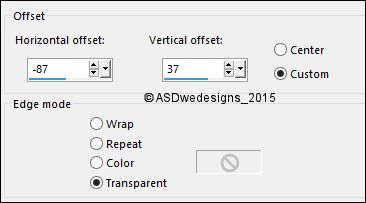
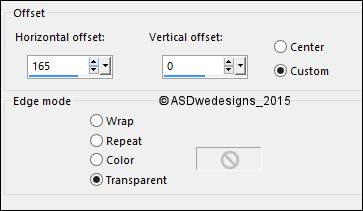
Effects - Image Effects -
Offset
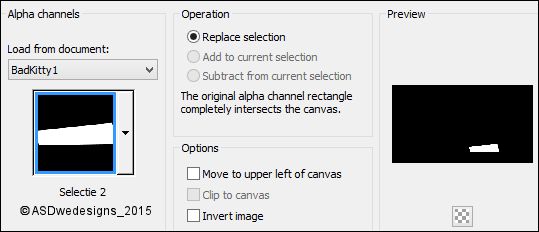
Selections - Load/Save Selection -
Load Selection From Alpha Channel -
Selectie 2
Edit - Cut (Or hit the Delete Key of
your Keyboard)
Selections - Select None
07
Layer Palette - Click on the Second Layer from the Top
Selections - Load/Save Selection -
Load Selection From Alpha Channel -
Selectie3

Edit - Cut (Or hit the Delete Key of
your Keyboard)
Selections - Select None
08
Layer Palette - Click on the Top
Layer
Layers New Raster Layer
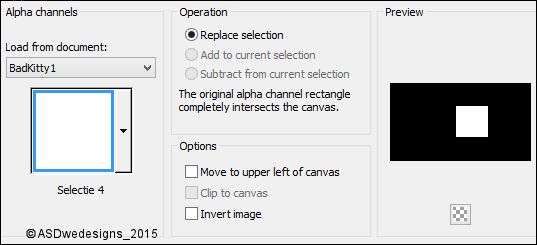
Selections - Load/Save Selection -
Load Selection From Alpha Channel -
Selectie 4
Open Tube "356_KaD_Text1"
Edit - Copy
On your work image: Edit - Paste
Into Selection
Selections - Select
None
Effects - Image
Effects - Seamless
Tiling
Layer Palette -
Double click on this Layer and set the Blend Mode to
"Hard Light" and the Layer Opacity to 65
09

Layer Palette - Click on the Bottom
Layer
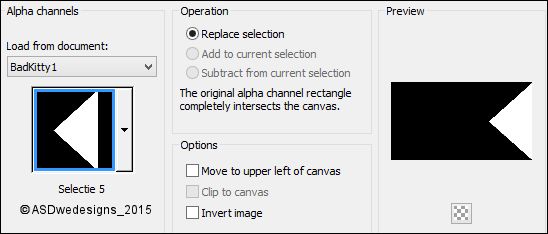
Selections - Load/Save
Selection - Load
Selection From Alpha
Channel -
Selectie 5
Selections - Promote
Selection to Layer
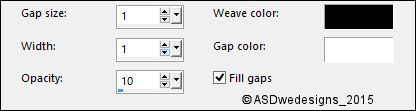
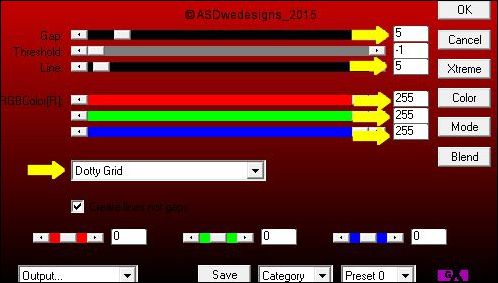
Effects - Texture Effects - Weave -
Weave Color #000000
 - Gap Color
#ffffff
- Gap Color
#ffffff

Selections - Select
None
Adjust - Sharpness -
Sharpen
Layer Palette -
Double click on this Layer and set the Blend Mode to
"Soft Light"
10
Layer Palette - Click on the
Fourth Layer from
the Bottom ( The
shadow Layer)
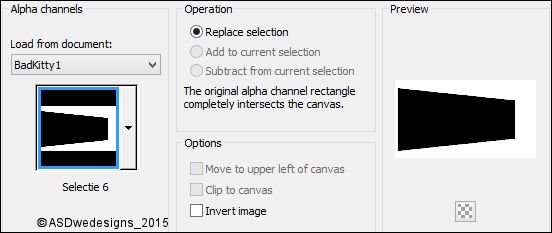
Selections - Load/Save
Selection - Load
Selection From Alpha
Channel -
Selectie 6
Effects - Plugins -
AP 01[Innovations] -
Lines-SilverLining
Selections - Select
None
Effects - Edge
Effects - Enhance More
11
Layer Palette - Click on the Top
Layer
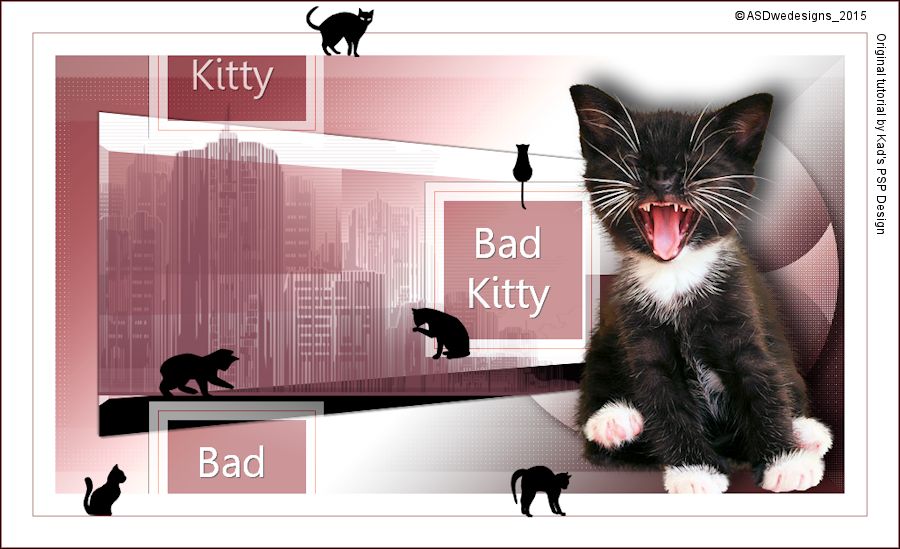
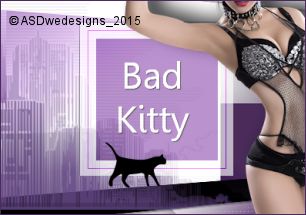
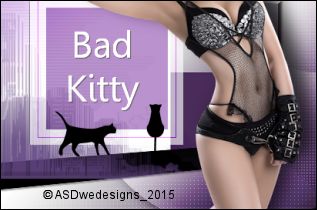
Open Tube "MR_Bad Kitty"
On your work image: Edit - Paste
As New Layer
Image - Resize - 55%
- Resize all Layers not checked
Effects - Image
Effects - Offset
Effects - 3D Effects -
Dropshadow -
Color #000000
12
Image - Add Borders - Symmetric
checked - 25 px - #ffffff
Image - Add Borders - Symmetric
checked - 1 px -
#4a2c5a
Image - Add Borders - Symmetric
checked - 25 px - #ffffff
Image - Add Borders - Symmetric
checked - 1 px -
#4a2c5a
13
Text Tool
 Font kitty cats
- Size 85 px
-
Stroke
Width 0 - Create
as: Vector
Font kitty cats
- Size 85 px
-
Stroke
Width 0 - Create
as: Vector
Color Palette: Close the
Foregroundcolor and change the
Backgroundcolorto #000000
Type a Lower Case m
Layers - Convert to Raster Layer
Move like this:
14
Layers - Duplicate
Image - Resize - 105% - Resize
all Layers not checked
Move down like this:
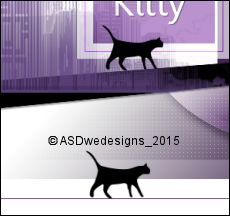
15
Layers - Duplicate
Image - Mirror
Image - Mirror -
Mirror
Horizontal (
Image - Mirror
in previous PSP
Versions)
Move like this or on the small
border where you like it

16
Text Tool
same settings, but change the size
to 95
Type a Lower Case o
Layers - Convert to Raster Layer
Move like this:
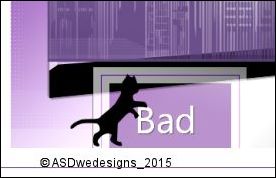
17
Text Tool
same settings, but change the size
to 125
Type a Lower Case e
Layers - Convert to Raster Layer
Move like this:
Layers - Merge - Merge all (Flatten)
18