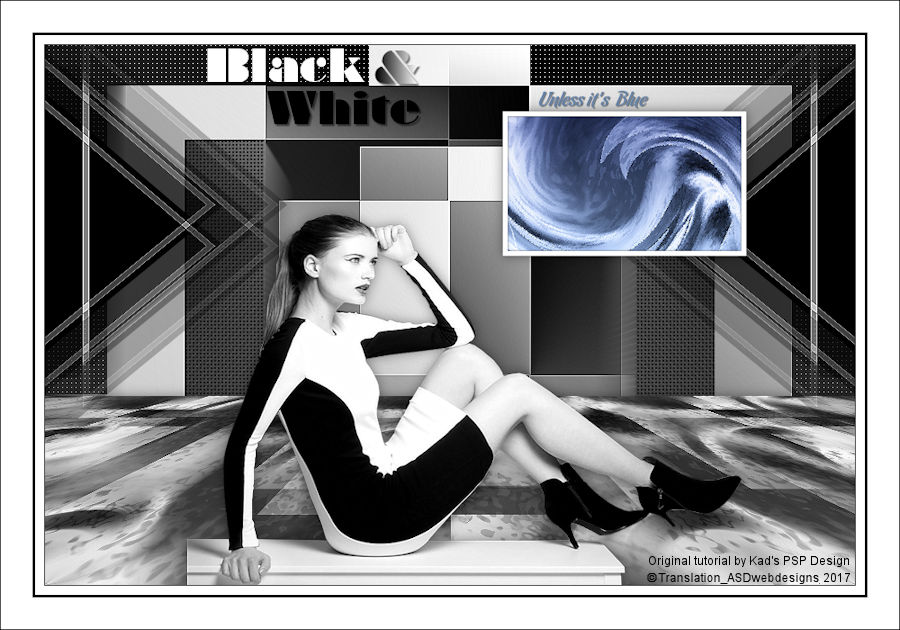
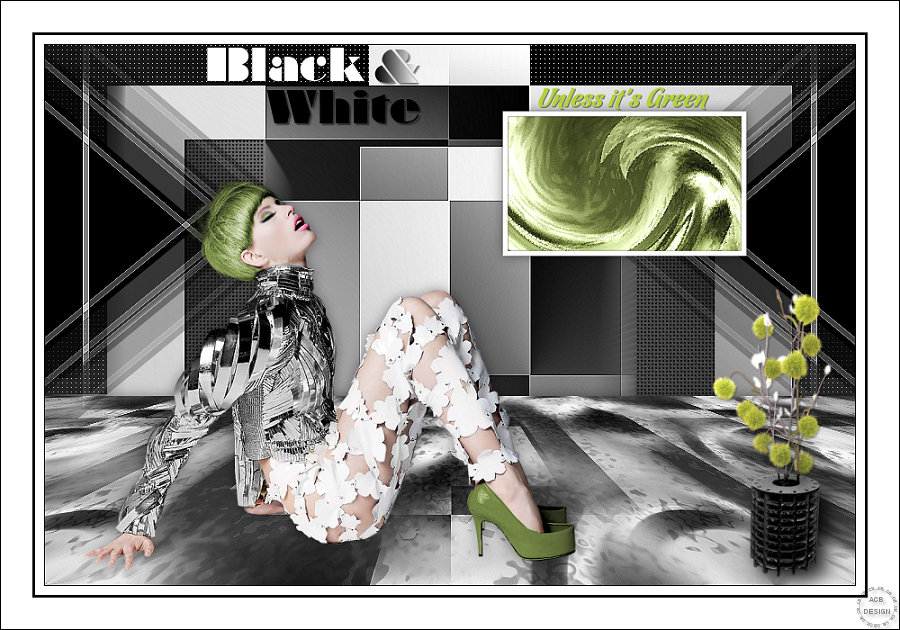
The tutorial:
01
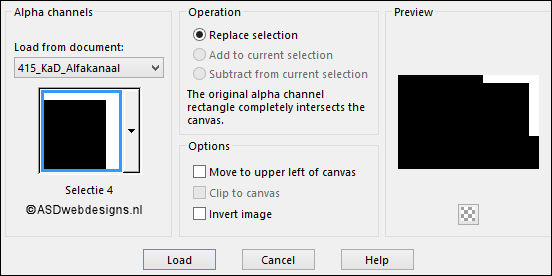
Open "415_KaD_Alfakanaal"
This image contains Alpha Selections
Window - Duplicate
(or shift+D) - Close the original and proceed on the copy
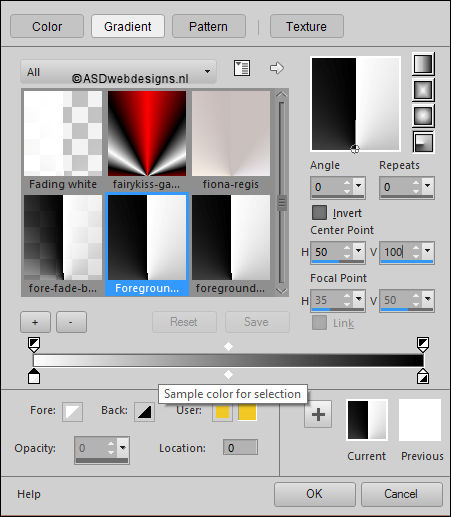
Fill with the
Gradient

Layers - Duplicate
Image - Resize -
65% - Resize all
Layers not checked
Image - Mirror -
Mirror Horizontal
Press K
on your
keyboard to
activate the
Pick Tool
Enter these
parameters for the
X
Position on the
Toolbar
 160
160
Hit any key on
your keyboard to
close the Pick Tool
02
Layers -
Duplicate
Image - Resize -
65% - Resize all
Layers not checked
Image - Mirror -
Mirror Horizontal
Press K
on your
keyboard to
activate the
Pick Tool
Enter these
parameters for the
X
Position on the
Toolbar
 260
260
Hit any key on
your keyboard to
close the Pick Tool
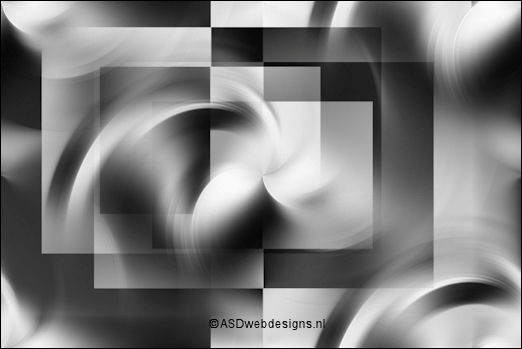
Layers - Merge -
Merge Visible
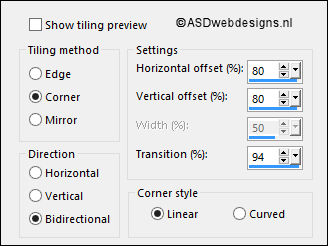
Effects - Image
Effects - Seamless
Tiling - Preset
Stutter Diagonal
03
Layers - Duplicate
Layers - New Raster
Layer
Selections - Select
All
Maximize Tube
"KaD_Woman_118" from
tray
Note:
If
you are using a tube of
your own the result may be
different, if
you want the
same result
you can use this tube for this
step. You
can colorize it to match your work.
Remove the
watermark
Edit - Copy
Minimize to tray again.
On your work image: Edit - Paste
Into Selection
Selections - Select
None
Effects - Image
Effects - Seamless
Tiling - Default
Settings
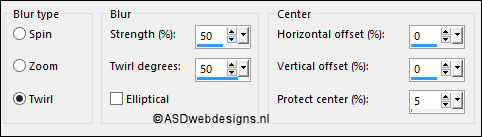
Adjust - Blur -
Radial Blur
Effects - Image
Effects - Seamless
Tiling - Default
Settings
Effects - Edge
Effects - Enhance
Layers - Merge -
Merge Down
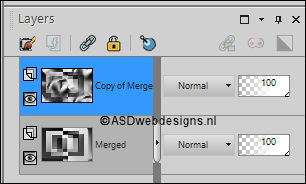
Your
work and Layer Palette look like this now:
04
Layers - Duplicate
Effects - Plugins -
Mehdi - Melt -
Default Settings
Effects - Plugins -
Transparency -
Eliminate White
Layer Palette -
Double click on this
Layer and set the
Opacity of this
Layer to 44
Layers - Merge -
Merge Down
Effects - Plugins -
MuRa's Meister -
Perspective Tiling

Effects - 3D Effects - Drop
Shadow - Vertical 0 -
Horizontal 0 - Opacity 40
- Blur 20 - Color #000000

Adjust - Sharpness -
Sharpen
05
Layer Palette -
Click on the Bottom
Layer
Effects - Edge
Effects - Enhance
06
Layer Palette -
Click on the Top
Layer
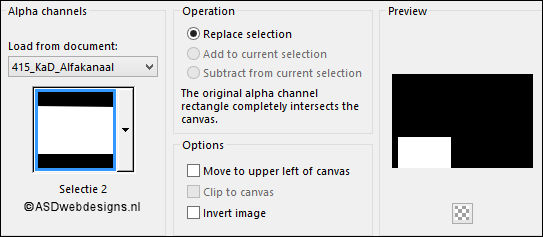
Selections - Load/Save
Selection - Load
Selection From Alpha
Channel - Selectie 2
Selections - Promote
Selection to Layer
Selections - Select
None
Image - Mirror -
Mirror Vertical
Press K
on your
keyboard to
activate the
Pick Tool
Enter these
parameters for the
X and Y
Positions on the
Toolbar
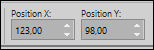 123,98
Hit any key on
your keyboard to
close the Pick Tool
Selection Tool -
Rectangle - Layer
Opaque

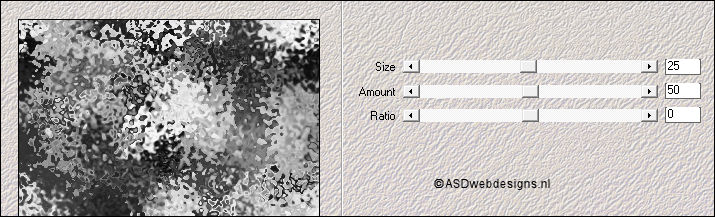
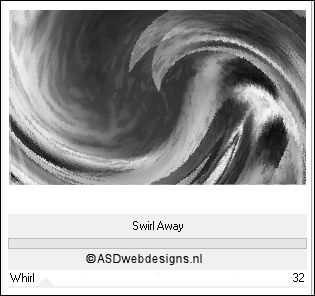
Effects - Plugins -
<I.C.NET
Software>
Filters
Unlimited 2.0 -
&Bkg Kaleidoscope> -
Swirl Away
Keep selected
07
Color Palette: Set
the Foreground
Gradient
back to color

Layers - New Raster
Layer
Fill the Selection
with the
Foregroundcolor
Selections - Modify - Contract - 7 px
Edit - Cut (Or hit the Delete Key of
your Keyboard)

Selections - Select
None
Effects - 3D Effects - Drop
Shadow - Vertical 1 -
Horizontal 1 - Opacity 35
- Blur 2 - Color #000000
Repeat with the Vertical and
Horizontal Offset to Minus 1
08
Layer Palette - Click on the Second Layer from the Top
(Promoted Selection)
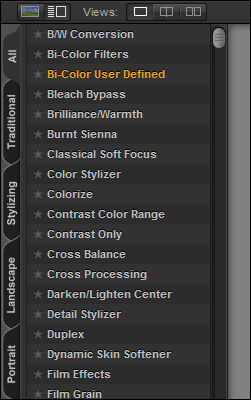
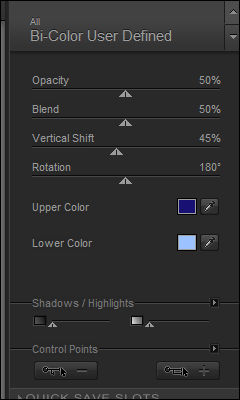
Effects - Plugins -
Nik Software - Color Efex
Pro 3.0
- Bi Color User
Defined -
Upper Color
#181073
 Lower Color
#9cc3ff
Lower Color
#9cc3ff

Adjust - Sharpness -
Sharpen More
09
Layer Palette -
Click on the Top
Layer
Layers - Merge -
Merge Down
Image - Resize -
80% - Resize all
Layers not checked
Press K
on your
keyboard to
activate the
Pick Tool
Enter these
parameters for the
X and Y
Positions on the
Toolbar
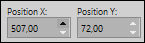 507,72
Hit any key on
your keyboard to
close the Pick Tool
Effects - 3D Effects - Drop
Shadow - Vertical 0 -
Horizontal 0 - Opacity 40
- Blur 20 - Color #000000
10
Layers -
New Raster Layer
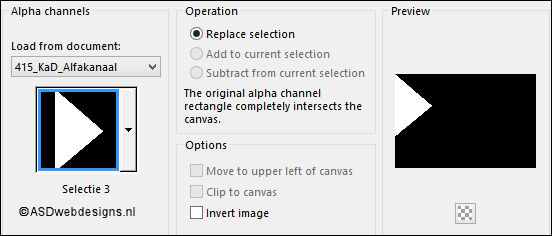
Selections - Load/Save
Selection - Load
Selection From Alpha
Channel - Selectie 3
Fill the Selection
with the
Backgroundcolor
 (Right Mouse Click)
Selections - Modify - Contract - 7 px
Fill with the
Foregroundcolor
Selections - Modify - Contract - 7 px
Fill with the
Backgroundcolor
Selections - Select
None
Effects - Plugins -
Toadies - What Are
You? - X-dose 20 -
Y-dose 20
11
Layers - Duplicate
Image - Mirror -
Mirror Horizontal
Layers - Merge -
Merge Down
Effects - Edge
Effects - Enhance
Layers - Arrange -
Move Down
12
Layer Palette -
Click on the Bottom
Layer
Image - Mirror -
Mirror Horizontal
Selections - Load/Save
Selection - Load
Selection From Alpha
Channel - Selectie
4
Selections - Promote
Selection to Layer
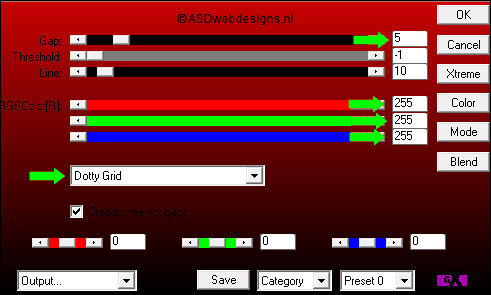
Effects - Plugins -
AP 01[Innovations] - Lines - SilverLining
Selections - Select
None
13
Layers - Duplicate
Image - Mirror -
Mirror Horizontal
Layers - Merge -
Merge Down
14
Layer Palette - Click on the Top
Layer
Maximize Tube
"415_KaD_Tekst1" from
tray
Edit - Copy
On your work image: Edit - Paste
As New Layer
Move to the Top Left like this:
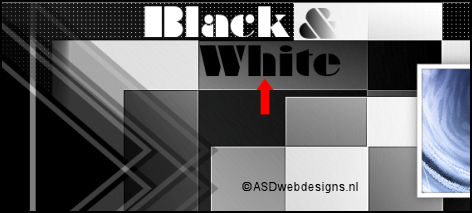
Effects - 3D Effects - Drop
Shadow - Vertical 2 -
Horizontal 2 - Opacity 50
- Blur 2 - Color #000000
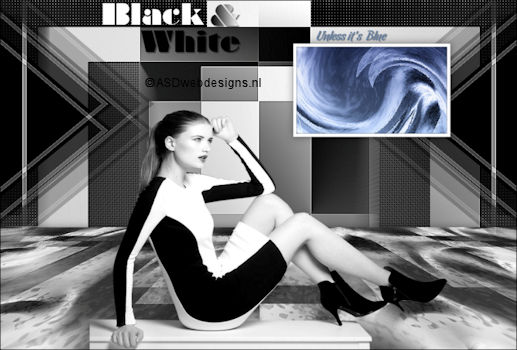
15
Text Tool
 Font
Chocolate Caliente
- Size 22 - Units:
Pixels - Font Style: Bold - Stroke Width 0 - Create as: Vector
Font
Chocolate Caliente
- Size 22 - Units:
Pixels - Font Style: Bold - Stroke Width 0 - Create as: Vector
Close the
Foregroundcolor and
Change the
Backgroundcolor to
#6481a6

Type: Unless it's
Blue ( or your own
color)
Layers - Convert to Raster Layer
Effects - 3D Effects - Drop
Shadow - Vertical 1 -
Horizontal 1 - Opacity 50
- Blur 1 - Color #000000
Move like this:

16
Layer Palette - Click on the Second Layer from
the Bottom (Promoted
Selection 1)
Maximize Tube
"415_KaD_Element1" from
tray
Edit - Copy
On your work image: Edit - Paste
As New Layer
No need to move
17
Layer Palette - Click on the Top
Layer
Maximize Tube
"KaD_Woman_118" from
tray
Edit - Copy
On your work image: Edit - Paste
As New Layer
Image - Resize - 60% - Resize
all Layers not checked
Image - Resize - 90% - Resize
all Layers not checked
Move like this:
Adjust - Sharpness - Sharpen
Effects - 3D Effects - Drop
Shadow - Vertical 0 -
Horizontal 0 - Opacity 40
- Blur 20 - Color #000000
18
Image - Add Borders - Symmetric
checked - 1 px -
#000000
Image - Add Borders - Symmetric
checked - 10 px -
#ffffff
Image - Add Borders - Symmetric
checked - 3 px -
#000000
Image - Add Borders - Symmetric
checked - 35 px -
#ffffff
Optional:
Image - Add Borders - Symmetric
checked - 1 px -
#000000
19
Image - Resize - Width 900 Pixels - Resize all Layers checked
Add your name or watermark, save as JPG
file and you're done!