The tutorial:
01
Maximize "406_KaD_Alfakanaal"
from tray.
This image contains Alpha Selections
Window - Duplicate
(or shift+D) - Close the original and proceed on the copy
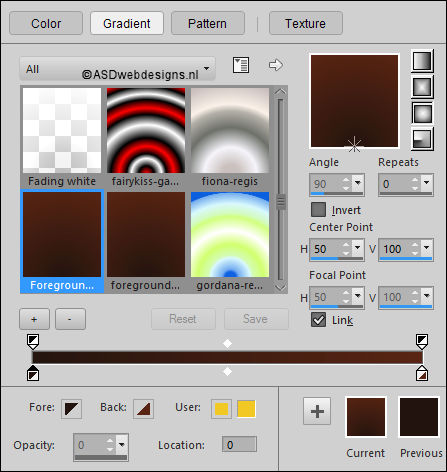
Fill with the
Gradient

Adjust - Blur -
Gassian Blur -
Radius 35
02
Layers -
Duplicate
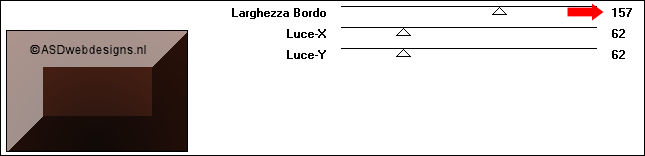
Effects - Plugins -
It@lian Editors
Effect - Bordo con
luci
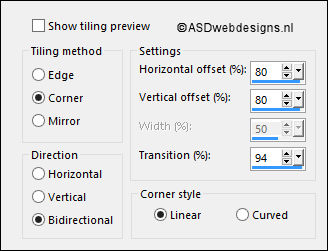
Effects - Image Effects - Seamless
Tiling - Preset Stutter Diagonal
Effects - Plugins -
Simple - Left Right
Wrap
Effects - Image Effects - Seamless
Tiling - Preset Shutter Diagonal
Effects - Edge
Effects - Enhance
More
Layer Palette -
Double click on this Layer and set the Blend Mode to
"Hard Light" and the Layer Opacity to
67
Layers - Merge -
Merge Visible
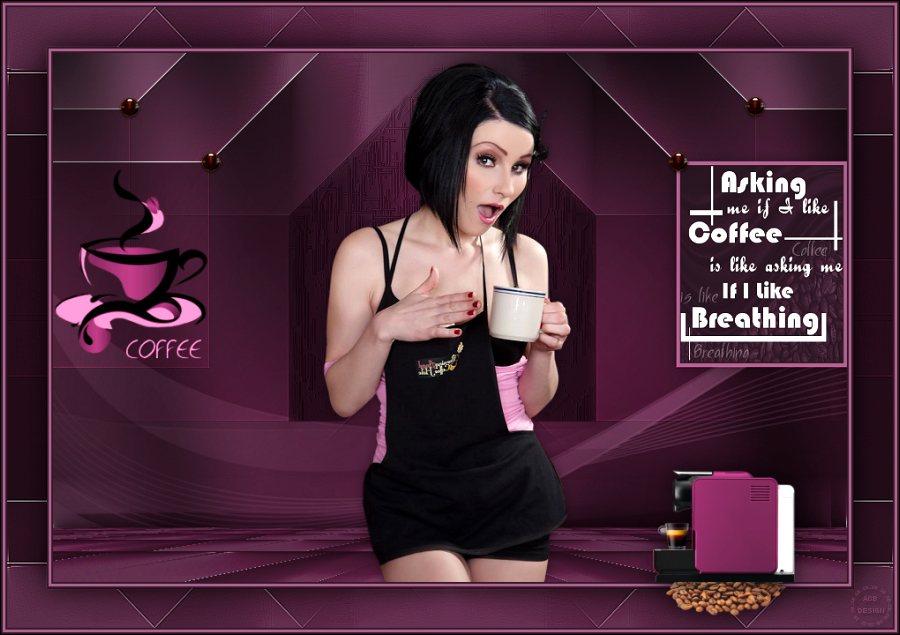
Your work looks like
this now:

03
Layers - Duplicate
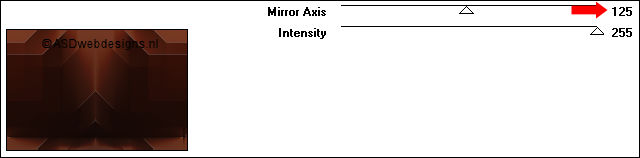
Effects - Plugins -
Visual Manipulation - X-Mirror
Selections - Load/Save Selection -
Load Selection From Alpha Channel -
Selectie 1
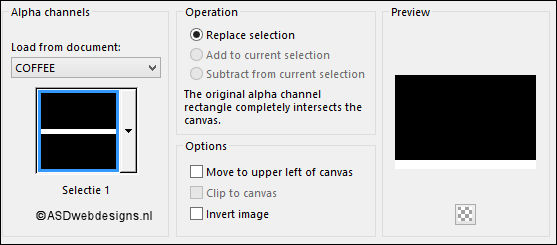
Selections - Promote
Selection to Layer
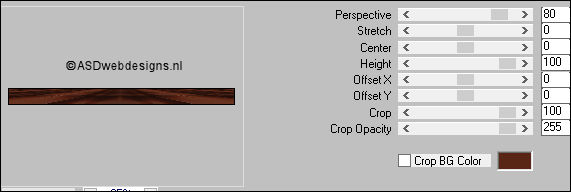
Effects - Plugins -
MuRa's Meister -
Perspective Tiling -
Default
Selections - Select
None
Effects - 3D Effects - Drop
Shadow - Vertical 0 -
Horizontal 0 - Opacity 80
- Blur 40 - Color #000000

04
Color Palette: Change the
Backgroundcolor to #ffffff

Layer Palette - Click on Middle
Layer (Copy of
Merged)
Layers - New Raster
Layer
Fill with the
Backgroundcolor
(Right Mouse Click)
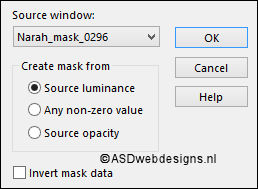
Layers - New Mask
Layer - From Image -
Narah_mask_0296
Layers - Merge - Merge Group
Adjust - Sharpness -
Sharpen
Layer Palette -
Double click on this Layer and set the Blend Mode to
"Soft Light"
Minimize your work
to Tray for now (
Save as PSP file in
case PSP shuts down
on you)
05
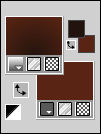
Color Palette:
Set the Foreground
Gradient back to
color
 and change the
Backgroundcoor to
#bc8d55
and change the
Backgroundcoor to
#bc8d55


Open a
new transparent image of 400 x 400 px
Fill with the
Backgroundcolor
Selections - Select
All
Selections - Modify
- Contract - 7 px
Fill the Selection
with the
Foregroundcolor
Selections - Modify
- Contract - 2 px
Layers - New Raster
Layer
Maximize Mask
"77_masque_animabelle" from
tray
Edit - Copy
You can close
this now, You no longer need it
On your work image: Edit - Paste
Into Selection
Adjust - Sharpness -
Sharpen
Layer Palette -
Double click on this Layer and set the Blend Mode to
"Luminance" and the Layer Opacity to 18
Keep selected
06
Layers - New Raster
Layer
Maximize Mask
"406_KaD_WordArt_Coffee" from
tray
Edit - Copy
You can close
this now, You no longer need it
On your work image: Edit - Paste
Into Selection
Selections - Select
None
Adjust - Sharpness -
Sharpen
Layers - Merge -
Merge Visible
Edit - Copy
07
Maximize your work
Image
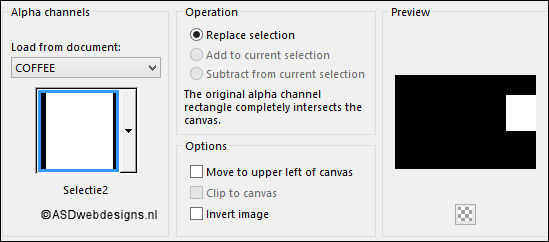
Selections - Load/Save Selection -
Load Selection From Alpha Channel -
Selectie 2
Layers - New Raster
Layer
Edit - Paste
Into Selection
Selections - Select
None
Adjust - Sharpness -
Sharpen
Effects - 3D Effects - Drop
Shadow - Vertical 0 -
Horizontal 0 - Opacity 40
- Blur 20 - Color #000000
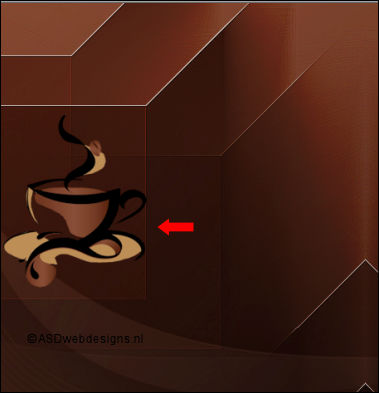
08
Maximize Tube
"406_KaD_CoffeeCup" from
tray
Remove the
watermark
Edit - Copy
On your work image: Edit - Paste
As New Layer
Image - Resize - 50% - Resize
all Layers not checked
Image - Resize - 90% - Resize
all Layers not checked
Move to the Left
like this:
Adjust - Sharpness -
Sharpen
09
Maximize Tube
"406_KaD_Tekst1" from
tray
Edit - Copy
On your work image: Edit - Paste
As New Layer
Move like this:

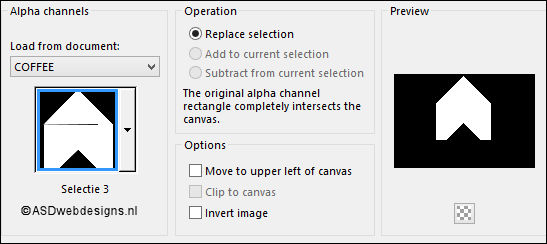
10
Layer Palette - Click on the Second Layer from
the Bottom (Copy of Merged)
Selections - Load/Save Selection -
Load Selection From Alpha Channel -
Selectie 3
Selections - Promote
Selection to Layer
Layers - Arrange -
Bring to Top
Effects - Texture Effects - Straw
Wall - Default

Selections - Select
None
11
Maximize Tube
"406_KaD_Deco1" from
tray
Edit - Copy
On your work image: Edit - Paste
As New Layer
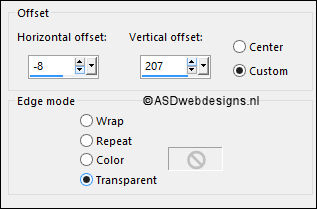
Effects - Image
Effects - Offset
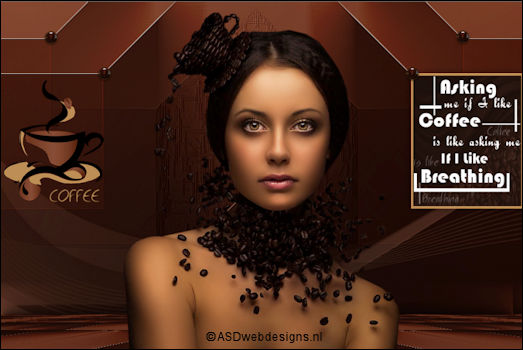
12
Maximize Tube
"KaD_WomanFace39" from
tray
Remove the watermark
Edit - Copy
On your work image: Edit - Paste
As New Layer
Move a little down
like this:
Effects - 3D Effects - Drop
Shadow - Vertical 0 -
Horizontal 0 - Opacity 40
- Blur 20 - Color #000000
13
Layer Palette - Click on the Second Layer from the Bottom
(Copy of Merged)
Effects - Plugins - Graphics
Plus - Cross Shadow
- Default settings (6 x 50 & 2 x 128)
14
Layer Palette - Click on the Bottom Layer
Edit
- Copy
Image - Add Borders - Symmetric
checked - 2 px -
#241511
Image - Add Borders - Symmetric
checked - 3 px -
#bc8d55
Image - Add Borders - Symmetric
checked - 2 px -
#241511
Selections - Select
All
Image - Add Borders - Symmetric
checked - 45 px -
#ffffff
Selections - Invert
Edit - Paste Into
Selection (Image is
still in your PSP
Image)
Effects - Plugins - Simple
- 4 Way Average
Effects - Edge
Effects - Enhance
Selections - Invert
Effects - 3D Effects - Drop
Shadow - Vertical 0 -
Horizontal 0 - Opacity 80
- Blur 40 - Color #000000
Selections - Select
None
15
Image - Add Borders - Symmetric
checked - 2 px -
#241511
Image - Add Borders - Symmetric
checked - 3 px -
#bc8d55
Image - Add Borders - Symmetric
checked - 2 px -
#241511
16
Image - Resize - Width 900 Pixels - Resize all Layers checked
Adjust - Sharpness - Unsharp Mask -
Radius
2 - Strength
*30 - Clipping 2 - Luminance Only
NOTChecked
Add your name or watermark, save as JPG
file and you're done!