The tutorial:
01
Maximize
"421_KaD_Alfakanaal"
from tray
Window -
Duplicate
Close the
original and
continue on the copy
Selections -
Select All
Maximize
"421_KaD_Patroon
from tray
Tip: If you
use a tube of your
own you can use this
pattern and colorize
it or make one your
self with the same
size (176 x 201),
select a part of
your tube, copy and
paste as new image,
make it seamless and
set the size)
Edit - Copy
Edit - Paste -
Paste Into Selection
Selections -
Select None
02
Adjust - Blur -
Gaussian Blur -
Radius: 40
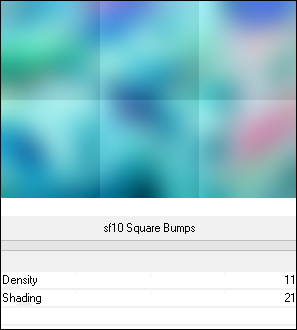
Effects - Plugins
- Filters Unlimited
2.0 - &<Background
Designers IV> - sf10
Square Bumps
Effects - Edge
Effects - Enhance
03
Layers -
Duplicate
Image - Mirror -
Mirror Horizontal
Image - Mirror -
Mirror Vertical
Layer Palette:
Change the Blend
Mode of this Layer
to Hard Light
and lower the
Opacity to 50
Layers - Merge -
Merge Visible
04
Layers -
Duplicate
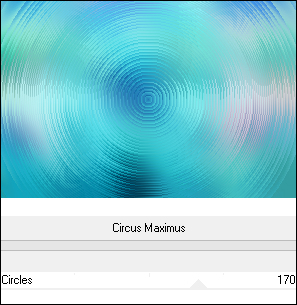
Effects - Plugins
- Filters Unlimited
2.0 - &<Background
Designers sf10 I> -
Circus Maximus
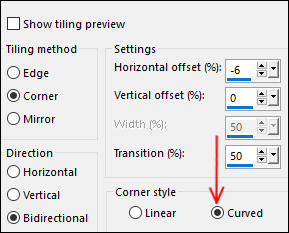
Effects - Image
Effects - Seamless
Tiling
Layer Palette:
Change the Blend
Mode to Color
and lower the
Opacity to 50
Effects - Edge
Effects - Enhance
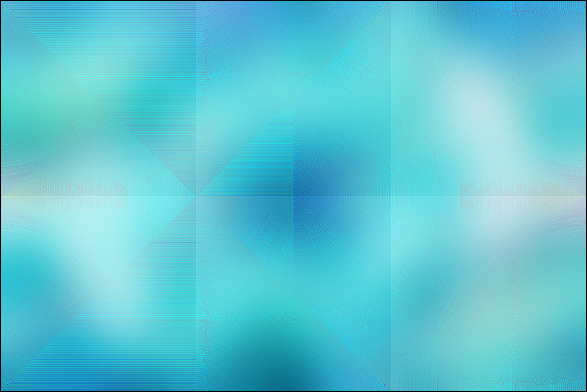
05
Effects - Plugins
- Simple - Pizza
Slice Mirror
Adjust -
Sharpness - Sharpen
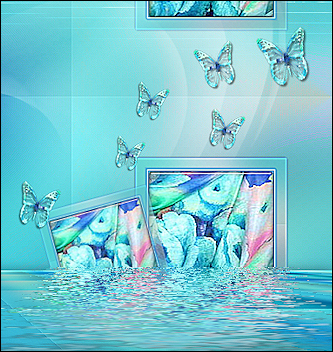
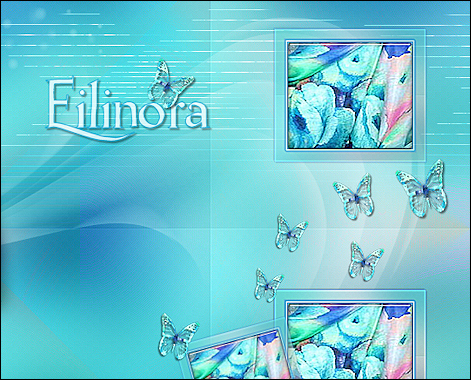
Your work looks
like this now:
06
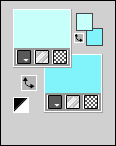
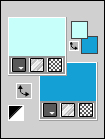
Materials
Palette:
Change the
Backgroundcolor to
#0da1d5 
Layer Palette:
Click on the bottom
Layer
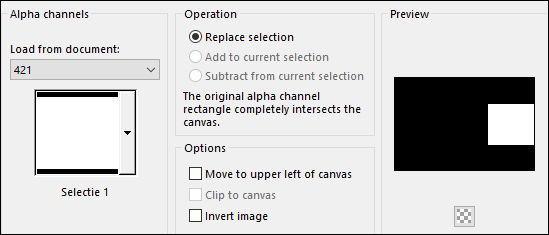
Selections -
Load/Save - Load
Selection from Alpha
Channel - "Selectie
1"
Selections -
Promote Selection to
Layer
Layers - Arrange
- Bring To Top
Keep selected
07
Selections -
Modify - Contract -
20px
Fill with the
Backgoundcolor
Selections -
Modify - Contract -
2px
Fill with the
Foregroundcolor

Selections -
Modify - Contract -
2px
Fill with the
Backgoundcolor
Selections -
Modify - Contract -
2px
Edit - Cut (or
hit Delete on your
keyboard)
Keep selected
08
Layers - New
Raster Layer
Maximize
"421_KaD_Patroon"
from tray
Edit - Copy
Edit - Paste -
Paste Into Selection
Adjust -
Sharpness - Sharpen
More
Keep selected
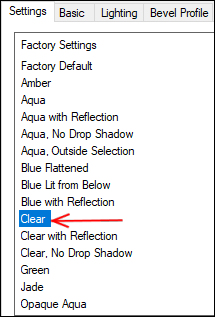
Effects - Plugins
- Alien Skin - Eye
Candy 5 - Impact -
Glass - Preset -
Clear
Selections -
Select None
09
Layer Palette:
Click on the third
Layer from the Top
(the frame)
Selections -
Load/Save - Load
Selection From Alpha
Channel - again
"Selectie1"
Selections -
Modify - Contract by
20px
Effects - 3D
Effects - Drop
Shadow
Vertical: 2
Horizontal: 2
Opacity: 35
Blur: 2
Color: #000000
Repeat with
Vertical and
Horizontal minus
2
Selections -
Select None
10
Effects - 3D
Effects - Drop
Shadow
Vertical: 2
Horizontal: 2
Opacity: 35
Blur: 2
Color: #000000
Repeat with
Vertical and
Horizontal minus
2
Layer Palette:
Change the Blend
Mode to Overlay
and lower the
Opacity to 61
Layer Palette:
Close the Bottom two
Layers
Click on the Top
Layer
Layers - Merge -
Merge Visible
Layer Palette:
Open the Bottom two
Layers
With the Top
Layer still active:
Image - Resize -
60% - Resize All
Layers - not checked
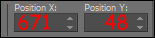
Pick Tool (K)
Enter these
Parameters for the X
and Y positions on
the Toolbar X: 671
Y: 42
Press any key to
close the Pick Tool
11
Layers -
Duplicate
Click on the
Layer below
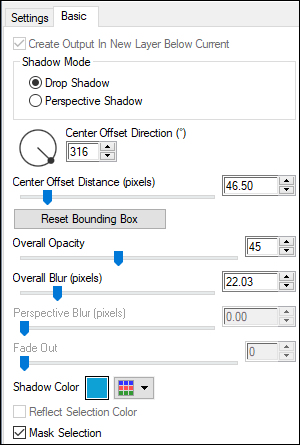
Effects - Plugins
- Alien Skin - Eye
Candy 5 - Impact -
Perspective Shadow -
Preset - "421_KaD_Shadow"
If the Preset
isn't working for
you, use these
settings in the
Basic Tab: (Change
shadow color to
match your work)
12
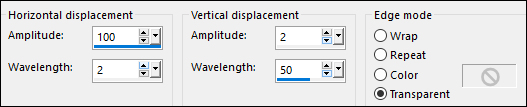
Effects
Distortion Effects -
Wave
Layer Palette:
Change the Blend
Mode of this Layer
to Screen
Click on the Top
Layer
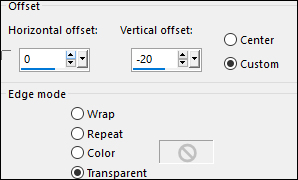
Effects - Image
Effects - Offset
Adjust -
Sharpness - Sharpen
More
13
Layer Palette:
Click on the
second Layer from
the Botton
(Copy of Merged)
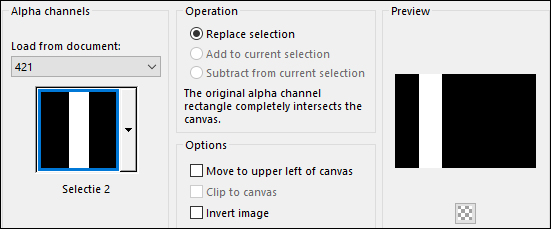
Selections -
Load/Save - Load
Selection from Alpha
Channel - "Selectie
2"
Selections -
Promote Selection to
Layer
Selections -
Select None
14
Effects - Plugins
- Mehdi - Weaver
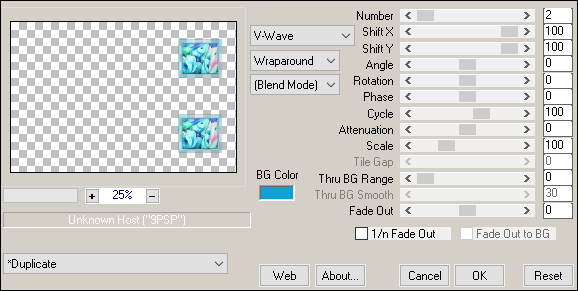
Effects -
Distortion Effects -
Wave

Adjust -
Sharpness - Sharpen
Layer Palette:
Lower the Opacity of
this Layer to 65
15
Layer Palette:
Click on the Layer
Below (Copy of
Merged)
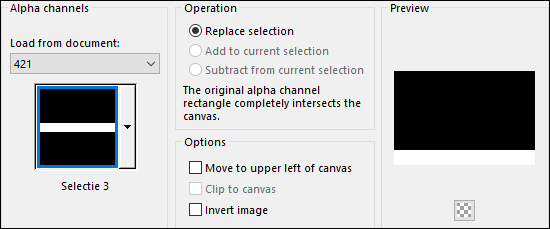
Selections -
Load/Save - Load
Selection from Alpha
Channel - "Selectie
3"
Selections -
Promote Selection to
Layer
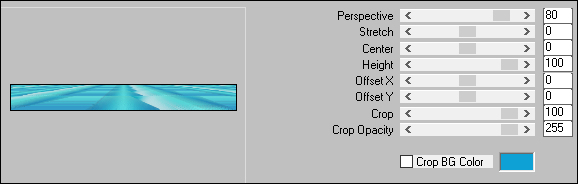
Effects - Plugins
- MuRa's Meister -
Perspective Tiling
Selections -
Select None
Layers - Arrange
- Bring to Top
Layers - Arrange
- Move Down
Adjust -
Sharpness - Sharpen
More
Effects - 3D
Effects - Drop
Shadow
Vertical: 0
Horizontal: 0
Opacity: 40
Blur: 20
Color: #000000
16
Layer Palette:
Click on the Top
Layer
Layers -
Duplicate
Click on the
Layer below
Effects - Plugins
- MuRa's Meister -
Copies
17
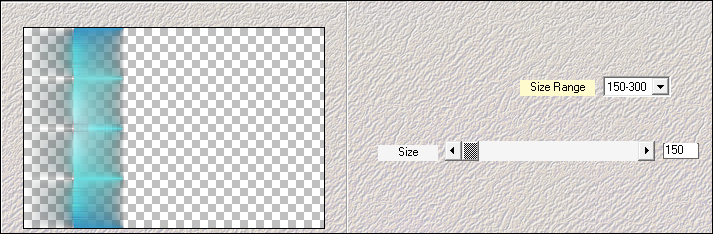
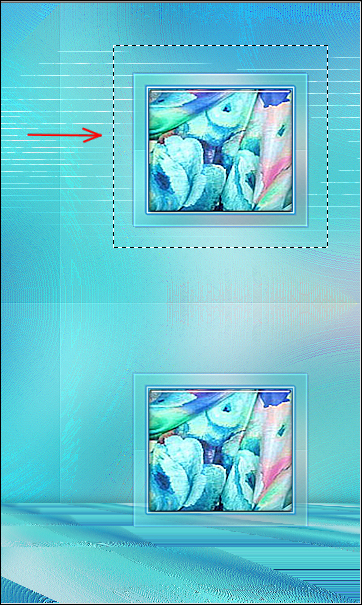
Selections Tool
(S)
Make a Selection
around the Top frame
like this:
Edit - Cut
(or hit Delete on
your Keyboard)
Selections -
Select None
18
Layers -
Duplicate
Image - Resize -
75% - Resize All
Layers - not
checked
Image - Free
Rotate
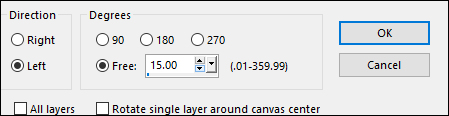
Move the frame
down slightly like
this:
Layers - Merge -
Merge Down
19
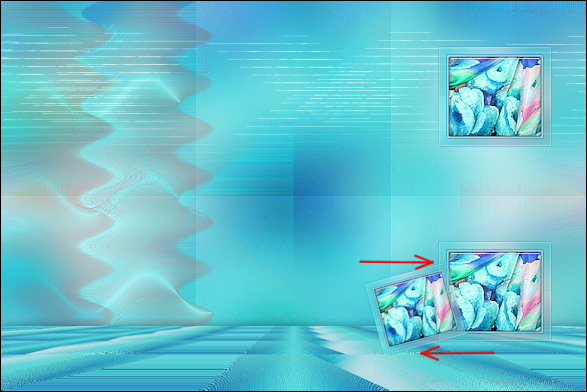
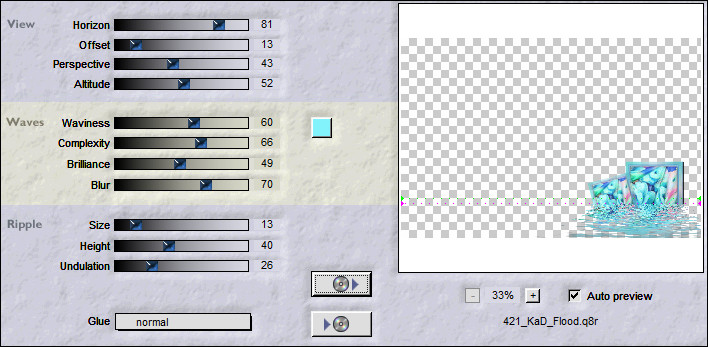
Effects - Plugins
- Flaming Pear -
Flood - Preset
"421_KaD_Flood"
If the preset
isn't working for
you use these
settings:
20
Maximize
"421_KaD_Butterfly"
fom tray
Edit - Copy
Minimize to tray
we need it again
later
Click on the Top
Layer
Edit - Paste -
Paste As New Layer
Image - Resize -
80% - Resize All
Layers - not
checked
Image- Free
Rotate
Effects - 3D
Effects - Drop
Shadow
Vertical: 0
Horizontal: 0
Opacity: 50
Blur: 2
Color: #000000
Layers -
Duplicate
Repeat this step
until you have six
Butterflies in
total, arrange on
your work to your
own preference
Layer Palette:
Click on the Top
Layer
Layers - Merge -
Merge Down
Repeat Layers -
Merge - Merge Down
(4 times until all
Butterflies are on
one Layer)
Adjust -
Sharpness - Sharpen
21
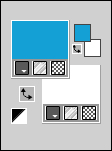
Materials
Palette: Set the
Foregroundcolor to
#ffffff

Layer Palette:
Click on the second
Layer from the
Bottom
Layers - New
Raster Layer
Fill the Layer
with the
Foregroundcolor
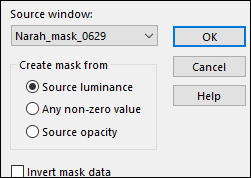
Layers - New Mask
Layer - From Image -
"Narah_mask_0629"
Layers - Merge -
Merge Group
Layer Palette:
Change the Blend
Mode of this Layer
to Soft Light
22
Layer Palette:
Click on the Top
Layer
Maximize
"KaD_Woman_123"
from tray
Erase the
watermark
Edit - Copy
your work
image: Edit -
Paste - Paste As New
Layer
Image - Mirror
Image - Resize -
50%- Resize All
Layers - not checked
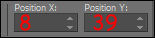
Pick Tool (K)
Enter these
Parameters for the X
and Y positions on
the Toolbar
X: 8
Y:39
Press any key to
close the Pick Tool
Adjust -
Sharpness - Sharpen
Layers -
Duplicate
Click on the
Layer below
(original tube)
Adjust - Blur -
Gaussian Blur -
Radius: 10
Layer Palette:
Change the Blend
Mode of this Layer
to Multiply
23
Materials
Palette: Reverse
your Colors
Text Tool (T)
Font: Rudolfo Swash

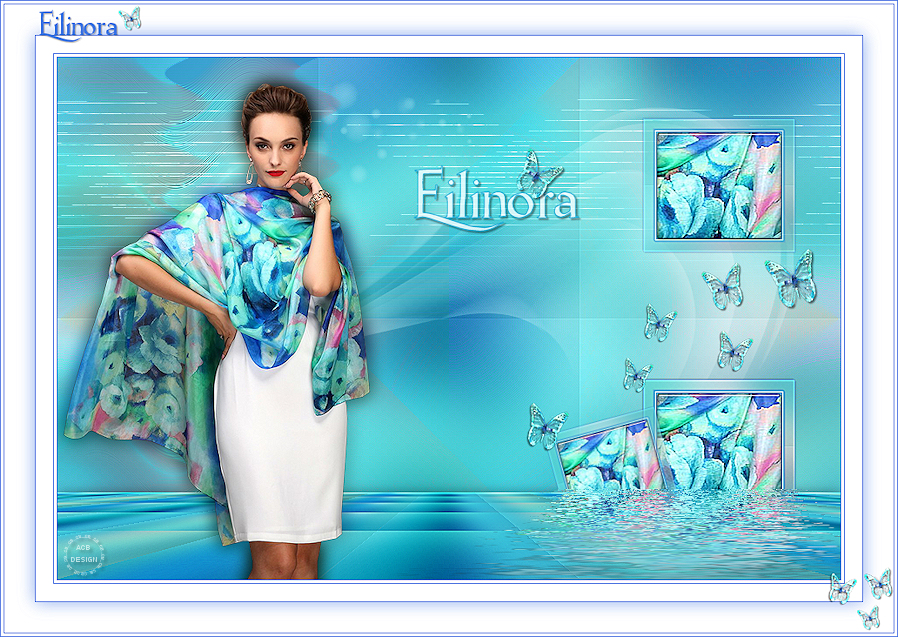
Type the word
Eilinora or your
own text
Layers - Convert
to Raster Layer
Effects - 3D
Effects - Drop
Shadow
Vertical: 2
Horizontal: 2
Opacity: 50
Blur: 2
Color: #000000
Layer Palette:
Lower the Opacity of
this Layer to 75
Move where you
like it
24
Maximize
"421_KaD_Butterly
again
Edit - Copy
On your work
image: Edit -
Paste - Paste As New
Layer
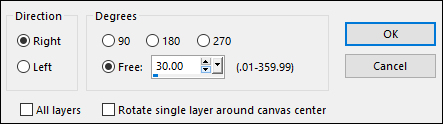
Image - Resize - 75% - Resize
all Layers not checked
Effects - 3D
Effects - Drop
Shadow
Vertical: 2
Horizontal: 2
Opacity: 50
Blur: 2
Color: #000000
Move the
Butterfly up to sit
on your Text like
this:
Adjust -
Sharpness - Sharpen
25
Image - Add
Borders - Symmetric
checked - 1px -
#4176e3

Image - Add
Borders - Symmetric
checked - 3px -
#ffffff
Image - Add
Borders - Symmetric
checked - 1px -
#4176e3
Image - Add
Borders - Symmetric
checked - 20px
-#ffffff
Image - Add
Borders - Symmetric
checked - 1px -
#4176e3
Selections -
Select All
Image - Add
Borders - Symmetric
checked - 35px
-#ffffff
Effects - 3D
Effects - Drop
Shadow
Vertical: 0
Horizontal: 0
Opacity: 60
Blur: 30
Color: #4176e3
Selections -
Select None
Image - Add
Borders - Symmetric
checked - 1px -
#4176e3
Image - Add
Borders - Symmetric
checked - 3px -
#ffffff
Image - Add
Borders - Symmetric
checked - 1px -
#4176e3
26
Maximize
"421_KaD_Deco1"
from tray
Edit - Copy
On your work
image: Edit -
Paste - Paste As New
layer
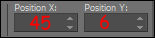
Pick Tool (K)
Enter these
Parameters for the X position on
the Toolbar X: 45
Press any key to
close the Pick Tool
Layers - Merge -
Merge All Flatten
27
Optional:
Image - Resize - Width 900 Pixels - Resize all Layers checked
Add your name or watermark, save as JPG
file and you're done!
If you wish you can post your result on my Face book Page