The tutorial:
01
Open "371_Kad_Alfakanaal"
This image contains Alpha Selections
Window - Duplicate
(or shift+D) - Close the original and proceed on the copy
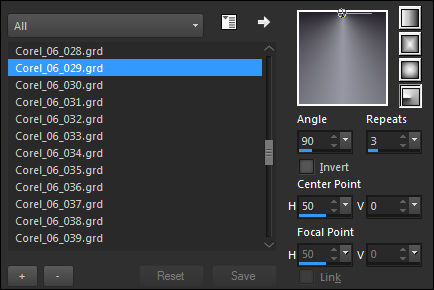
Working on the copy - Fill with the Gradient
Adjust Blur - Gaussian Blur - Radius
40
02
Layers - New Raster Layer
Selections - Select All
Open Tube "Femme-1159-Azalee" - Remove the watermark.
Edit - Copy
Edit - Paste Into Selection
Selections - Select None
Note: It is best to use the tube provided for this step, otherwise your result will be different.
You can colorize to match your work.
Effects - Image Effects - Seamless Tiling - Default Settings:

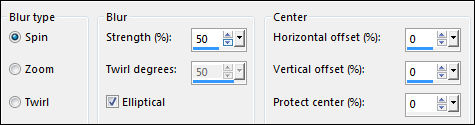
Adjust - Blur - Radial Blur
Layer Palette -
Double click on this
Layer and Layer
Palette - Double
click on this Layer
and set the Blend
Mode to Overlay
03
Layers - Merge Down
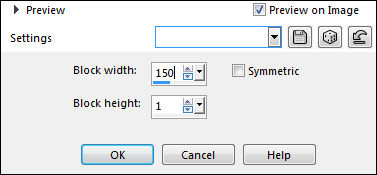
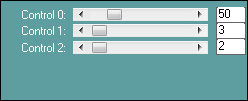
Effects - Distortion Effects - Pixelate
Effects - Plugins - Mehdi - Sorting Tiles

Effects - Plugins - Simple - 4Way Average
Effects - Edge Effects - Enhance
04
Layers - Duplicate
Effects - Plugins - Simple - Half Wrap
Layer Palette -
Double click on this
Layer and Layer
Palette - Double
click on this Layer
and set the Blend
Mode to Dodge and lower the Opacity to 78
Layers - Merge - Merge Down
Layers - Duplicate
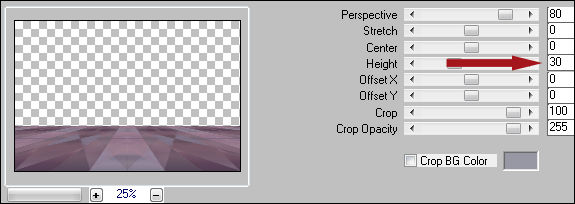
Effects - Plugins - MuRa's Meister - Perspective Tiling
Effects - 3D Effects - Drop Shadow: 0, 0, 40, 20, Color:
#000000
Adjust - Sharpness - Sharpen
05
Layer Palette: Click on the Bottom Layer
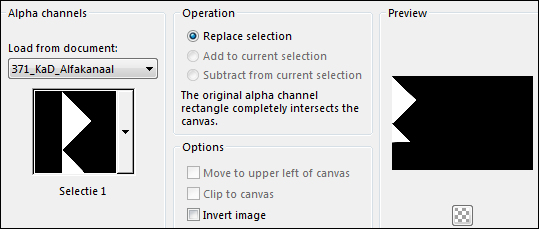
Selections - Load/Save Selection - Load Selection From Alpha Channel - Selection 1
Selections - Promote Selection to Layer
Effects - Plugins - Carolaine & Sensibility - CS - Reflection
Effects - Plugins - Carolaine & Sensibility - CS - Ldots
Selections - Select None
Adjust - Sharpness - Sharpen
06
Layers - Duplicate
Image Mirror - Mirror Horizontal (Image-Mirror in earlier versions of PSP)
Layers - Merge - Merge Down
Layer Palette:
Double click on this
Layer and Layer
Palette - Double
click on this Layer
and set the Blend
Mode to Dodge and lower the Opacity to 70
07Layer Palette: Click on the Bottom Layer
Layers -New Raster Layer
Materials Palette: Set your Foregroundcolor to #ffffff
Fill the Layer with the Foregroundcolor 
Layers - New Mask Layer - From Image - MD-mask-112

Layers - Merge - Merge Group
08
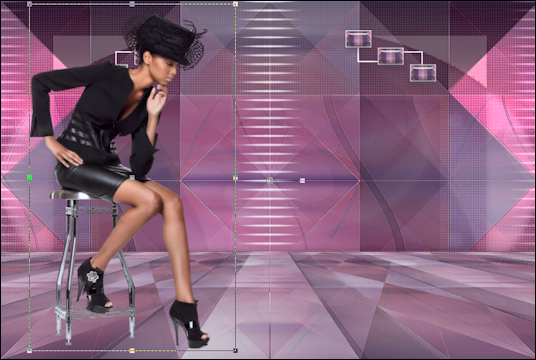
Press K on
your keyboard to
activate the
PickTool
Enter the following Parameters on your Tool Bar:
 Position X: 385.00 Position Y: 0.00
Press any key to
close the Pick Tool
09Layers - Duplicate
Effects - Image Effects - Seamless Tiling

Layers - Arrange - Move Down
Layer Palette -
Double click on this
Layer and Layer
Palette - Double
click on this Layer
and set the Blend
Mode to Soft Light
10
Layer Palette: Click on the Bottom Layer
Open Tube "371_KaD_Deco1"
Edit - Copy
On your work image: Edit - Paste - Paste As New Layer
No need to move
Note: If you are using different colors, colorize to match your work
Layer Palette -
Double click on this
Layer and Layer
Palette - Double
click on this Layer
and set the Blend
Mode to Burn and lower the Opacity to 89
Your Layer Palette should look like this now:

11
Layer Palette: Click on the Bottom Layer
Open Tube "371_KaD_Deco2"
Edit - Paste - Paste As New Layer
Note: If you are using different colors, colorize to match your work
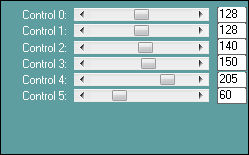
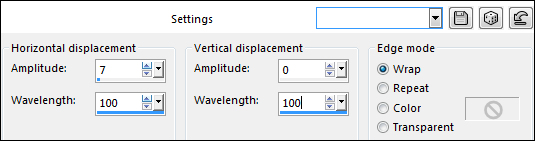
Effects - Distortion Effects - Wave
Layer Palette: Layers - Arrange - Move Up
Layer Palette -
Double click on this
Layer and set the
Blend Mode to Overlay and the Opacity to 63
Press K on
your keyboard to
activate the
PickTool
Enter the following Parameters on your Toolbar:
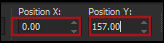 Position X: 0.00 Position Y: 157.00
Edit - Paste - Paste As New Layer (Tube is still in your memory)
Press any key to
close the Pick Tool
Effects - Plugins - MuRa's Meister - Perspective Tiling
Note: If you are using different colors, colorize to match your work
Layers - Arrange - Bring To Top
Adjust - Sharpness - Sharpen
12
Open Tube "371_KaD_Deco4"
Edit - Copy
Edit - Paste - Paste As New Layer
Press K on
your keyboard to
activate the
PickTool
Enter the following Parameters on your Toolbar:
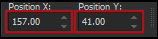 Position X: 157.00 Position Y: 41.00
13
Open Tube "Femme-1159-Azalee" - Remove the watermark
Edit - Copy
Edit - Paste - Paste As New Layer
Adjust - Sharpness - Sharpen
Press K on
your keyboard to
activate the
PickTool
Enter the following Parameters on your Toolbar:
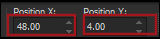 Position X: 48.00 Position Y: 4.00
Press any key to
close the Pick Tool
Effects - Plugins - Alien Skin - Eye Candy 5 - Impact - Perspective Shadow -
Preset 371_KaD_PerspShadow
Effects - 3D Effects - Drop Shadow
14
Open Tube "MR_WhiteFlower in Purple Vase" - Remove the watermark
Edit - Copy
Edit - Paste - Paste As New Layer
Image - Resize - 50% - All Layers unchecked
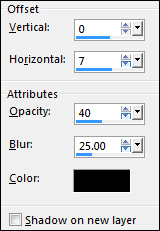
Effects - 3D Effects - Drop Shadow:
V0, H7, 40, 25 - Color
#000000
15
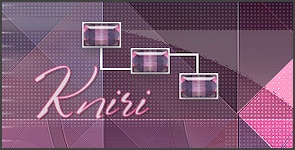
Open Tube "371_KaD_Deco3"
Edit - Copy
Edit - Paste - Paste As New Layer
Colorize to Match your work
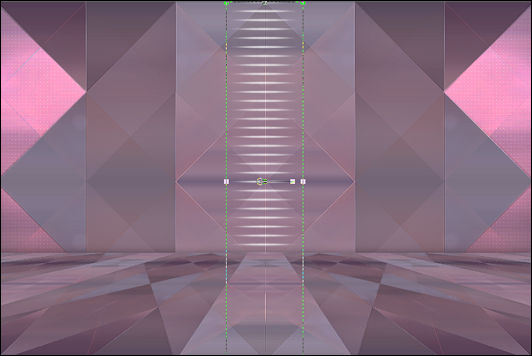
Move like this:
16
Image - Add Borders - Symmetric checked - 1px - #4f4260 
Image - Add
Borders - Symmetric checked - 15px - #ffffff
Image - Add Borders - Symmetric checked - 3px - #4f4260
Selections - Select All
Image - Add Borders - Symmetric checked - 30px - #ffffff
Effects - 3D Effects - Drop Shadow: V0, H0, 40, 20. Color: #000000
Selections - Select None
Image - Add Borders - Symmetric checked - 1px - #4f4260
17
Optional:
Image - Resize - Width 900 Pixels - Resize all Layers checked
Add your name or watermark, save as JPG
file and you're done!