The tutorial:
01
Maximize
"408_KaD_Alfakanaal"
from tray
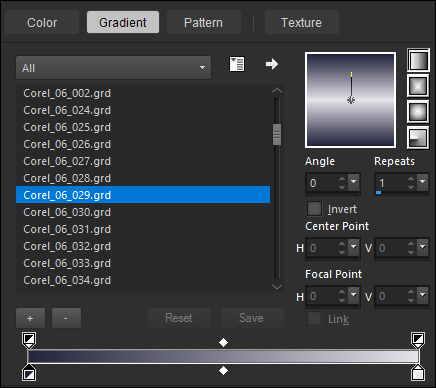
Fill the
Layer with the
Gradient

02
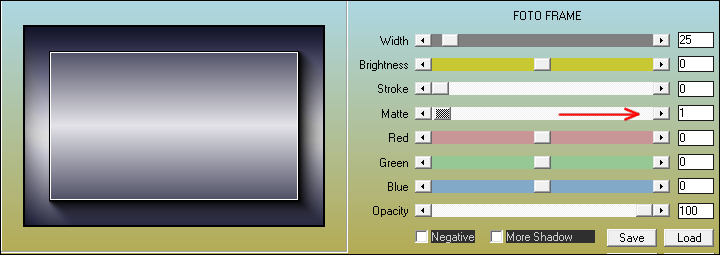
Effects -Plugins
- AAA Frames - Foto
Frame
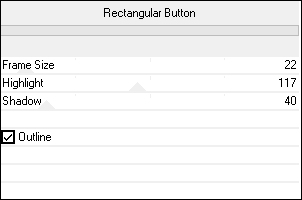
03
Effects - Plugins
- Filters Unlimited
2.0- Buttons and
Frames - Rectangular
Button
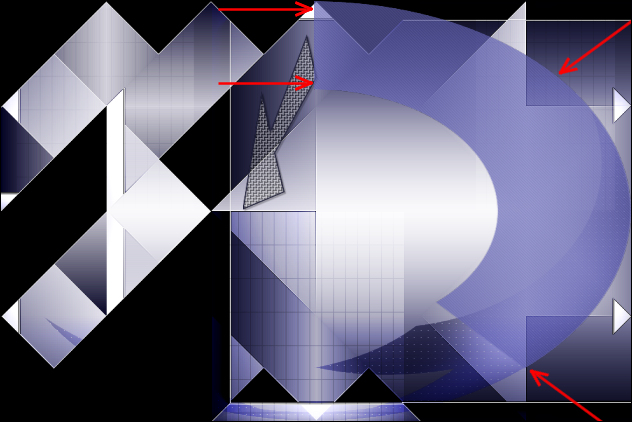
04
Effects - Plugins
- Simple -
Pizza Slice Mirror
Effects - Plugins
- Simple - Blintz
Edit - Repeat
Filters Unlimited -
Blintz
Effects - Edge
Effects - Enhance
05
Layers -
Duplicate
Image - Mirror -
Mirror Vertical
Layer Palette:
Change the Blend
Mode of this Layer
to Overlay
Layers - Merge -
Merge Visible
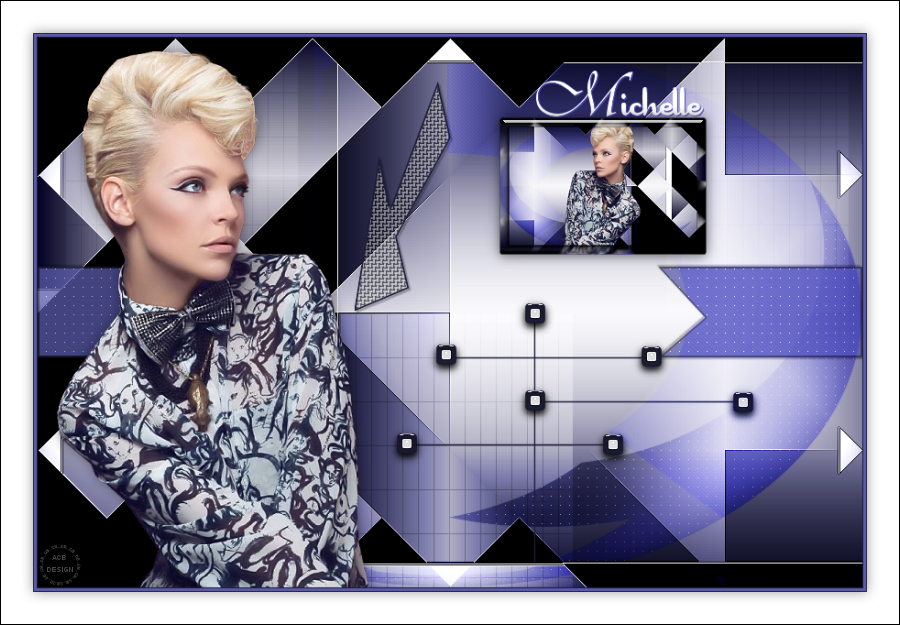
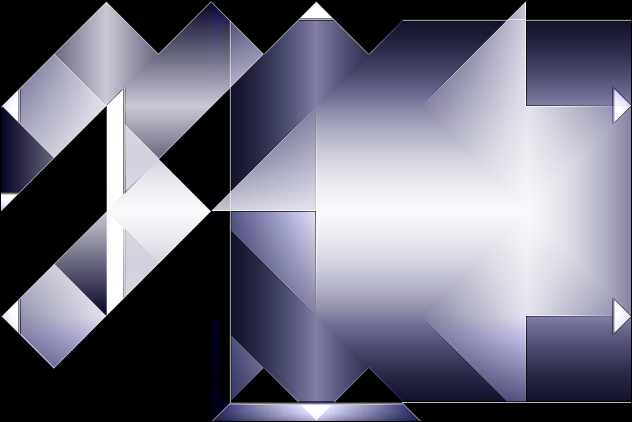
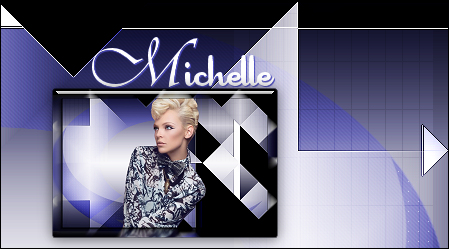
Your work looks
like this now:
06
Materials
Palette:
Change the
Foreground Gradient
Back to Color

Layers - New
Raster Layer
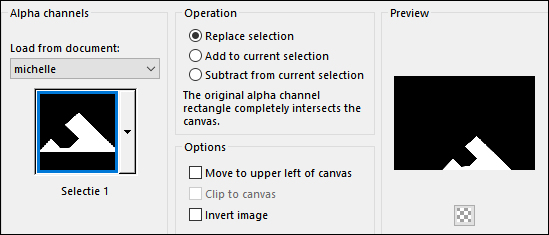
Selections -
Load/Save - Load
Selection From Alpha
Channel - "Selection
1"
Fill the
Selection with the
Foregroundcolor
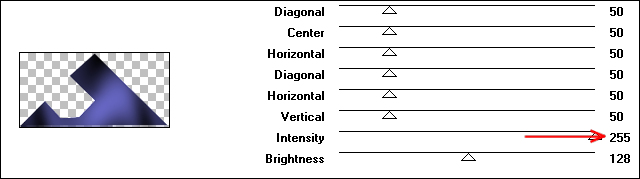
07
Effects - Plugins
- Graphics Plus -
Cross Shadow
Selections - Select
None
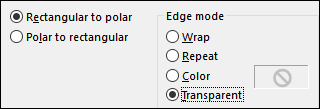
Effects -
Distortion Effects -
Polar Coordinates
08
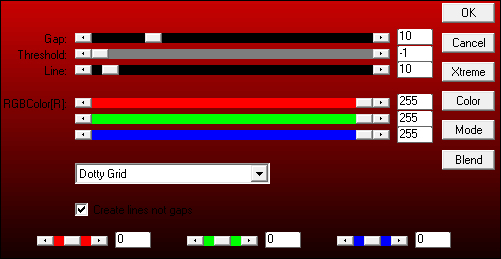
Effects - Plugins
- AP 01
[Innovations] -
Lines - SilverLining
- Dotty Grid
Layer Palette:
Change the Blend
Mode of this layer
to Soft Light
09
Materials
Palette:
Change the
Backgroundcolor to
#ffffff

Layers - New
Raster Layer
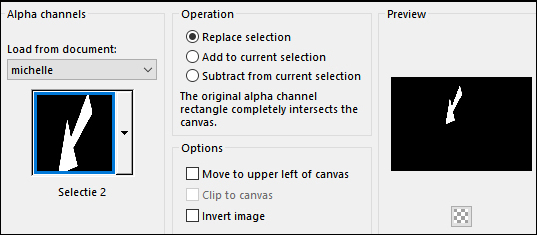
Selections -
Load/Save - Load
Selection From Alpha
Channel - "Selection
2"
Fill the
Selection with the
Foregroundcolor
Selections -
Modify - Contract -
2px
Edit - Cut
(or hit Delete on
your keyboard)
Keep Selected
10
 FloodFill Tool
Lower the Opacity
on the Toolbar to
50

Fill the
Selection with the
Backgroundcolor
Raise the Opacity
back too 100
on the Toolbar
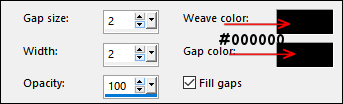
Effects - Texture
Effects - Weave
Selections -
Select None
Effects - 3D
Effects - Drop
Shadow:
Vertical: 2
Horizontal:
2
Opacity: 35
Blur: 2
Color: #000000
11
Maximize
"408_KaD_Element1
from tray
Edit - Copy
On your work
image: Edit -
Paste - Paste As New
Layer
No need to move
Layer Palette:
Change the Blend
Mode of this Layer
to Overlay
and lower the
Opacity to 65
12
Maximize
"408_KaD_Element2"
from tray
Edit - Copy
On your work
image: Edit -
Paste - Paste As New
Layer
Press K on
your keyboard to
activate the Pick
Tool
Move into
position like this:
Layer Palette:
Change the Blend
Mode of this Layer
to Overlay
and lower the
Opacity to 68
13
Maximize
"408_KaD_Element3"
from tray
Edit - Copy
On your work
image: Edit -
Paste - Paste As New
Layer
Layers - Arrange
- Move Down
14
Layer Palette:
Click on the Top
Layer
Window -
Duplicate (or
Shift+D on your
keyboard)
Maximize
"KaD_woman_108"
from tray
Erase the
watermark
Edit - Copy
Minimize to tray
On the duplicate
image: Edit -
Paste - Paste As New
Layer
15
Image - Resize -
75% - Resize All
Layers - not
checked
Press K
on your
keyboard to
activate the
Pick Tool
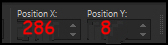
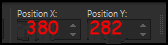
Enter these
parameters for the
X and Y
Positions on the
Toolbar
Layer Palette:
Click on Raster Layer 5 and
close it
Layers - Merge -
Merge All Flatten
16
Effects - Plugins
- AAA Frames - Foto
Frame
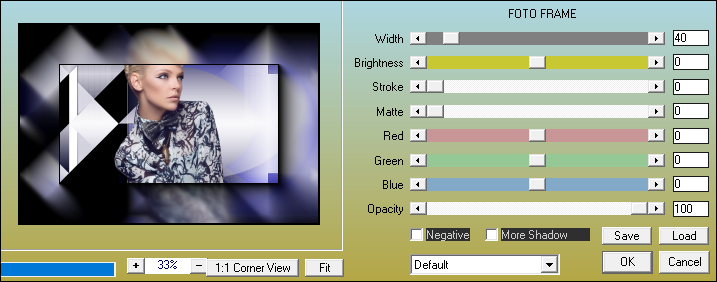
Image - Mirror -
Mirror Horizontal
Image - Add
Borders - Symmetric
checked - 1px -
Foregroundcolor
Image - Resize -
25% - Resize All
Layers - not
checked
Edit - Copy
17
Back on your main
work image:
Edit - Paste - Paste
As New Layer
Effects - Plugins
- Alien Skin - Eye
Candy 5 - Impact -
Glass - Preset
-"369_Impact_Glass"
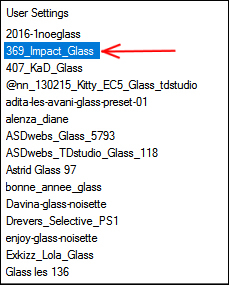
If the Preset
doesn't work for
you, use these
settings in the
Basic Tab

Adjust -
Sharpness - Sharpen
18
Press K
on your
keyboard to
activate the
Pick Tool
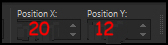
Enter these
parameters for the
X and Y
Positions on the
Toolbar

Effects - 3D
Effects - Drop
Shadow:
Vertical: 0
Horizontal:
0
Opacity: 50
Blur: 20
Color: #000000
19
Maximize
"408_KaD-Text1"
from tray
Edit - Copy
On your work
image: Edit -
Paste - Paste As New
Layer
Move the Text
just above the small
frame like this:
20
Maximize
"408_KaD_Deco1"
from tray
Edit - Copy
On your work
image: Edit -
Paste - Paste As New
Layer
Press K
on your
keyboard to
activate the
Pick Tool
Enter these
parameters for the
X and Y
Positions on the
Toolbar
21
Maximize
"KaD_woman_108"
from tray
Edit - Copy
On your work
image: Edit -
Paste - Paste As New
Layer
Press K
on your
keyboard to
activate the
Pick Tool
Enter these
parameters for the
X and Y
Positions on the
Toolbar
Effects - 3D
Effects - Drop
Shadow:
Vertical: 0
Horizontal:
0
Opacity: 40
Blur: 20
Color: #000000
Adjust -
Sharpness - Sharpen
22
Image - Add
Borders - Symmetric
checked - 1px -
Foregroundcolor
Image - Add
Borders - Symmetric
checked - 3px -
#5a5aab

Image - Add
Borders - Symmetric
checked - 1px -
Foregroundcolor
Selections -
Select All
Image - Add
Borders - Symmetric
checked - 35px -
Backgroundcolor
Effects - 3D
Effects - Drop
Shadow:
Vertical: 0
Horizontal:
0
Opacity: 40
Blur: 20
Color: #000000
Selections -
Select None
Image - Add
Borders - Symmetric
checked - 1px -
Foregroundcolor
23
Optional:
Image - Resize - Width 900 Pixels - Resize all Layers checked
Add your name or watermark, save as JPG
file and you're done!