Open "333_KaD_Alfakanaal"
This image contains Alpha Selections
Window - Duplicate
(or shift+D) - Close the original and proceed on the copy
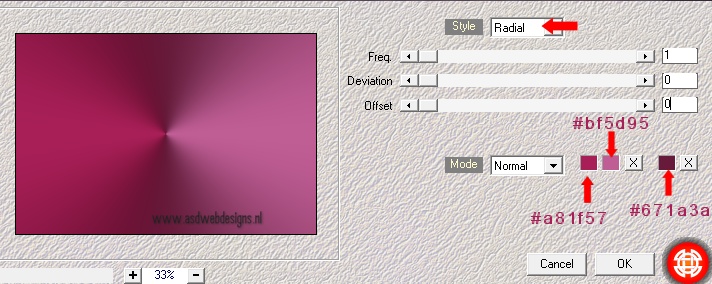
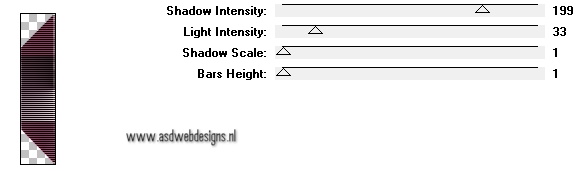
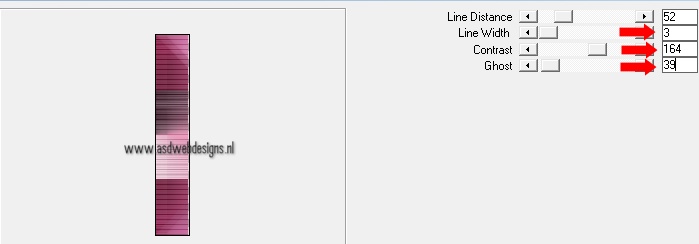
Effects - Plugins
- Mehdi - Wavy Lab
Effects - Plugins
- RCS Filter Pack 1
- RCS TripleExposure
Adjust - Blur -
Gaussian Blur - 5
Effects - Plugins
- Toadies -
Sucking Toad Bevel
II.2
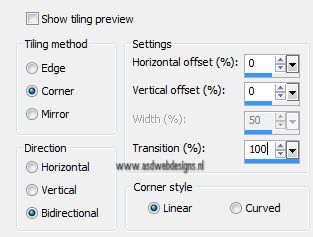
Effects - Image
Effects - Seamless
Tiling
02
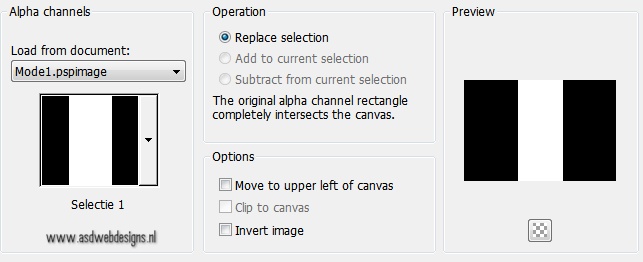
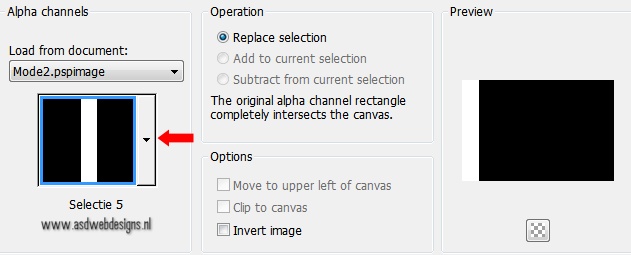
Selections -
Load/Save Selection
- Load Selection
From Alpha Channel -
Selectie 1
Selections -
Promote Selection to
Layer
Selections -
Select None
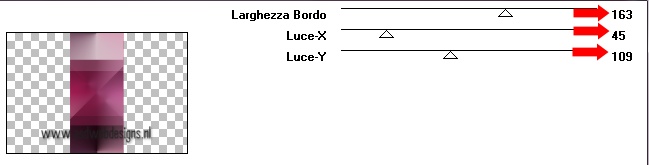
Effects - Plugins -
It@lian Editors
Effect -
bordo bon luci
Effects - Plugins -
Toadies - What Are
You? - X-dose 40 -
Y-dose 0
Effects - Edge Effects - Enhance More
Image - Flip
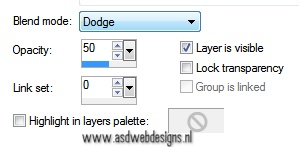
Layer Palette -
Double click on this
Layer and set the
Blend Mode to
"Dodge" and
the Layer Opacity to
50
Layers - Merge -
Merge Visible
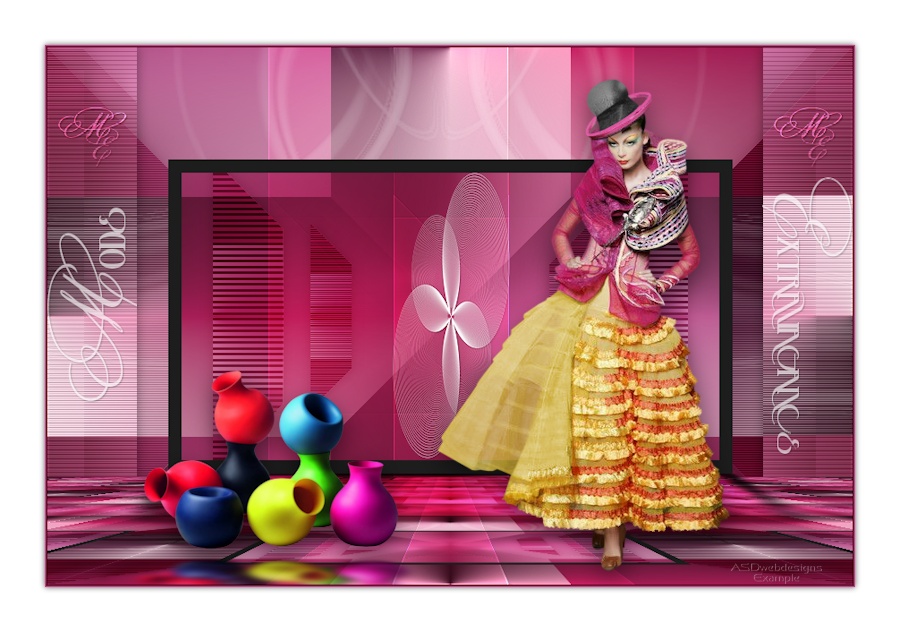
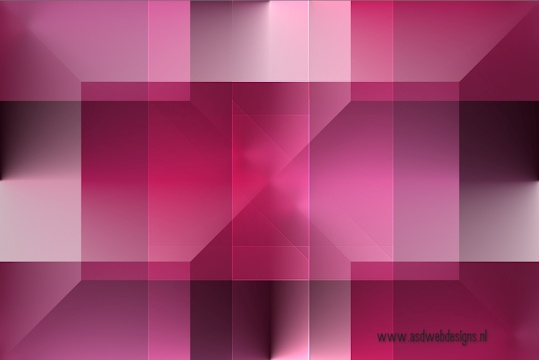
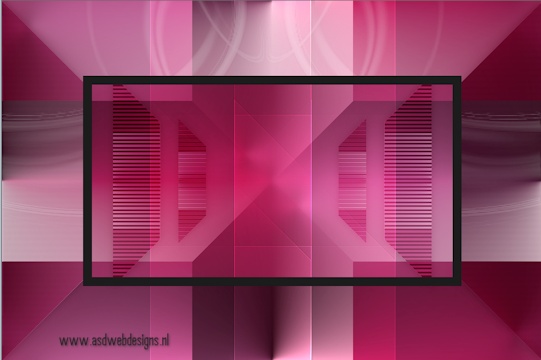
Your work looks
like this now:
03
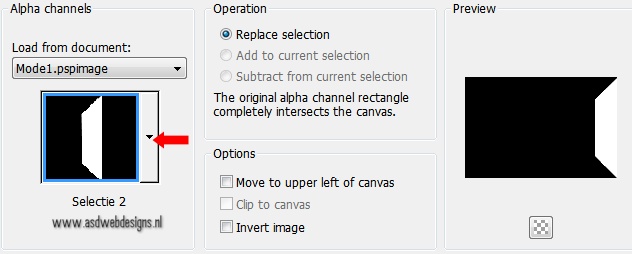
Selections - Load/Save Selection - Load Selection From Alpha
Channel - Selectie 2
Selections
- Promote Selection
to Layer
Effects - Plugins
- Rorshack Filters - Ripleyer
Selections -
Select None
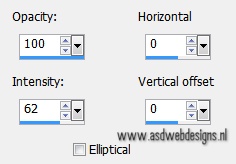
Effects - Reflection Effects -
Feedback
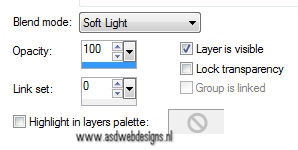
Layer Palette -
Double click on this
Layer and set the
Blend Mode to "Soft
Light"
04
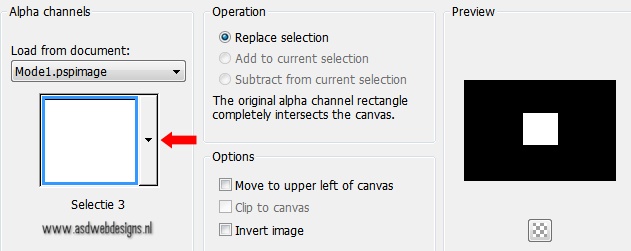
Selections -
Load/Save Selection
- Load Selection
From Alpha Channel -
Selection #3
Edit - Cut
(Or hit the Delete
Key of your
Keyboard)
Selections -
Select None
<I.C.NET
Software> - Filters
Unlimited - &<Bkg Kaleidoscope>
- 4Q Flip Z Bottom
R
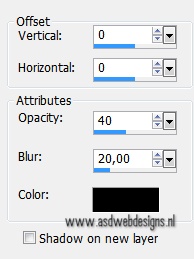
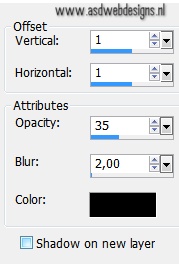
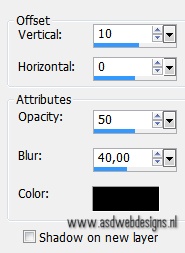
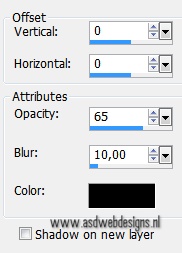
Effects 3D Effects - DropShadow - Color: #000000

05
Color Palette:
Change the
Foregroundcolor to
#1d1d1d

Layers - New
Raster Layer
Selections -
Load/Save Selection
- Load Selection
From Alpha Channel -
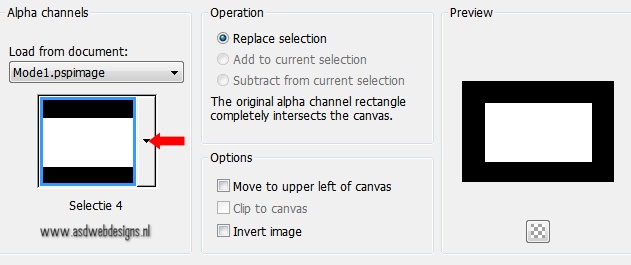
Selectie 4
Fill the
Selection with the
Foregroundcolor
Selections - Modify - Contract
- 15 px
Edit - Cut (Or
hit the Delete Key
of your Keyboard)
Selections -
Select None
06
Layer Palette:
Change the
Foregroundcolor to
#ffffff

Layer Palette -
Click on the Bottom
layer
Layers - New
Raster Layer
Fill with the
Foregroundcolor
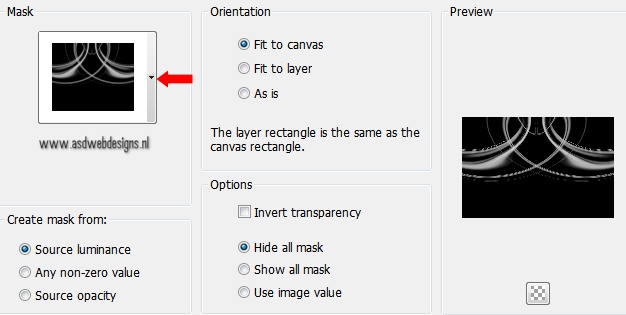
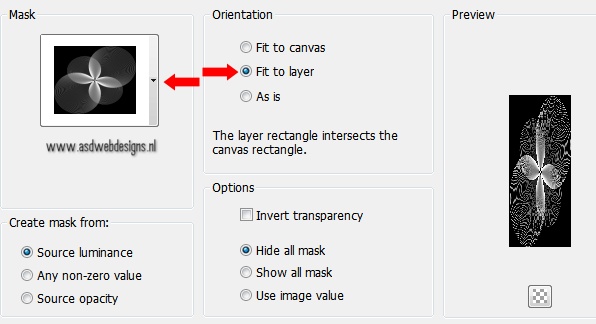
Layers - Load/Save
Mask - Load Mask
from Disk -
Narah_mask_Abstract_289
Layers - Merge - Merge Group
Adjust -
Sharpness - Sharpen
More
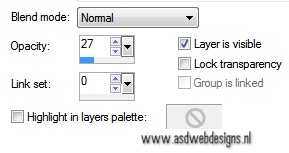
Layer Palette -
Double click on this
Layer and set the
Layer Opacity of
this layer to 27
Selections -
Load/Save Selection
- Load Selection
From Alpha Channel -
Selectie 4
Edit - Cut (Or
hit the Delete Key
of your Keyboard)
Selections -
Select None
Layers - Merge -
Merge Visible
Your work looks
like this now:
07
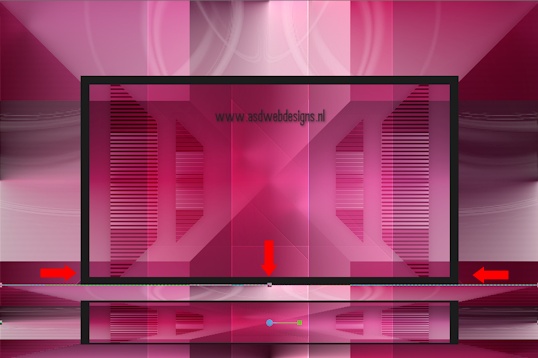
Layers - Duplicate
Hit the K Key
of your Keyboard and
push the top node
down like this:
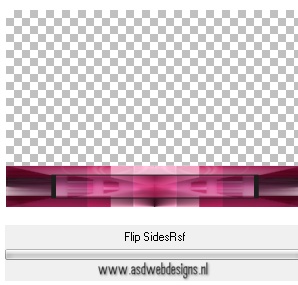
Effects - Plugins - <I.C.NET Software> - Filters Unlimited - &<Bkg Kaleidoscope> -
Flip Sides Rsf
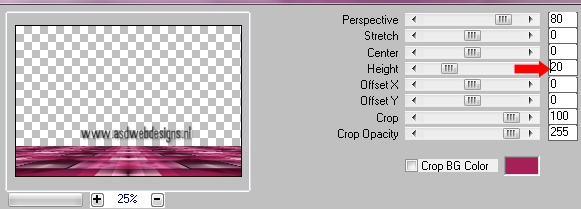
Effects - Plugins
- MuRa's Meister -
Perspective Tiling
08
Layer Palette - Click on the Bottom layer
Selections -
Load/Save Selection
- Load Selection
From Alpha Channel -
Selectie 5
Selections -
Promote Selection to
Layer
Effects - Plugins -
Carolaine and
Sensibility -
cs_texture
Selections - Select None
09
Layers - Duplicate
Image - Mirror
Image - Flip
Layers - Merge -
Merge Down
Effects 3D
Effects - DropShadow
- Color: #000000
Layer Palette - Click on the Bottom layer
Selections -
Load/Save Selection
- Load Selection
From Alpha Channel -
Selectie 4
Selections -
Promote Selection to
Layer
Selections -
Select None
Effects - Plugins -
Alien Skin Eye Candy
5 - Impact -
Perspective Shadow - Settings Tab:
Preset:
333_KaD_PerspectiveShadow
Selections -
Load/Save Selection
- Load Selection
From Alpha Channel -
Selectie 4
Edit - Cut (Or
hit the Delete Key
of your Keyboard)
Selections -
Select None
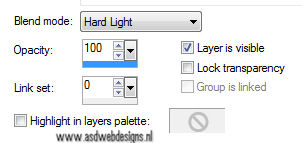
Layers - Arrange
- Bring to Top
Layer Palette -
Double click on this
Layer and set the
Blend Mode to "Hard
Light"
11
Layers - New Raster Layer
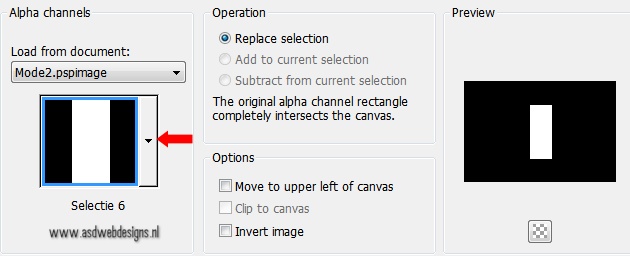
Selections -
Load/Save Selection
- Load Selection
From Alpha Channel -
Selectie #6
Fill the
Selection with the
Foregroundcolor
Layers - Load/Save
Mask - Load Mask
from Disk - Narah_mask_Abstract279
Layers - Merge - Merge Group
Selections -
Select None
Effects 3D
Effects - DropShadow
- Color: #000000
Adjust -
Sharpness - Sharpen
12
Open Tube "333_KaD_Text"
Edit - Copy
On your work image: Edit - Paste
as New Layer
No need to move
Effects 3D Effects - DropShadow - Color: #000000
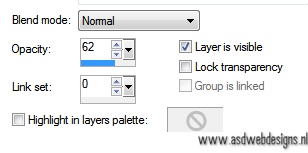
Layer Palette -
Double click on this
Layer and set the
Layer Opacity of
this layer to 62
13
Open Tube "333_KaD_Text1"
Edit - Copy
On your work image: Edit - Paste
as New Layer
Image - Resize - 40% - Resize all
layers not checked
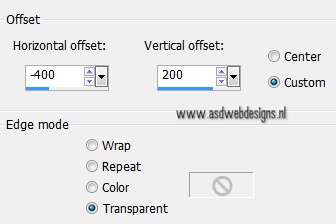
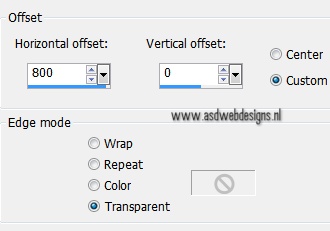
Effects - Image
Effects - Offset
Effects 3D
Effects - DropShadow
- Color: #000000
Layers -
Duplicate
Effects - Image
Effects - Offset
14
Open Tube "Alies 1VR841-woman-20012014"
Edit - Copy
On your work image: Edit - Paste
as New Layer
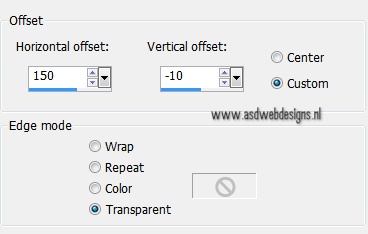
Effects - Image
Effects - Offset
Effects 3D
Effects - DropShadow
- Color: #000000
15
Open Tube "Tocha24065"
Edit - Copy
On your work image: Edit - Paste
as New Layer
Image - Resize - 33% - Resize all
layers not checked
Effects - Image
Effects - Offset
Effects 3D
Effects - DropShadow
- Color: #000000
Adjust -
Sharpness - Sharpen
Effects - Plugins -
Alien Skin Eye Candy
5 - Impact -
Perspective Shadow - Settings Tab:
Preset:
333_KaD_PerspectiveShadow2
16
Image - Add Borders - Symmetric
checked - 1 px - #000000
Image - Add Borders - Symmetric
checked - 1 px -
#a81f57

Image - Add Borders - Symmetric
checked - 1 px -
#bf5d95