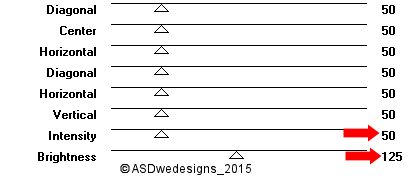
Effects - Plugins -
Mehdi - Wavy Lab 1.1
Adjust - Blur - Gaussian Blur -
40
02
Layers - New Raster Layer
Selections - Select All
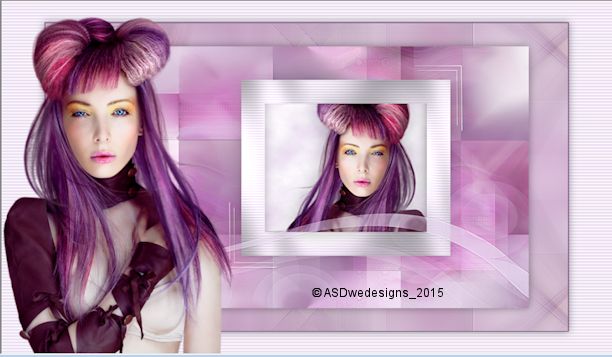
Open Tube "Alies 1VR488-woman-18052013"
Note:
If
you are using tubes and colors of
your own,
it is best to use the tube provided in the
Materials for this step, otherwise
the result will be different. You
can colorize it to match your work.
Edit - Copy
Minimize to tray , you need it again
later
On your work image:
Edit - Paste
Into
Selection
Selections -
Select None
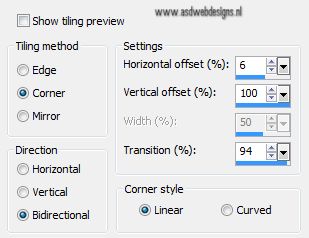
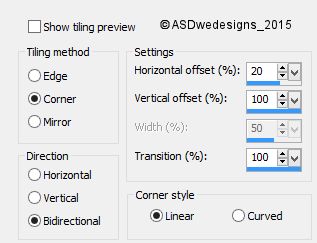
Effects - Image Effects - Seamless Tiling - Preset Side by Side
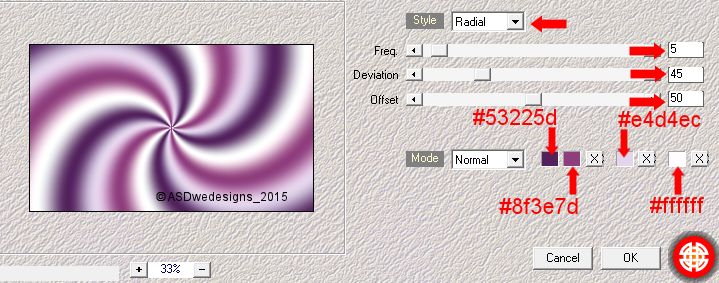
Adjust - Blur - Radial Blur
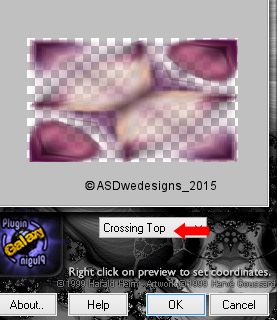
Effects - Plugins
- Plugin Galaxy -
Instant Mirror
Effects - Edge
Effects - Enhance
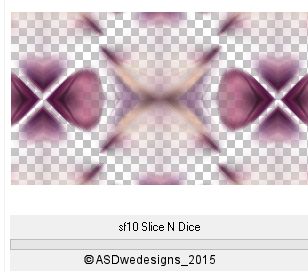
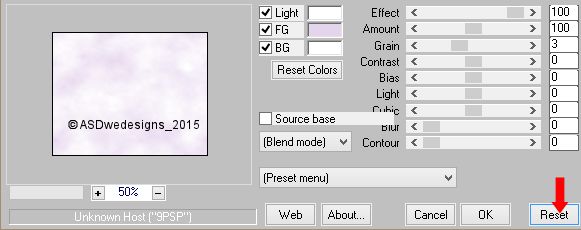
Effects - Plugins -
<I.C.NET Software> - Filters Unlimited 2.0 - &<Background Designers 1V>
sf10 Slice N Dice
Effects - Edge
Effects - Enhance
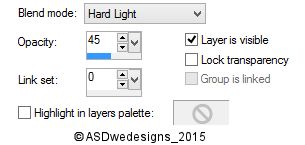
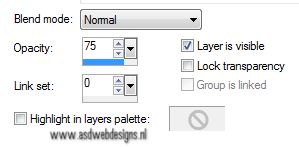
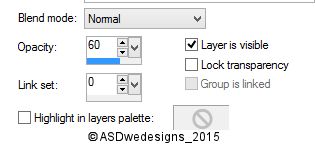
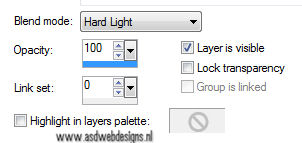
Layer Palette -
Double click on this Layer and set the Blend Mode to
"Hard Light" and the Layer Opacity to 45
Layers - Merge - Merge Visible
03
Layers - Duplicate
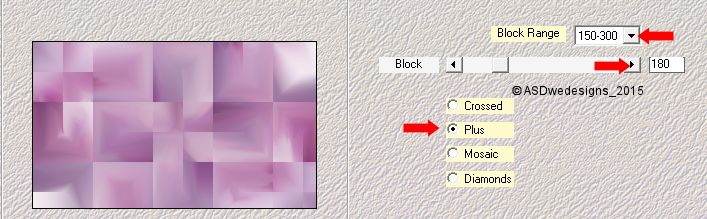
Effects - Plugins -
Mehdi - Sorting
Tiles
Adjust -
Sharpness - Sharpen
Layer Palette -
Double click on this Layer and set
the Layer Opacity of this Layer to
75
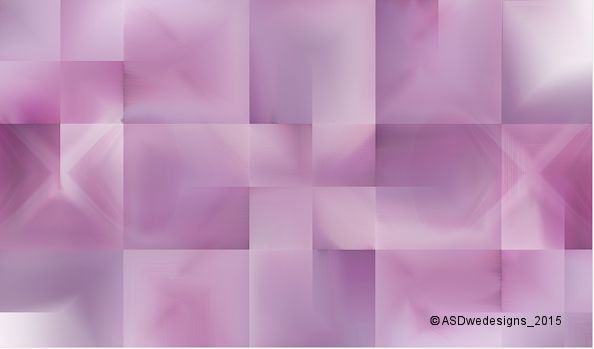
Layers - Merge - Merge Visible
Your work looks like this now:
04
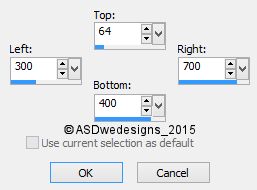
Layers - New Raster Layer
Selection Tool -
Rectangle
 - Custom
Selection:
- Custom
Selection:

Fill with the
Backgroundcolor
 (Right Mouse Click)
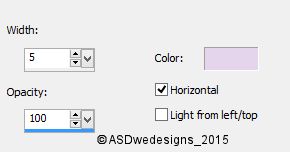
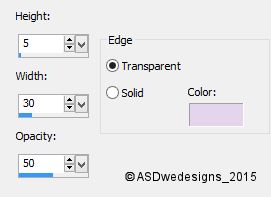
Effects - Texture Effects - Blinds
- Color:
#e4d4ec

Effects - Plugins - Graphics
Plus - Cross Shadow
Selections - Modify - Contract - 45 px
Edit - Cut (Or hit the Delete Key of
your Keyboard)
Keep Selected
05
Color Palette: Set your Foregroundcolor to
Foreground/Background Gradient
(Corel_06_029) - Style: Linear
Layers - New
Raster Layer
Fill the Selection with the Gradient

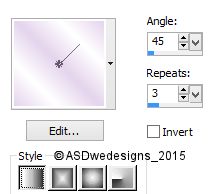
Effects - Plugins -
MuRa's Meister -
Cloud - Click on
Reset
Effects 3D Effects -
Buttonize -
#e4d4ec
Keep Selected!
06
Maximize Tube "Alies 1VR488-woman-18052013"
Image - Mirror
Edit - Copy
Image - Mirror
Minimize to Tray again
On your work image: Edit - Paste
As New Layer
Image - Resize - 70% - Resize all
Layers not checked
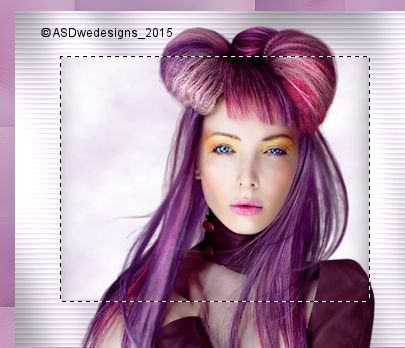
Move into the Selection like this:
Selections -
Invert
Edit - Cut (Or hit the Delete Key of
your Keyboard)
Selections -
Select None
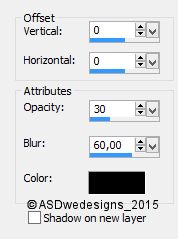
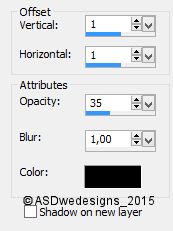
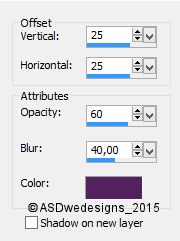
Effects 3D Effects -
Dropshadow -
Color #000000

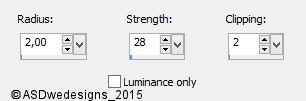
Adjust -
Sharpness - Sharpen
Layers - Merge - Merge Down
Edit - Repeat Layer Merge Down
Effects 3D Effects -
Dropshadow -
Color #000000
07
Maximize Tube "Alies 1VR488-woman-18052013" again
Edit - Copy
On your work image: Edit - Paste
As New Layer
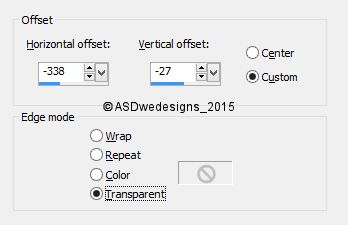
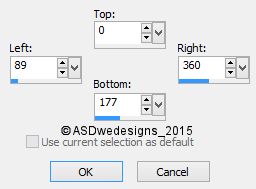
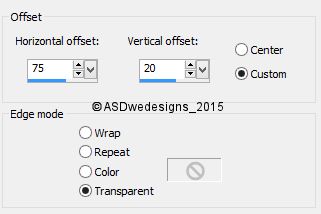
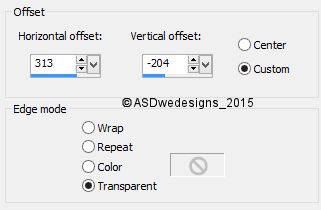
Effects - Image
Effects - Offset
Layers - Arrange - Move Down
Effects - Image Effects - Seamless Tiling
Layer Palette -
Double click on this Layer and set
the Layer Opacity of this Layer to
60
08
Layers - Duplicate
Layer Palette - Click on the Second Layer from
the Bottom
Effects - Distortion Effects - Wind
- From Left checked - Wind Strength:
100
Layer Palette - Click on the Second Layer from
the Top
Effects - Distortion Effects - Wind
- From Right checked - Wind Strength:
100
Layers - Merge - Merge Down
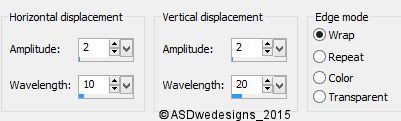
Effects - Distortion Effects - Wave
Effects - Edge
Effects - Enhance
Layer Palette -
Double click on this Layer and set
the Layer Opacity of this Layer to
75
09
Color Palette: Set the Foreground Gradient back to color
Layer Palette - Click on the Top
Layer
Layers - New Raster Layer
Fill with the Foregroundcolor
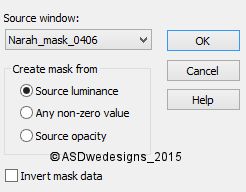
Layers - New Mask
Layer - From Image -
Narah_mask_0406
Layers - Merge - Merge Group
Image - Mirror
Image - Flip
Adjust - Sharpness - Sharpen
Edit - Repeat Sharpen ( This is a little more subtle than Sharpen More)
10
Layer Palette - Click on the Bottom
Layer
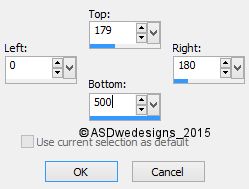
Selection Tool -
Rectangle
- Custom
Selection:
Selections - Promote Selection to
Layer
Effects - Plugins -
<I.C.NET
Software>
- Filters
Unlimited -&<BKg
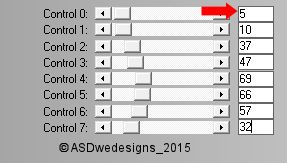
Designer sf10 I>
- Cirquelate
Selections - Select None
Effects - Image Effects - Seamless
Tiling - Default settings
Layer Palette -
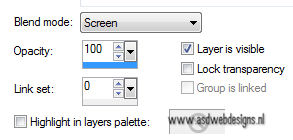
Double click on this Layer and set the Blend Mode to
"Screen"
11
Layer Palette - Click on the Bottom
Layer
Selection Tool -
Rectangle
- Custom
Selection:
Selections -
Promote Selection to
Layer
Effects - Plugins -
L&K SiteOfWonders -
L en K"s Zitah
Selections -
Select None
Effects - Image Effects - Seamless
Tiling - Default settings
Adjust - Sharpness - Sharpen
Layer Palette -
Double click on this Layer and set the Blend Mode to
"Hard Light"
12
Layer Palette - Click on the Top
Layer
Open Tube "312_KaD_Deco1"
Edit - Copy
On your work image: Edit - Paste
As New Layer
Effects - Image
Effects - Offset
Effects 3D Effects -
Dropshadow -
Color #000000
Layers - Merge - Merge Visible
13
Layers - Duplicate
Image - Resize - 85% - Resize
all Layers not checked
Adjust - Sharpness - Unsharp Mask
13
Layer Palette - Click on the Bottom
Layer
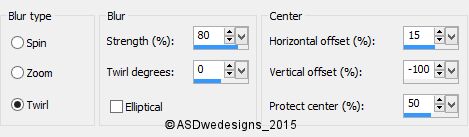
Adjust - Blur - Radial Blur
Effects - Plugins -
<I.C.NET
Software>
- Filters
Unlimited - &<BKg
Designer sf10 II> -
Diamonds
Effects - Plugins -
Toadies - What Are
You? - X-dose 215 -
Y-dose 215
Effects - Edge Effects - Enhance
14
Layers - Duplicate
Image - Flip
Layer Palette -
Double click on this Layer and set
the Layer Opacity of this Layer to
55
Layers - Merge -
Merge Down
Effects - Edge Effects - Enhance
15
Layer Palette - Click on the Top
Layer
Effects 3D Effects -
Dropshadow -
Color #000000
16
Image - Add Borders - Symmetric
checked - 1 px -
#53225d

Selections - Select All
Image - Add Borders - Symmetric
not checked - Color
#ffffff
Selections -
Invert
Effects - Texture Effects - Blinds
- Color:
#e4d4ec
Selections - Invert
Effects 3D Effects -
Dropshadow -
Color #000000
Selections -
Select None
17
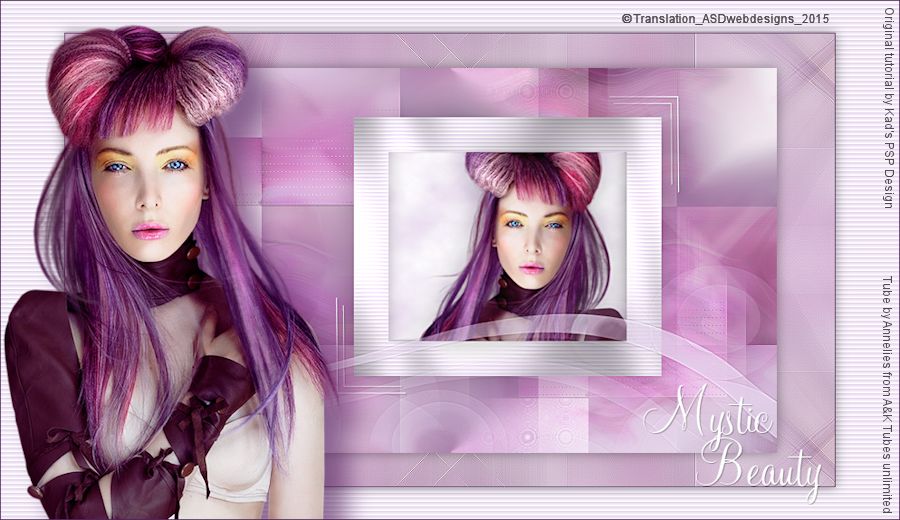
Maximize Tube "Alies 1VR488-woman-18052013" again
Edit - Copy
On your work image: Edit - Paste
As New Layer
Image - Resize - 88% - Resize
all Layers not checked
Move to the Left
like this:
Adjust - Sharpness - Sharpen
Effects 3D Effects -
Dropshadow -
Color
#53225d
18
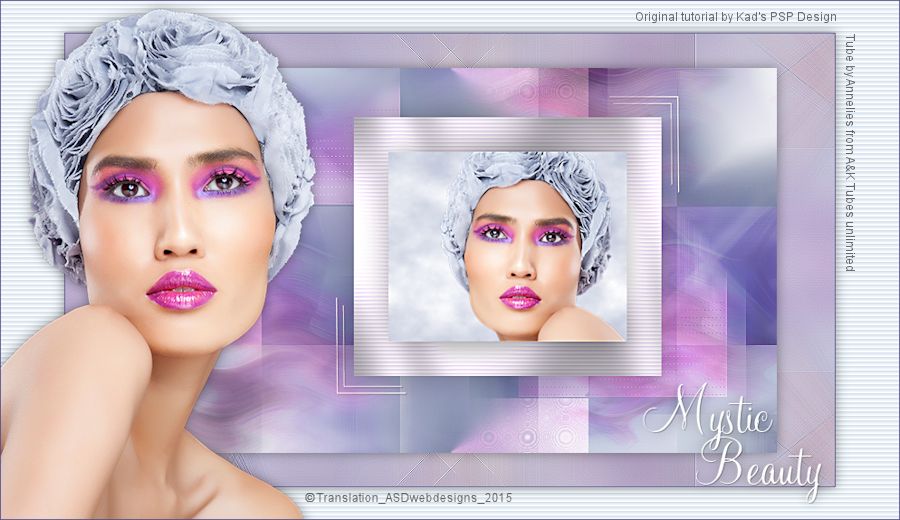
Open Tube "312_KaD_Text"
Edit - Copy
On your work image: Edit - Paste
As New Layer
Effects - Image
Effects - Offset
Image - Add Borders - Symmetric
checked - 1 px -
#53225d
Image - Resize - Width 900 Pixels
- Resize all Layers checked