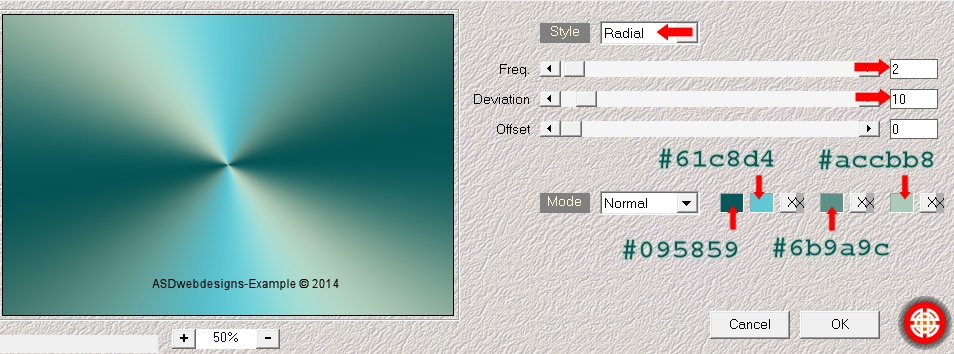
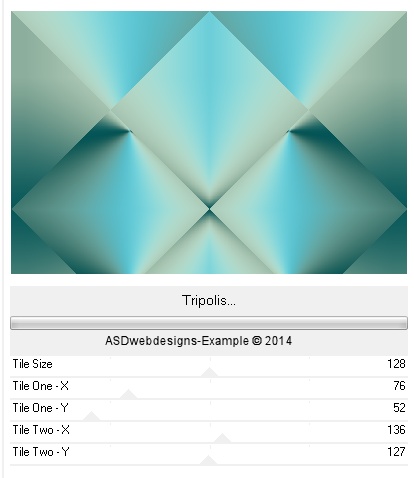
Effects - Plugins - <I.C.NET Software> - Filters Unlimited 2.0 – Simple –
Pizza Slice Mirror
03
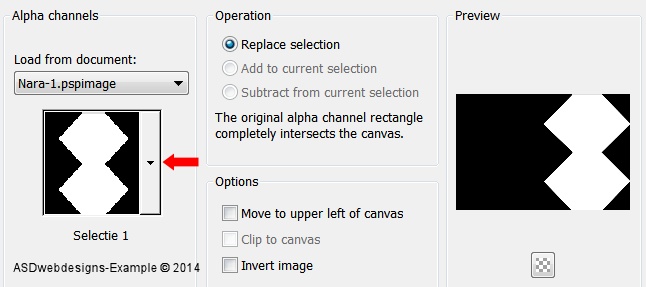
Selections - Load/Save Selection - Load
Selection From Alpha Channel - Selectie 1
Selections - Promote Selection to Layer
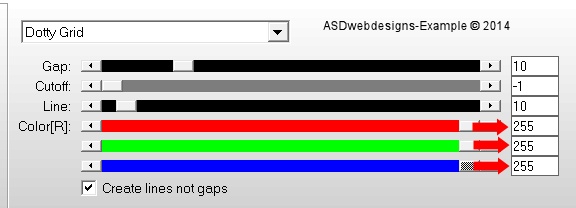
Effects - Plugins - AP [Lines]
- Lines - Silverlining
Selections - Select None
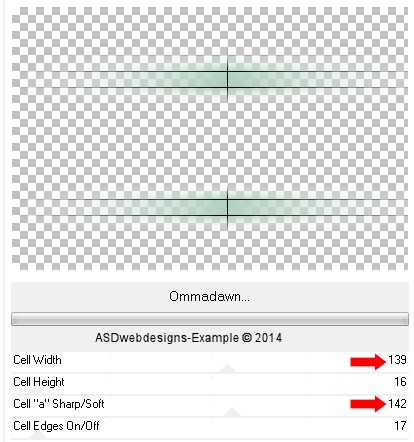
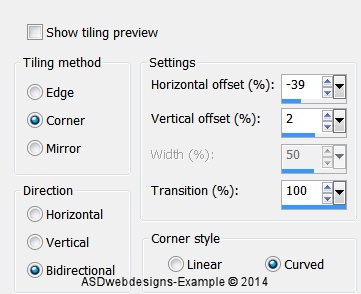
Effects - Plugins - <I.C.NET Software> - Filters Unlimited 2.0 – Toadies –
Ommadawn
Note: Use
this filter through Filters Unlimited otherwise the result will be different
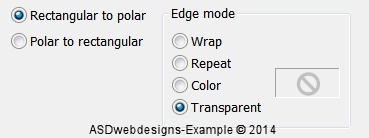
Effects - Distortion Effects - Polar
Coordinates
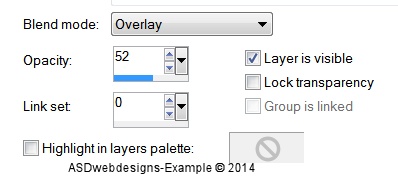
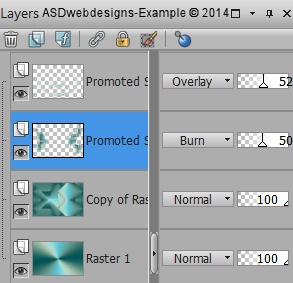
Layer Palette -
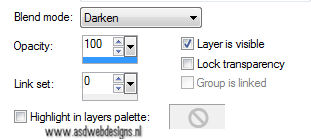
Double click on this Layer and set the Blend Mode to
"Overlay" and the Layer Opacity to
52
04
Layer Palette - Click on the middle
Layer
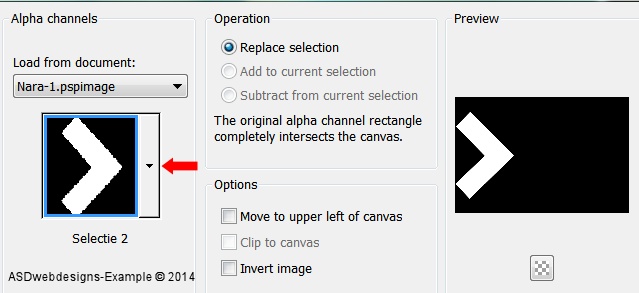
Selections - Load/Save Selection - Load
Selection From Alpha Channel - Selectie 2
Selections - Promote Selection to Layer
Selections - Select None
Layers - Duplicate
Image - Mirror
Layers - Merge - Merge Down
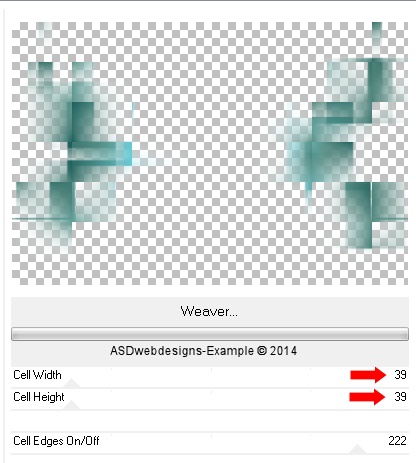
Effects - Plugins - <I.C.NET Software> - Filters Unlimited 2.0 –
Toadies – Weaver
Note: Use
this filter through Filters Unlimited otherwise the result will be different
Effects - Edge Effects - Enhance
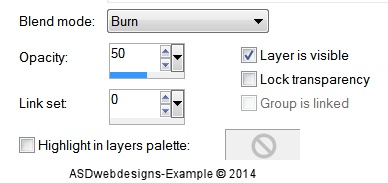
Layer Palette -
Double click on this Layer and set the Blend Mode to
"Burn" and the Layer Opacity to
50
Your work and Layer Palette look
like this now:
05
Color Palette: Double Click on the
Foregroundcolor and change to #ffffff

Layer Palette - Click on the Top
Layer
Layers - New Raster Layer
Fill with the Foregroundcolor
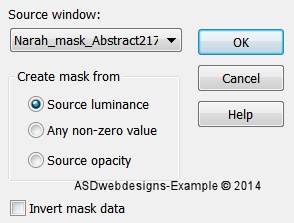
Layers - New Mask
Layer - From Image -
Narah_mask_Abstract217
Layers - Merge - Merge Group
File - Script
- Run - Make sure you are in the
Scripts Restriced folder - Click on
K@D_346_Narah_Script
Effects - User Defined Filter -
Emboss_3

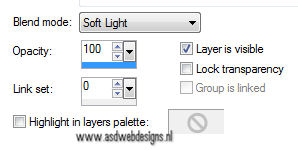
Layer Palette -
Double click on this Layer and set the Blend Mode to
"Soft Light"
06
Layer Palette - Click on the Second Layer from the Bottom
Layer Palette -
Double click on this Layer and set the Blend Mode to
"Darken"
07
Layer Palette - Click on the Bottom
Layer
Adjust - Blur - Gaussian Blur -
20
Effects - Image Effects - Seamless Tiling
Layers - Merge - Merge Visible
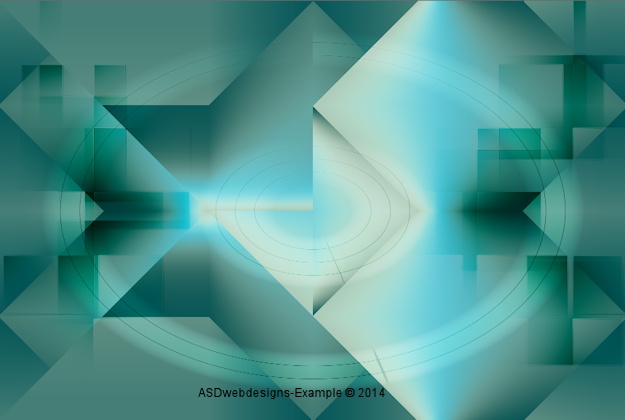
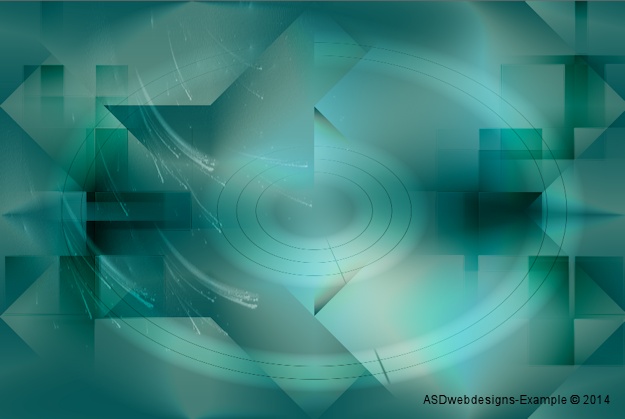
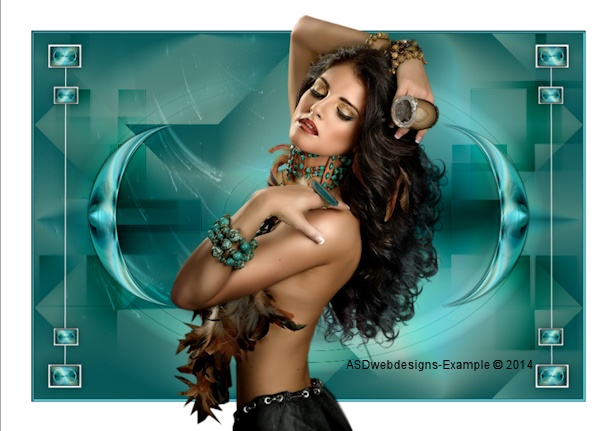
Your work looks like this now:
08
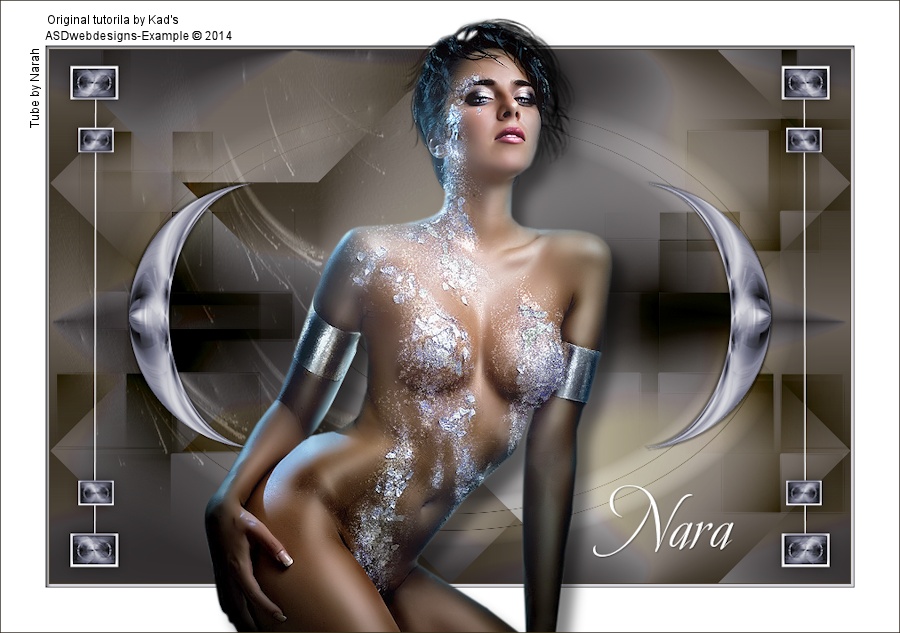
Open Tube "346_Nara_K@D_Deco1"
Edit - Copy
On your work image: Edit - Paste
As New Layer
No need to move
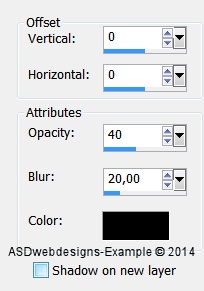
Effects 3D Effects -
Dropshadow -
Color #000000

Repeat with the Vertical and
Horizontal Offset to Minus
2
09
Open Tube "346_Nara_K@D_Deco2"
Edit - Copy
On your work image: Edit - Paste
As New Layer
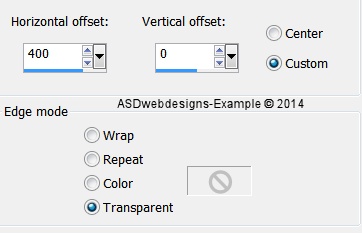
Effects - Image
Effects - Offset
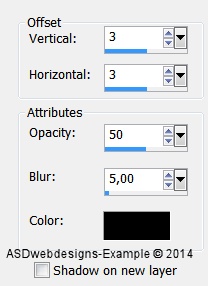
Effects 3D Effects -
Dropshadow -
Color #000000
Layers - Duplicate
Image - Mirror