The
tutorial:
01
Maximize
"429_Kad_Alfakanaal" from tray (This image contains Alpha Selections)
Selections - Load/Save - Load Selection From
Alpha Channel - Selectie1
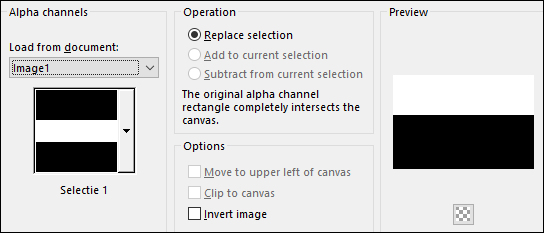
Fill the Selection with the Foregroundcolor 
Selections - Invert
Fill the Selection with the
Backgroundcolor 
Selections - Select None
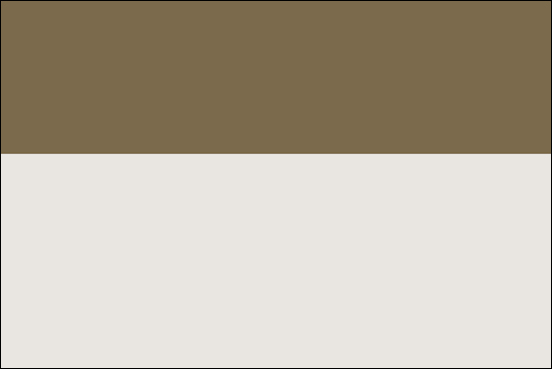
Result:
02
Layers - New Raster Layer
Materials Palette: Change the Backgroundcolor to
#cdc1ac 
Selections - Load/Save - Load
Selection From Alpha Channel - Selectie
2
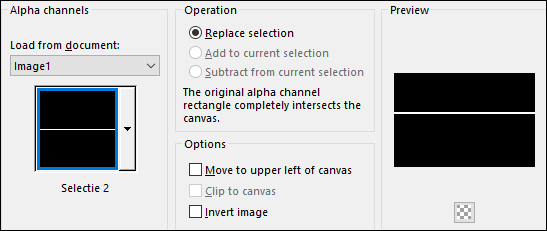
Fill the Selection with the Backgroundcolor 
Selections - Select None
Effects - 3D Effects - Drop Shadow:
Vertical: 0
Horizontal: 0
Opacity: 60
Blur: 25
Color: #000000
03
Layers - New Raster Layer
Selections
- Load/Save - Load Selection From Alpha Channel - Selectie
3
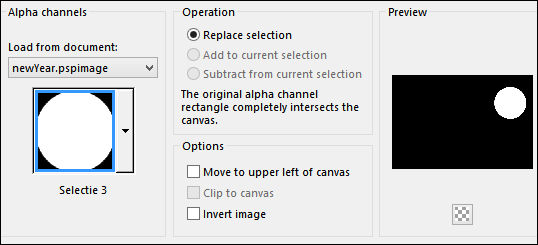
Fill the Selection with the
Backgroundcolor 
Selections - Select None
04
Materials Palette: Change the Foregroundcolor to #342c20 
Layers - New Raster Layer
Brush Tool (B) Select "1217492918pinceaux_nikita" from the drop down
menu Size: 250

Stamp twice without moving the Brush in the
circle like this:
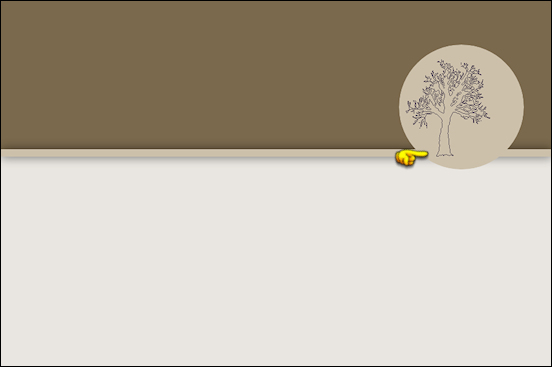
05
Layers - New Raster Layer
Brush Tool (B) Select
"429_KaD_BrushCloud" from the drop down menu Size: 280

Stamp once with the
Foregroundcolor  in the circle like this:
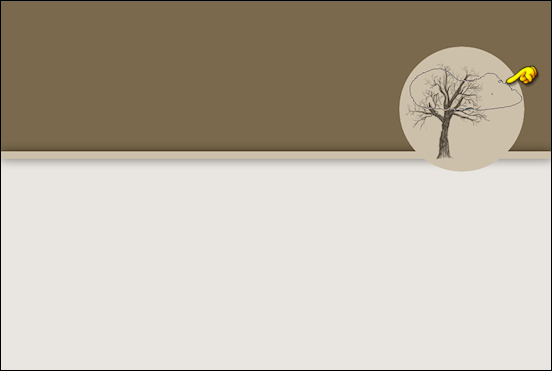
Layers - Arrange - Move Down
06
Materials Palette: Change the Foregroundcolor to
#e9e6e1 
Brush
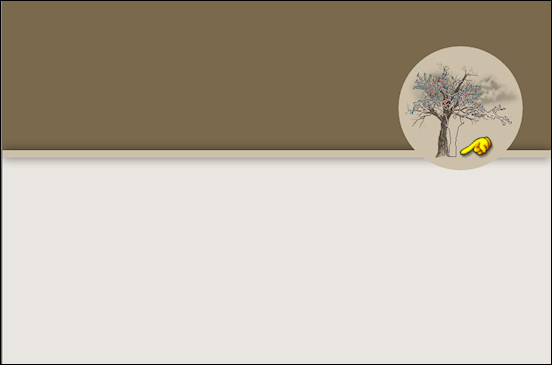
Tool (B) Select "429_KaD_BrushTree" from the drop down menu
Size: 200

Stamp twice with
the Foregroundcolor without moving the
Brush like this:
Adjust - Sharpness - Sharpen
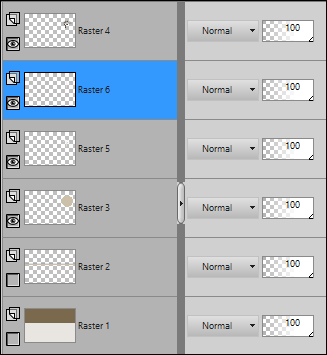
Your Layer Palette should look like this now:
07
Layer Palette: Close the Bottom two
Layers but keep Raster 6 active
Layers - Merge - Merge Visible
Open the Bottom two Layers but stay on Raster 6
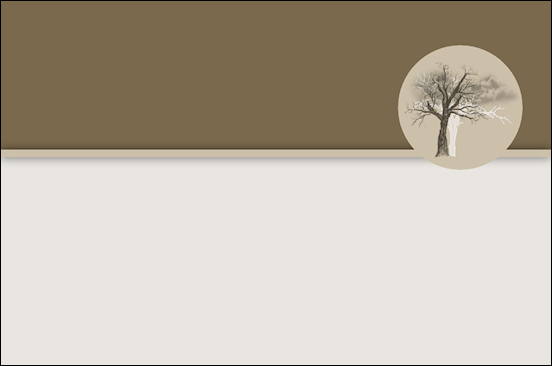
Your work looks like this now:
Effects - 3D Effects - Drop
Shadow: Vertical: 0
Horizontal: 0
Opacity: 60
Blur: 25
Color: #000000
08
Materials Palette: Set the Foregroundcolor to
#cdc1ac 
Layers - New Raster Layer
Brush
Tool (B) Select "429_KaD_BrushTree" from the drop down menu
Size: 655

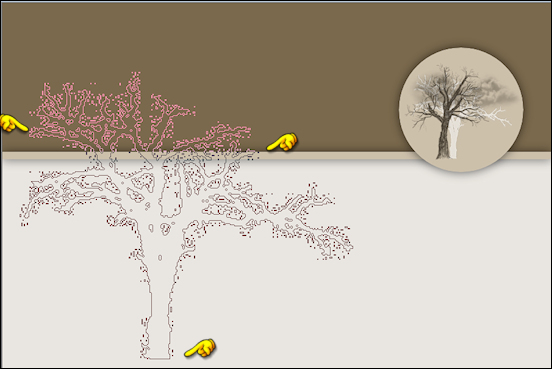
Stamp once with the Foregroundcolor on your work
like this:
Pick Tool (K) Set these Parameters on the Toolbar:

Adjust - Sharpness - Sharpen
Press any key to close the Pick
Tool
09
Layers - New Raster Layer
Materials Palette: Change the
Backgroundcolor to #453b2b 
Reverse your colors
Brush Tool (B) Select
"1217492918pinceaux_nikita" from the drop down menu
Size: 800

Stamp once in the middle of your image with the
Foregroundcolor 
Pick Tool (K) Set these
Parameters on the Toolbar:

Press any key to
close the Pick Tool
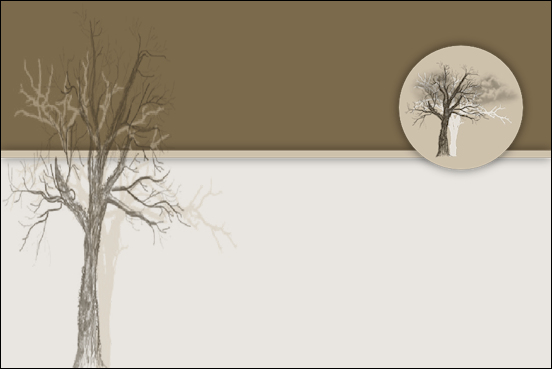
Your work looks like this now:
Effects
- 3D Effects - Drop Shadow: Vertical: 1
Horizontal: 1
Opacity: 35
Blur: 2
Color: #000000
Layer Palette: Lower the Opacity of this Layer
to 80
Layers - Merge - Merge Down
10
Layers - New Raster Layer
Materials Palette: Change the Foregroundcolor to #e9e6e1 
Selections - Load/Save - Load Selection From
Alpha Channel - Selectie
4
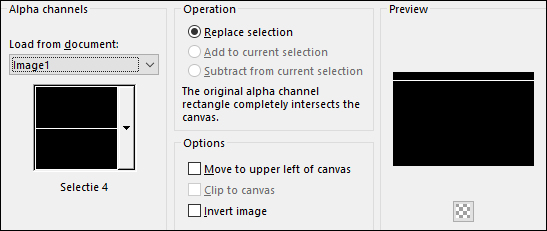
Fill the Selection with the Foregroundcolor

Selections - Select None
11
Effects - Distortion Effects - Wave

Your work looks like this now
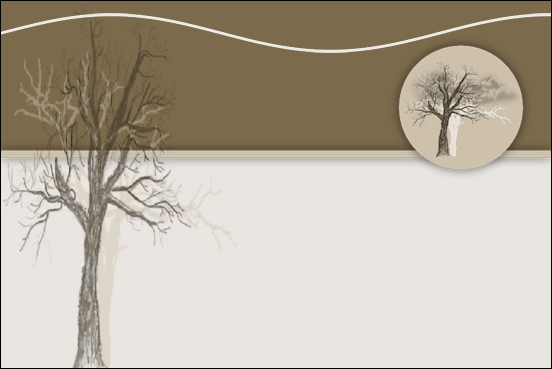
Effects
- 3D Effects - Drop Shadow: Vertical: 1
Horizontal: 1
Opacity: 35
Blur: 2
Color: #000000
12
If
you prefer to use a Font of your own, keep the original wavy line and
proceed with step 13 and 14
Maximize "429_KaD_Element1" from Tray
Edit - Copy
On your work Image: Edit - Paste -
Paste As New Layer
Move on Top of the wavy line like this:
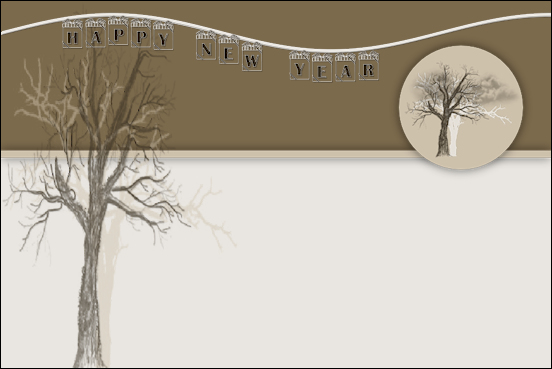
Layer Palette: Right click on the original wavy line and delete it
( go further with step 15)
13
Foregroundcolor - #e9e6e1  Backgroundcolor -
#342c20
Text Tool: (T) Select your Font Size 48 although
you may need to adjust this to achieve a good fit.

Type HAPPY NEW YEAR
Do
not Convert to Raster Layer
Objects - Convert Text to Curves - As Character Shapes
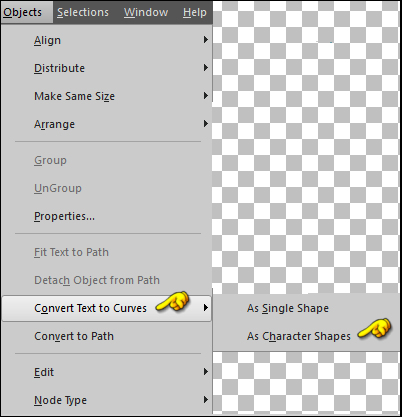
Objects - Ungroup
14
Object Selection Tool (O) For PSP 9 to PSPX7

Pick Tool (K) For PSP X8, X9, and 2018
Hover over the first letter of your text until you see the Object
Remover icon then left click to activate it
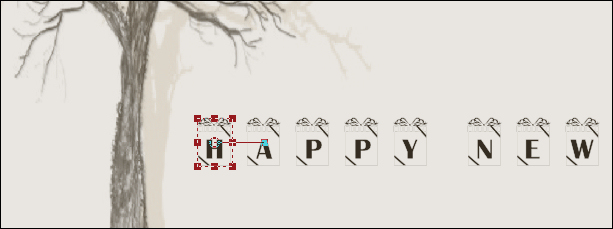
Move the single letter up to sit on the wavy line
Note:
This will take a bit of practice and patience to master

Go back to the second letter and hover until you see the Object
Selection icon, left click and move next to the first letter.
Repeat this process until you have all the letters arranged to your
liking.
Press (M) to close the Object Remover Tool
Layer Palette: Right click and convert to Raster Layer
Effects
- 3D Effects - Drop Shadow: Vertical: 1
Horizontal: 1
Opacity: 55
Blur: 2
Color: #000000
Result:

15
Layers - New Raster Layer
Selections - Load/Save - Load Selection From Alpha Channel - Selectie 3
Selections - Edit Selection (the circle will
turn Red)
Image - Flip - Flip Vertical
Selections - Edit Selection
Fill the Selection with the Backgroundcolor 
Selections - Select None
16
Materials Palette: Reverse your Colors
Change the Backgroundcolor to #cdc1ac  and close the Foregroundcolor
With a font of your choice type 2018
Layer Palette: Right click and Convert to Raster
Layer
Move into the centre of the circle
Effects
- 3D Effects - Drop Shadow: Vertical: 1
Horizontal: 1
Opacity: 55
Blur: 2
Color: #000000
Layers - Merge - Merge Down
Image - Resize - 80% - Resize All Layers - not checked
Effects
- 3D Effects - Drop Shadow: Vertical: 0
Horizontal: 0
Opacity: 60
Blur: 25
Color: #000000
Pick Tool(K) Enter these Parameters for the X and Y positions on the
Toolbar

Press any key to close the Pick Tool
17
Materials Palette: Open the Foregroundcolor and Close the Backgroundcolor
Pen Tool (V) Line Style: Solid Width: 3
Hold down the Shift key and draw straight line
like this:
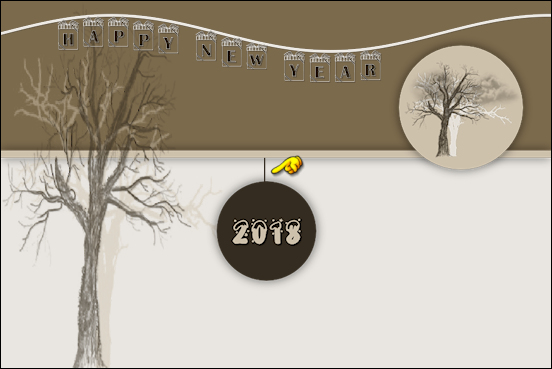
Layers - Convert to Raster Layer
Effects
- 3D Effects - Drop Shadow: Vertical: 1
Horizontal: 1
Opacity: 55
Blur: 2
Color: #000000
Layers - Merge - Merge Visible
18
Image - Resize - 80% - Resize All Layers - not
checked
Layers - Duplicate
Layer Palette: Close the Top Layer and activate
the Bottom Layer
Pick Tool (K) Select Preset - "Kads_New Year01" from the drop
down menu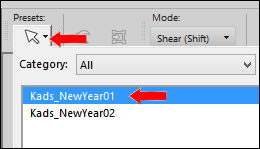
Press any key to close the Pick Tool
19
Layer Palette: Close the Bottom Layer
Open and activate the Top Layer
Pick Tool (K) Select
Preset - "Kads_New Year02" from the drop down menu
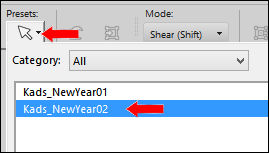
Press any key to close the Pick Tool
Layer Palette: Open the Bottom Layer
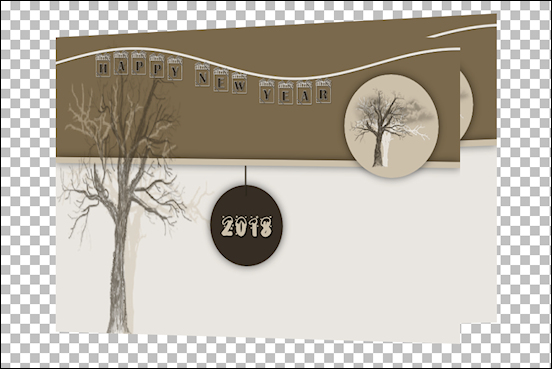
Your work looks like this now:
20
On the Top LayerEffects
- 3D Effects - Drop Shadow: Vertical: 2
Horizontal: 2
Opacity: 35
Blur: 2
Color: #000000
Repeat Drop Shadow with Vertical and
Horizontal Minus 2
Adjust - Sharpness - Sharpen
Layers- Merge - Merge Down
Effects
- 3D Effects - Drop Shadow: Vertical: Minus 2
Horizontal: Minus 2
Opacity: 35
Blur: 2
Color: #000000
Repeat
Drop Shadow with Vertical and Horizontal: 2
21
Maximize "429_KaD_Tekst1" from tray
Edit - Copy
On your
work image: Edit - Paste - Paste As New Layer
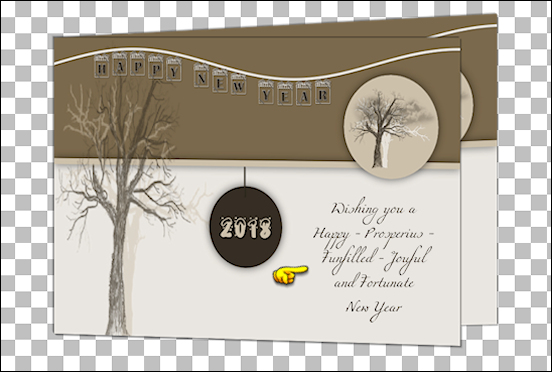
Move to the Bottom Right like this:
22
Layers - New Raster Layer
Brush Tool (B) Select "Staraccents002" from the drop down menu
Decorate your work with the star brush. You can resize the Brush and change colors to your taste.
23
Layers - Merge - Merge Visible
Add your name or
watermark
Edit Copy
Edit - Paste As New Image
save as PNG file and you're done!
If you wish you can post your result on my
Face book Page 