The tutorial:
01
Maximize
"389_KaD_Promise_Alfakanaal"
from tray
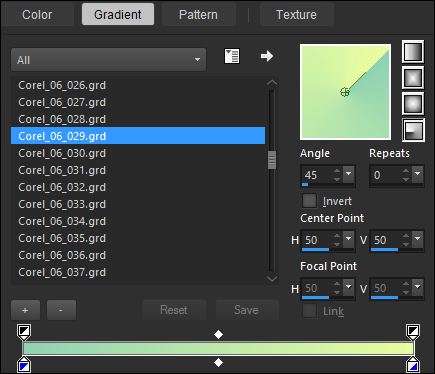
Fill with the
Gradient

02
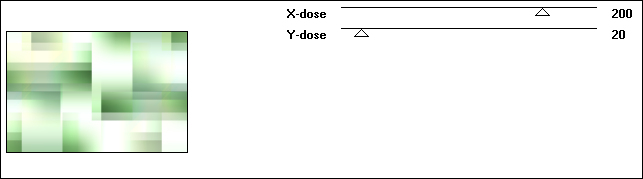
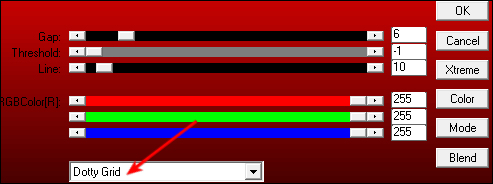
Effects - Plugins
- VM Natural - Weave
Distortion

Layers -
Duplicate
Image - Mirror -
Mirror Horizontal
(Image - Mirror in
older versions of
PSP)
Image - Mirror -
Mirror Vertical
(Image - Flip in
older versions of
PSP)
Layer Palette:
Change the Blend
Mode to Overlay
Layers - Merge -
Merge Visible
03
Effects - Plugins
- Toadies - What Are
You?
Effects - Plugins
- [AP] Utility -
Reflections
Effects - Edge
Effects - Enhance
04
Layers -
Duplicate
Image - Resize -
80% - Resize All
Layers - not
checked
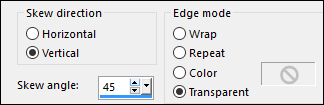
Effects - Geometric Effects -
Skew
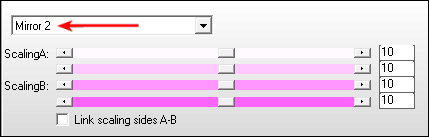
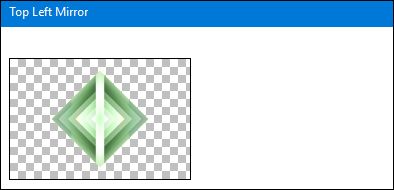
Effects - Simple
Filters - Top Left
Mirror
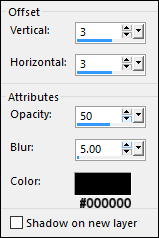
Effects 3D
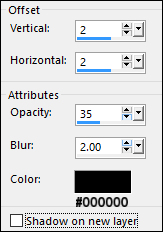
Effects - Drop
Shadow
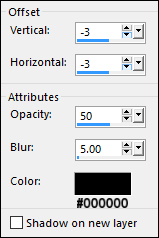
Effects - 3D
Effects - Drop
Shadow
05
Maximize
"KaD_Woman_77
from tray
Erase the
watermark
Edit - Copy
On your work
image: Edit -
Paste - Paste As New
Layer
Image - Resize -
50% - Resize All
Layers - not
checked
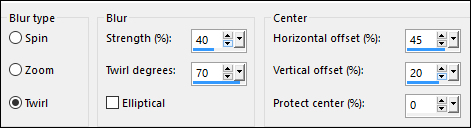
Adjust - Blur -
Radial Blur
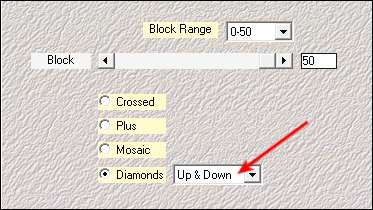
Effects - Plugins
- Mehdi - Sorting
Tiles
Effects - Edge
Effects - Enhance
06
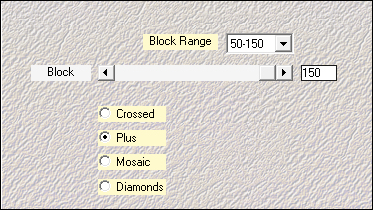
Effects - Plugins
- Mehdi - Sorting
Tiles
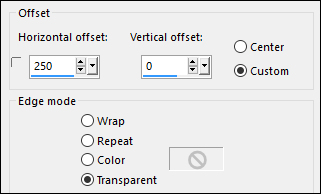
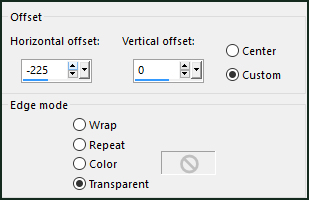
Effects - Image
Effects - Offset
Layer Palette:
Change the Blend
Mode of this Layer
to Overlay
07
Layers -
Duplicate
Layer Palette:
Change the Blend
Mode of this Layer
to
Luminance(Legacy)
and lower the
Opacity to 50
Layers - Merge -
Merge Down
Layers - Arrange
- Move Down
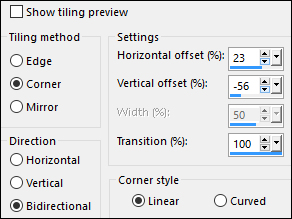
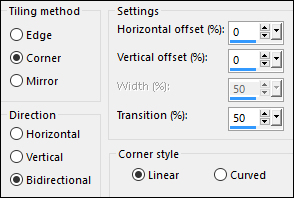
Effects - Image
Effects - Seamless
Tiling
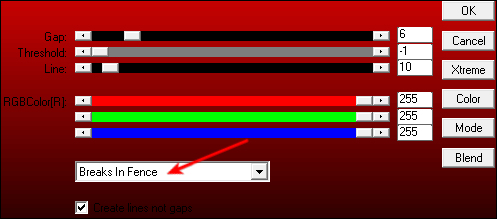
Effects - Plugins
- AP 01
(Innovations) -
Lines - SilverLining
Adjust -
Sharpness - Sharpen
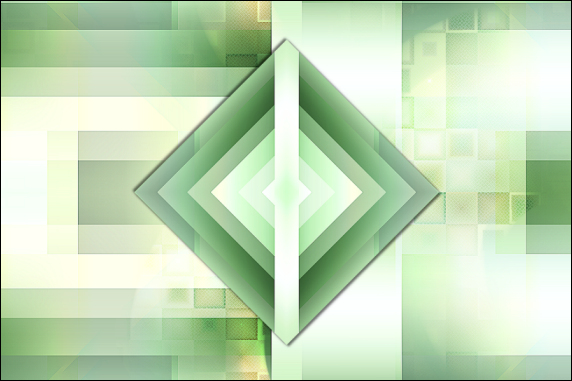
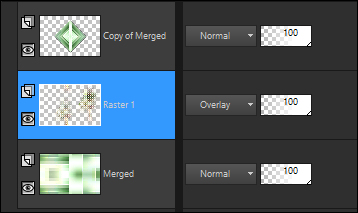
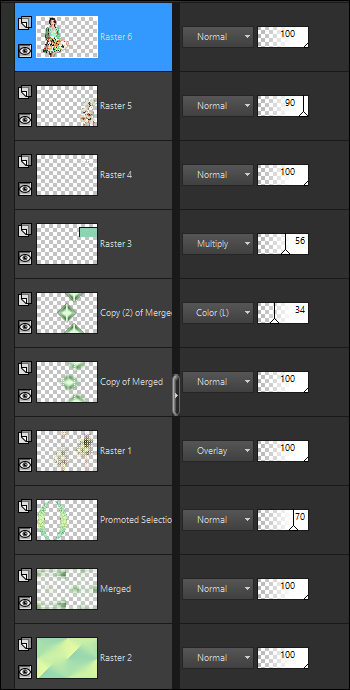
Your work and
Layer Palette look
like this now:
08
Layer Palette:
Click on the Top
Layer
Image - Resize -
60% - Resize All
Layers - not
checked
Effects - Image
Effects - Seamless
Tiling

09
Layers -
Duplicate
Click on the
Layer below (Copy of
Merged)
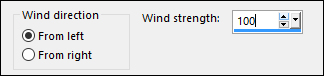
Effects -
Distortion Effects -
Wind
Effects - Plugins
- AP 01
(Innovations) -
Lines - SilverLining
10
Layer Palette:
Click on the Top
Layer
Change the Blend
Mode of this Layer
to Color(Legacy)
and lower the
Opacity to 34
Click on the
Bottom Layer
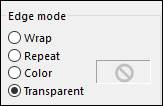
Effects - Plugins
- Filters Unlimited
2.0 - Transparency -
Eliminate White
Layers - New
Raster Layer
Fill the Layer
with the Gradient
Layers - Arrange
- Move Down
Effects - Image
Effects - Seamless
Tiling
11
Color Palette:
Set the Foreground
Gradient back to
Color - #8dd0af

Set the
Backgroundcolor to
#142a1f

Layer Palette:
Click on the Top
Layer
Layers - New
Raster Layer
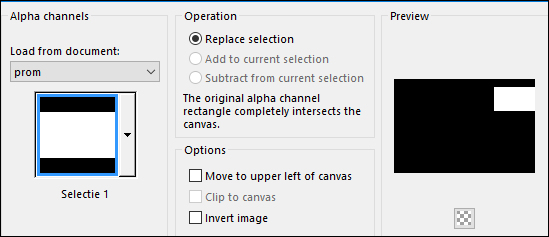
Selections -
Load/Save - Load
Selection From Alpha
Channel - "selectie
1"
Fill the
Selection with the
Backgroundcolor -
Selections -
Modify - Contract -
3px
Fill the
Selection with the
Foregroundcolor -
Selections -
Modify - Contract -
2px
Fill the
Selection with the
Backgroundcolor -
Selections -
Modify - Contract -
3px
Fill the
Selection with the
Foregroundcolor -
Selections -
Select None
Layer Palette:
Change the Blend
Mode to Multiply
and lower the
Opacity to 56
12
Maximize
"389_KaD_Text1"
from tray
Edit - Copy
On
your work image:
Edit - Paste - Paste
As New Layer
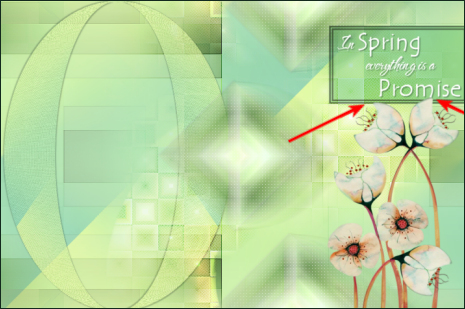
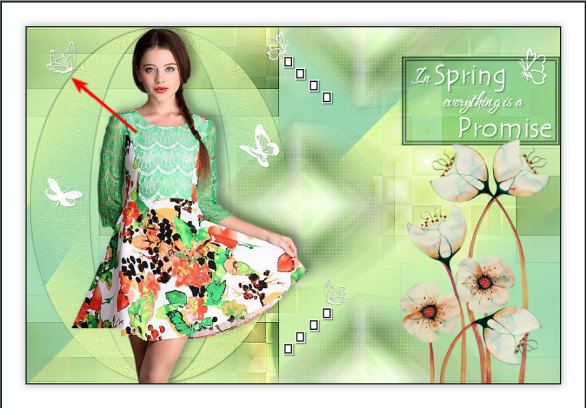
Move the Text
inside the frame
like this:

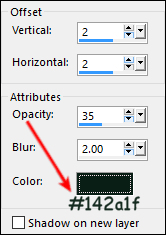
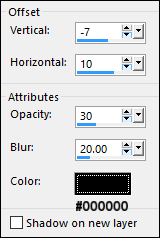
Effects - 3D
effects - Drop
Shadow
13
Layer Palette:
Click on the Bottom
Layer
Selections -
Load/Save - Load
Selection From Alpha
Channel - "selectie
3"

Selections -
Promote Selection to
Layer
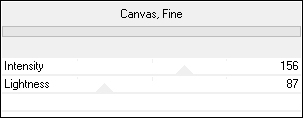
Effects - Plugins
- Filters Unlimited
- Paper Textures -
Canvas - Fine
Selections -
Select None
Effects -
Geometric Effects -
Circle
Layers - Arrange
- Move Up
14
Layers -
Duplicate
Image - Mirror -
Mirror Horizontal
(Image - Mirror in
older versions of
PSP)
Layers - Merge -
Merge Down
Effects - Image
Effects - Offset
Effects - 3D
Effects - Drop
Shadow
Repeat the Drop
Shadow with V & H at
- Minus 2
Layer Palette:
Lower the Opacity of
this Layer to 70
15
Maximize "Alies
1FP799-flowers-22122013"
from tray
Edit - Copy
On your work
image: Edit -
Paste - Paste As New
Layer
Layers - Arrange
- Bring to Top
Image - Resize -
63% - Resize All
Layers - not
checked
Move to the
Bottom Right like
this:
Effects - 3D
Effects - Drop
Shadow
Layer Palette:
Lower the Opacity of
this Layer to 90
16
Maximize
"KaD_Woman_77" from
tray
Edit - Copy
On your work
image: Edit -
Paste - Paste As New
Layer
Image - Mirror -
Mirror Horizontal
(Image - Mirror in
older versions of
PSP)
Image - Resize -
80% - Resize All
Layers - not
checked
Move to the Left
side of your work
like this:
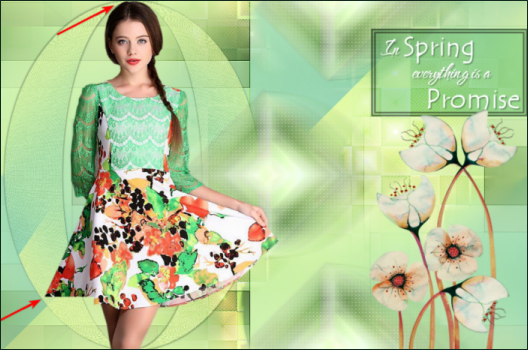
Adjust -
Sharpness - Sharpen
Effects - 3D
Effects - Drop
Shadow
Your work and
Layer Palette look
like this now:
17
Color Palette:
Set the
Foregroundcolor to -
#142a1f
Set the
Backgroundcolor to -
#ffffff

Layers - New
Raster Layer
Selections -
Load/Save - Load
Selection From Alpha
Channel - "selectie
2"

Fill the
Selection with the
Backgroundcolor
Selections -
Modify - Contract -
2px
Fill the
Selection with the
Foregroundcolor
Selections -
Modify - Contract -
2px
Fill the
Selection with the
Backgroundcolor
Selections -
Select None
Effects - 3D
Effects - Drop
Shadow
Adjust -
Sharpness - Sharpen
18
Image - Add
Borders - 2px -
Foregroundcolor
Selections -
Select All
Image - Add
Borders - 40px -
Backgroundcolor
Effects - 3D
Effects - Drop
Shadow

Selections -
Select None
Image - Add
Borders - 2px -
Foregroundcolor
19
Image - Resize -
900px - Resize All
Layers - checked
Maximize
"389_KaD_Deco1"
from tray
Edit - Copy
On your work
image: Edit -
Paste - Paste As New
Layer
Position the
Butterflies like
this:
Layers - Merge -
Merge All Flatten
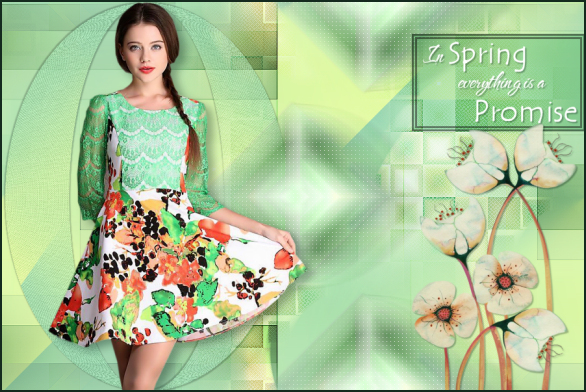
20
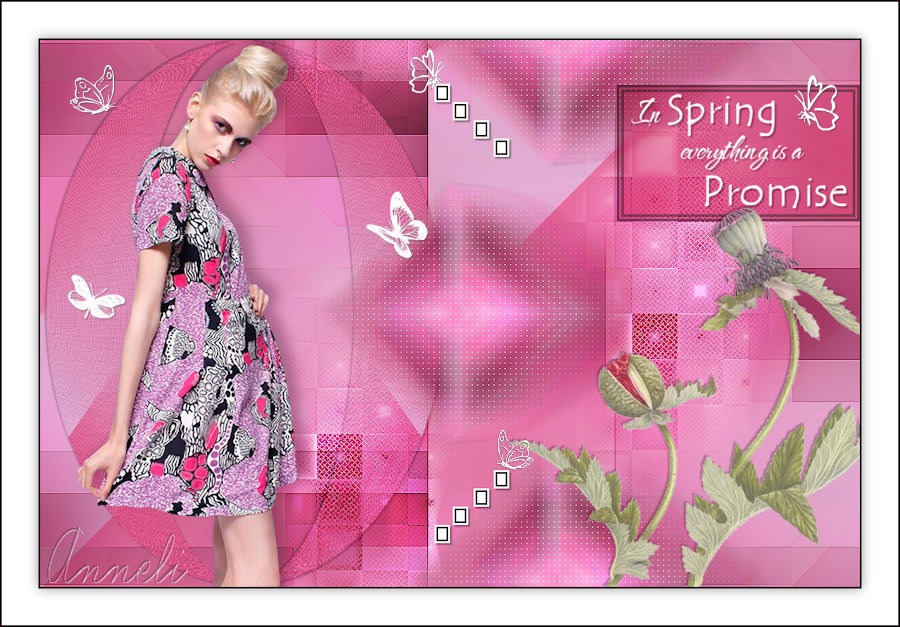
Add your name or watermark, save as JPG
file and you're done!