Selections - Select None
Effects - Image Effects - Seamless Tiling - Default
settings
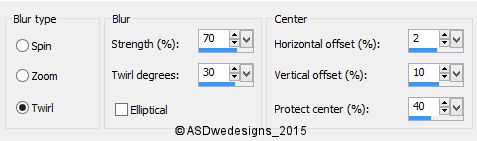
Adjust - Blur - Radial Blur
Layers - Merge -
Merge all (Flatten)
02
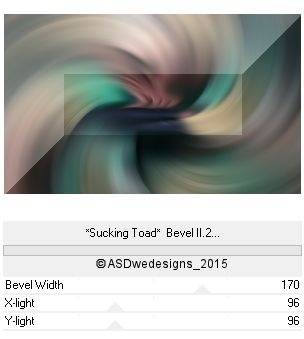
Effects - Plugins - <I.C.NET Software> - Filters Unlimited 2.0 - Toadies - *Sucking Toad* Bevel II.2
Note: Use
the TOADIES filters through Filters Unlimited otherwise the result
might be different
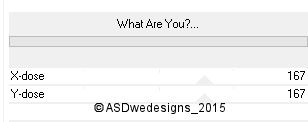
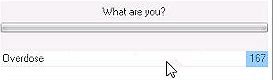
Effects - Plugins - <I.C.NET Software> - Filters Unlimited 2.0 - Toadies
- What Are You? ( If you have a different version: Overdose 167)
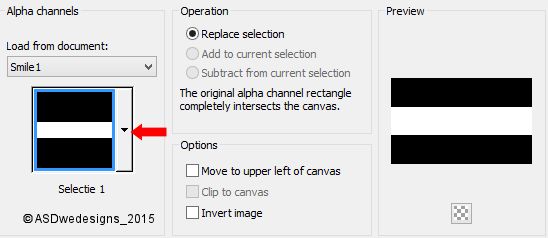
Selections
- Load/Save
Selection - Load
Selection From Alpha
Channel - Selectie 1
Selections - Promote Selection to Layer
Selections - Select None
Image - Free Rotate - Right
checked - 90°
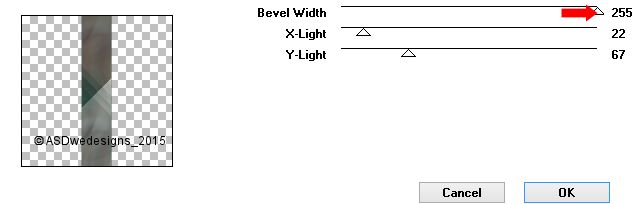
Effects - Plugins Filter Factory Gallery G - Bevel 1.5
03
Layer Palette - Click on the Bottom
Layer
Selections - Select All
Image - Crop To Selection
04
Layer Palette - Click on the Top
Layer
Effects - Plugins - <I.C.NET Software> - Filters Unlimited 2.0 - Convultion
Filters - Sharpen
05
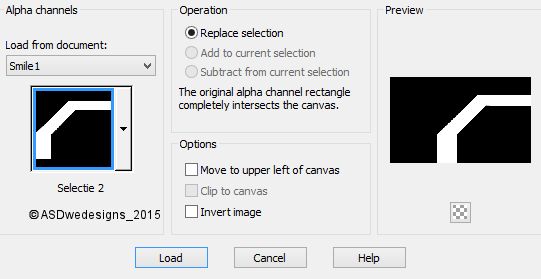
Layers - New Raster Layer
Selections - Load/Save Selection - Load Selection From Alpha Channel - Selectie 2
Fill the
Selection with the
Backgroundcolor
 (Right Mouse Click)
Selections - Modify - Contract - 10 px
Fill the Selection with the Foregroundcolor

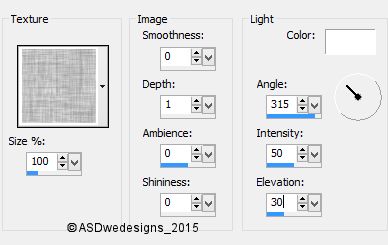
Effects - Texture Effects - Texture
- Hatch Fine (Corel_15_021)
Selections -
Select None
06
Layers - Duplicate
Image - Mirror
Image - Flip
Layers - Merge - Merge Down
Effects - Edge Effects - Erode
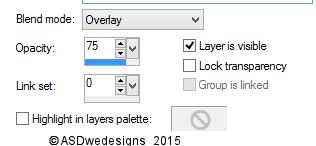
Layer Palette -
Double click on this Layer and set the Blend Mode to
"Overlay" and the Layer Opacity to 75
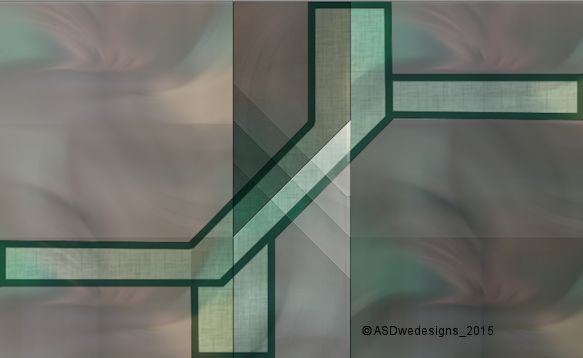
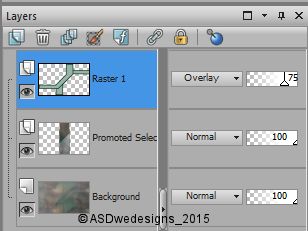
Your work and
Layer Palette look
like this now:
07
Color Palette: Change the Foregroundcolor to #ffffff

Layers - New Raster Layer
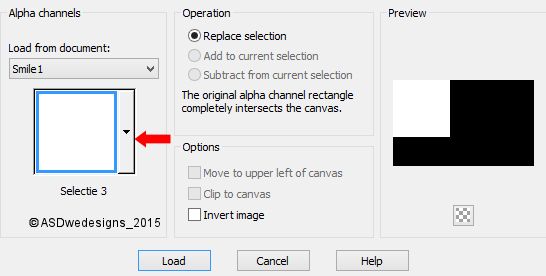
Selections - Load/Save Selection - Load Selection From Alpha Channel - Selectie 3
Flood Fill Tool
 - Set the Opacity to 50
Fill the Selection with the Foregroundcolor
Set the Opacity of the Flood Fill Tool back to 100
Layers - Load/Save
Mask - Load Mask
from Disk - -
1250181046_masques
Layers - Merge - Merge Group
Selections - Select None
08
Layers - Duplicate
Image - Mirror
Image - Flip
Layers - Merge - Merge Down
Effects - Image Effects - Seamless
Tiling
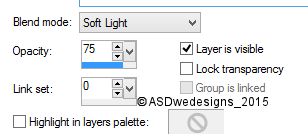
Layer Palette -
Double click on this Layer and set the Blend Mode to
"Soft Light" and the Layer Opacity to 75
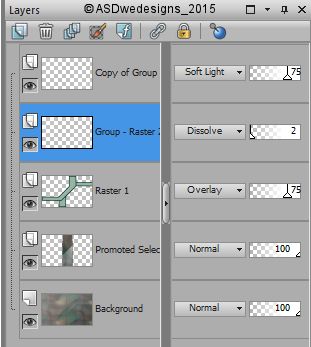
09
Layers - Duplicate
Layer Palette - Click on the Second Layer from the Top
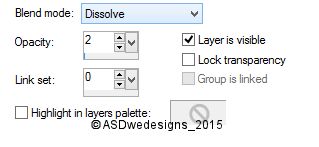
Layer Palette -
Double click on this Layer and set the Blend Mode to
"Dissolve" and the Layer Opacity to 2
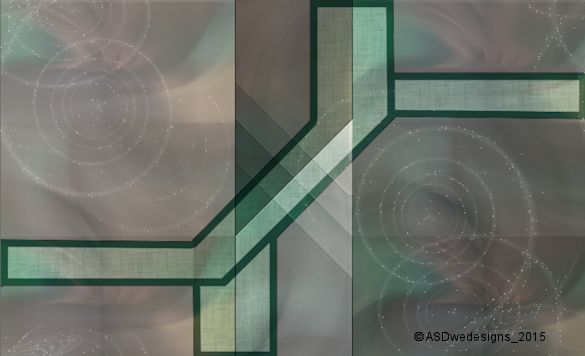
Your work and Layer Palette look
like this now:
10
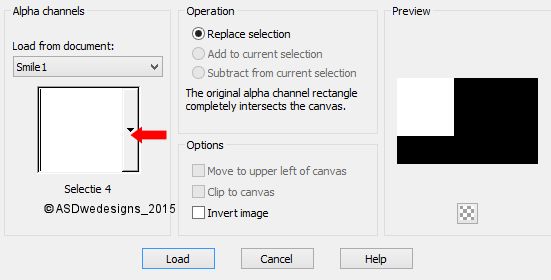
Layer Palette - Click on the Top
Layer
Selections - Load/Save Selection - Load Selection From Alpha Channel - Selectie 4
Maximize Tube "Mina@.Karlie.16.14" from
tray
Edit - Copy
On your work image: Edit - Paste
As New Layer
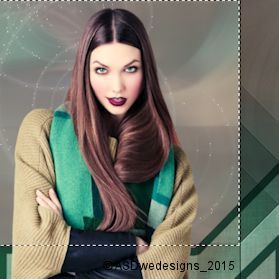
Image - Resize - 80% - Resize
all Layers not checked
Move into the
Selection like this:
Selections - Invert
Edit - Cut (Or hit the Delete Key of
your Keyboard)
Selections - Select None
Layer Palette -
Double click on this Layer and set the Blend Mode to
"Luminance (Legacy)" and the Layer Opacity to
90
Adjust - Sharpness - Unsharp Mask -
Radius
2 - Strength
8 - Clipping
2 - Luminance Only
not Checked
11
Layers - Duplicate
Layer Palette - Click on the
original tube Layer
Adjust - Blur - Gaussian Blur - 5
Effects - Distortion Effects - Wind
- From Left checked - Wind Strength:
50
Effects - Distortion Effects - Wind
- From Right checked - Wind Strength:
50
12
Layer Palette - Click on the Third Layer from the Top
Open Tube "355_KaD_Text"
Edit - Copy
On your work image: Edit - Paste
As New Layer
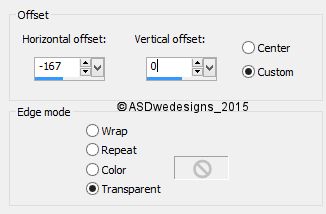
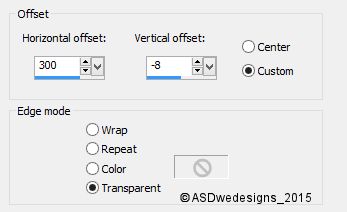
Effects - Image
Effects - Offset
Layers - Merge - Merge all (Flatten)
13
If you wish you can use the Script
"355_KaD_Script_Punto40.PspScript" from the materials for this step,
you can change the colors as you go
If not:
Image - Add Borders - Symmetric
checked - 1 px -
Color #023629
Image - Add Borders - Symmetric
checked - 3 px -
Color #ffffff
Image - Add Borders - Symmetric
checked - 1 px -
Color #023629
Selections - Select All
Image - Add Borders - Symmetric
checked - 45 px -
Color #ffffff
Effects - 3D Effects -
Dropshadow -
Color #000000

Selections - Select None
14
Image - Add Borders - Symmetric
checked - 1 px -
Color #023629
Image - Add Borders - Symmetric
checked - 3 px -
Color #ffffff
Image - Add Borders - Symmetric
checked - 1 px -
Color #023629
15
Open Tube "Mina@.Karlie.16.14"
Edit - Copy
On your work image: Edit - Paste
As New Layer
Image - Resize - 80% - Resize all
Layers not checked
Effects - Image
Effects - Offset
Effects - Plugins -
Alien Skin Eye Candy
5 - Impact -
Perspective Shadow
- Settings
Tab:
Preset
355_KaD_EC_Impact
Layers - Merge - Merge all (Flatten)
16
Image - Resize - Width 900 px - Resize
all Layers checked