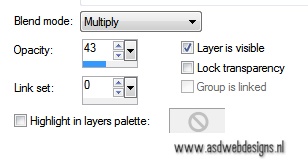
Color
Palette: Change
the
Foregroundcolor
to
#def2f4

Layers - New
Raster Layer
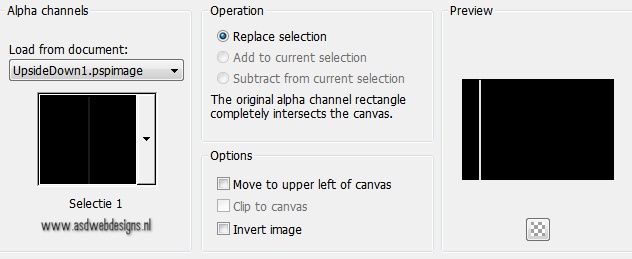
Selections -
Load/Save Selection
- Load Selection
From Alpha Channel -
Selectie 1
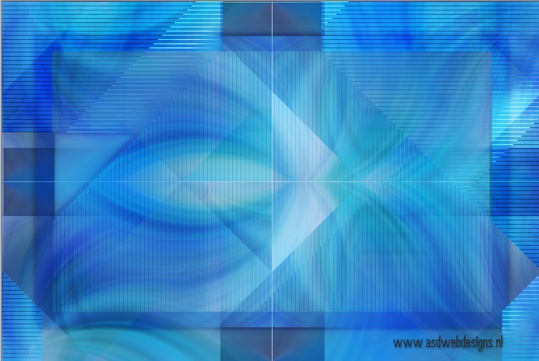
Fill the
Selection with the
Foregroundcolor
Selections -
Select None
11
Layers -
Duplicate
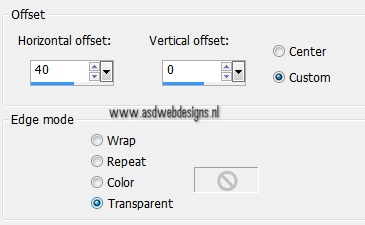
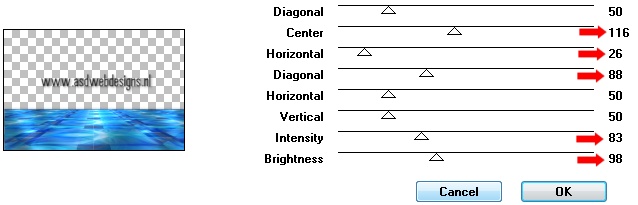
Effects - Image
Effects - Offset
Layers -
Duplicate
Effects - Image
Effects - Offset -
Same Settings
Layers - Merge - Merge Down
Edit - Repeat
Layer Merge Down
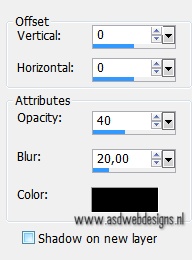
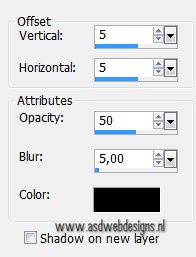
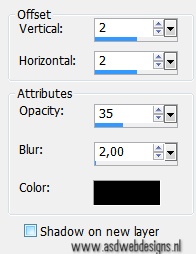
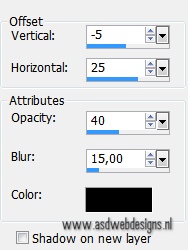
Effects 3D
Effects - DropShadow
- Color: #000000

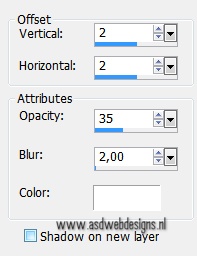
Effects 3D
Effects - DropShadow
- Color: #ffffff

Layer Palette - Click on the Bottom
Layer
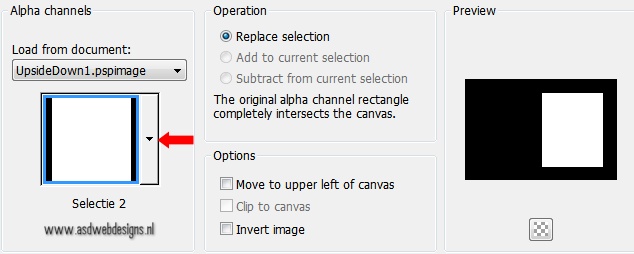
Selections -
Load/Save Selection
- Load Selection
From Alpha Channel -
Selectie 2
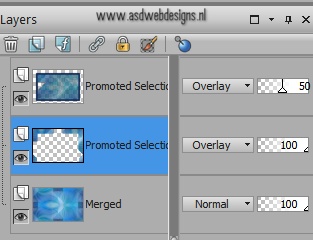
Selections -
Promote Selection to
Layer
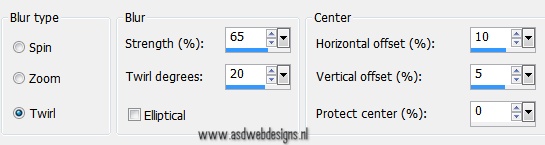
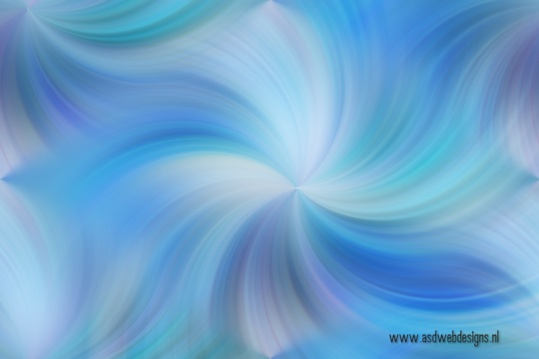
Adjust - Blur - Radial Blur - Same
Settings
12
Maximize Tube "Alies 1VR764-woman-26112013" From
Tray
Edit - Copy
Minimize to tray again
On your work image: Edit - Paste
as New Layer
Move into the
Selection like this:
Selections -
Invert
Edit - Cut (Or hit
the Delete Key of
your Keyboard)
Selections -
Select None
Effects 3D
Effects - DropShadow
- Color: #000000
Layers - New Raster Layer
Selections -
Load/Save Selection
- Load Selection
From Alpha Channel -
Again Selectie 2
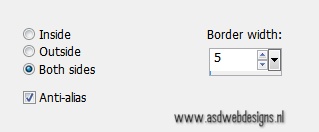
Selections - Modify - Select
Selection Borders
Fill the Selection
with the
Foregroundcolor
Selections -
Select None
Layers - Merge - Merge Down
Edit - Repeat
Layer Merge Down
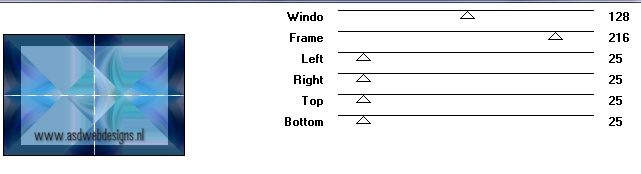
Image - Resize - 60% - Resize
all Layers not checked
Effects - Image
Effects - Offset
Effects 3D
Effects - DropShadow
- Color: #000000
14
Layer Palette - Click on the Bottom
Layer
Edit - Copy
Layers - New
Raster Layer
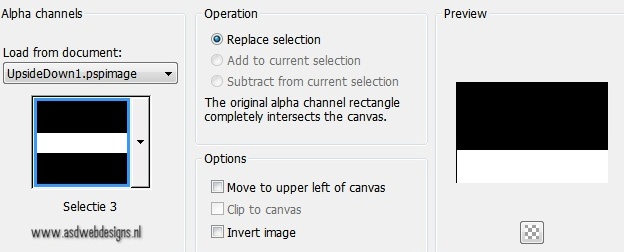
Selections -
Load/Save Selection
- Load Selection
From Alpha Channel -
Selectie 3
Edit - Paste into Selection (Image is still in your PSP memory)
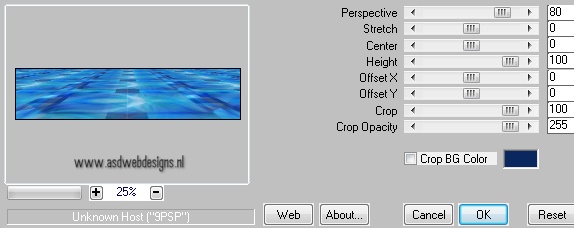
Effects - Plugins -
MuRa's Meister -
Perspective Tiling
Selections -
Select None
Effects 3D
Effects - DropShadow
- Color: #000000
Effects - Plugins - Graphics
Plus - Cross Shadow
15
Layer Palette - Click on the top
Layer
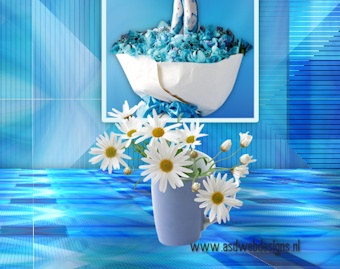
Open Tube "DAISIES-IN-A-MUG_TUBEDBYGINI_09-20-05"
Edit - Copy
On your work image: Edit - Paste
as New Layer
Image - Resize - 50% - Resize
all Layers not checked
Move to the Right
like this:
Adjust - Sharpness - Unsharp Mask
Adjust - Sharpness - Unsharp Mask -
Radius
2 - Strength
28 - Clipping
2 - Luminance Only
NOT Checked
Effects 3D
Effects - DropShadow
- Color: #000000
Effects - Plugins -
Alien Skin Eye Candy
5 - Impact -
Perspective Shadow - Settings Tab:
Preset
337_KaD_PerspShadow
16
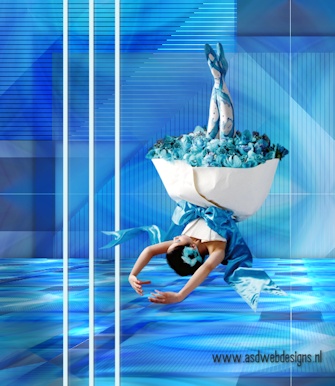
Maximize Tube "Alies 1VR764-woman-26112013" From
Tray
Edit - Copy
You can close it now
On your work image: Edit - Paste
as New Layer
Image - Resize - 65% - Resize
all Layers not checked
Effects - Image
Effects - Offset
Move to the Left
like this:
Adjust - Sharpness - Unsharp Mask -
Radius
2 - Strength
28 - Clipping
2 - Luminance Only
NOT Checked
Effects 3D
Effects - DropShadow
- Color: #000000
Effects - Plugins -
Alien Skin Eye Candy
5 - Impact -
Perspective Shadow - Settings Tab:
Preset
337_KaD_PerspShadow
Layers - Arrange
- Move Down
Edit - Repeat
Arrange Layer
17
Color Palette:
Change the
Foregroundcolor to
#ffffff
Layer Palette - Click on the top
Layer
Layers - New Raster Layer
Fill with the
Foregroundcolor
Selections -
Select All
Selections - Modify - Contract
- 25 px
Edit - Cut (Or
hit the Delete Key
of your Keyboard)
Fill with the Backgroundcolor

Selections - Modify - Contract
- 1 px
Edit - Cut (Or
hit the Delete Key
of your Keyboard)
Selections - Modify - Expand
- 1 px
Effects 3D Effects - DropShadow - Color: #000000
Selections -
Select None
18
Image - Add Borders - Symmetric
checked - 1 px -
Backgroundcolor
Add your name or watermark, save as JPG
file and you're done!