Open "339_KaD_Alfakanaal"
This image contains Alpha Selections
Window - Duplicate
(or shift+D) - Close the original and proceed on the copy
Fill with the Backgroundcolor

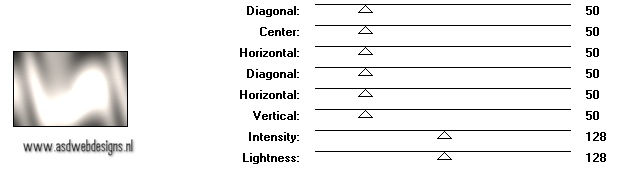
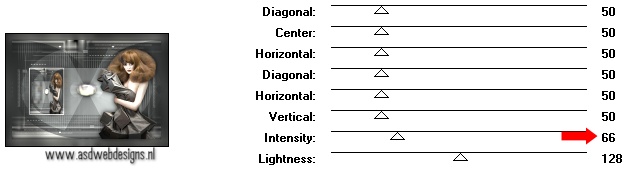
Effects - Plugins -
<I.C.NET Software> -
Filters Unlimited -
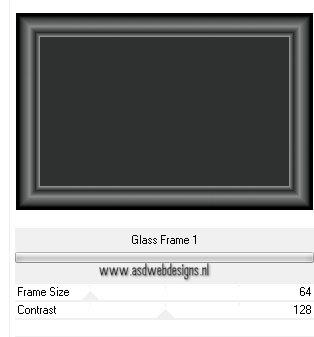
Buttons & frames -
Glass Frame 1
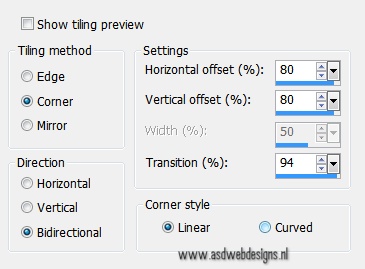
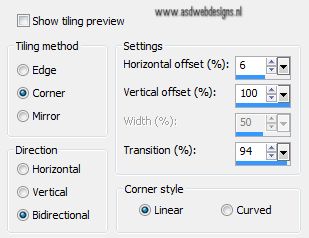
Effects - Image
Effects - Seamless
Tiling - Preset
Stutter diagonal
Effects - Image
Effects -
Seamless Tiling
-
Preset Side by
side
02
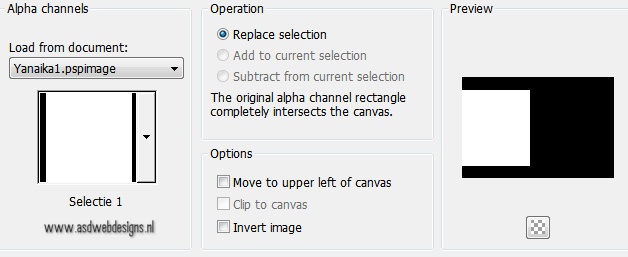
Selections -
Load/Save Selection
- Load Selection
From Alpha Channel
- Selectie 1
Selections -
Promote Selection to
Layer
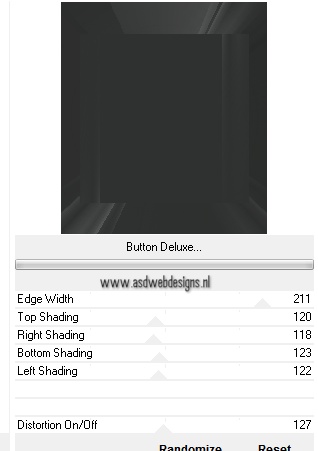
Effects - Plugins
- <I.C.NET Software>
- Filters Unlimited
- Filter Factory Gallery
B - Button Deluxe
Selections - Select None
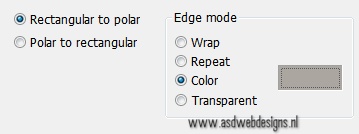
Effects -
Distortion Effects -
Polar Coordinates -
Foregroundcolor

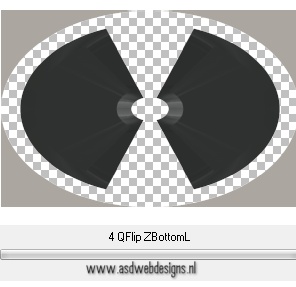
Effects - Plugins -
<I.C.NET Software> -
Filters Unlimited - &<Bkg Kaleidoscope>
- 4 QFlipZBottomL
Magic Wand Tool
 - Mode: Add /Shift -
Tolerance 0 -
Contiguous checked -
Anti Alias Checked -
Click in the 4 corners
- Mode: Add /Shift -
Tolerance 0 -
Contiguous checked -
Anti Alias Checked -
Click in the 4 corners
Selections invert
Selections - Promote
Selection to Layer
Selections -
Select None
Effects - Edge
Effects - Enhance
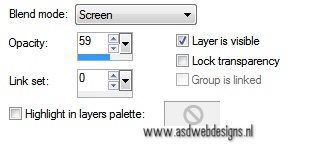
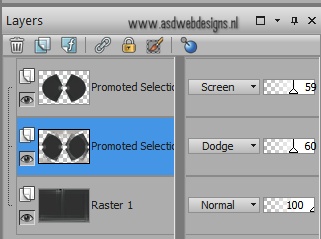
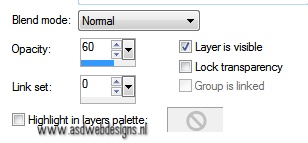
Layer Palette -
Double click on this Layer and set the Blend Mode to
"Screen" and the Layer Opacity to 59
03
Layer Palette - Click on the middle
Layer
Effects - Image
Effects - Seamless
Tiling -
Preset Side by
side
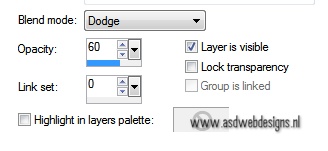
Layer Palette -
Double click on this Layer and set the Blend Mode to
"Dodge" and the Layer Opacity to
60
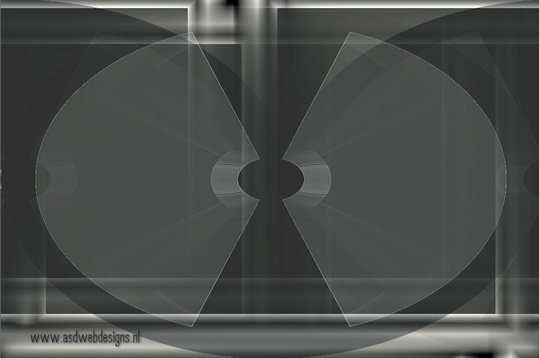
Your work and
Layer Palette look
like this now:
04
Layer Palette - Click on the Bottom
Layer
Layers - New
Raster Layer
Fill with the
Foregroundcolor
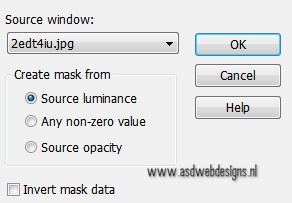
Layers - New Mask
Layer - From Image -
2edt4iu
Layers - Merge - Merge Group
Adjust -
Sharpness - Sharpen
More
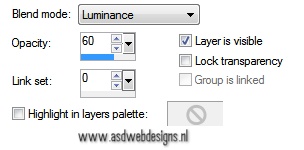
Layer Palette -
Double click on this Layer and set the Blend Mode to
"Luminance" and the Layer Opacity to
50
05
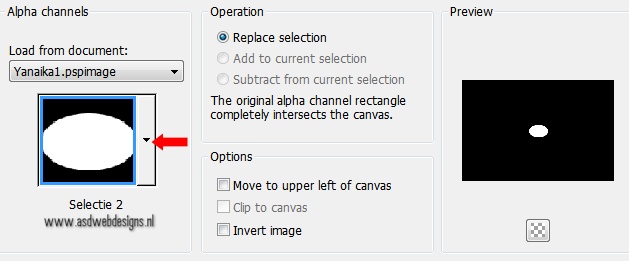
Selections -
Load/Save Selection
- Load Selection
From Alpha Channel
- Selectie 2
Selections -
Promote Selection to
Layer
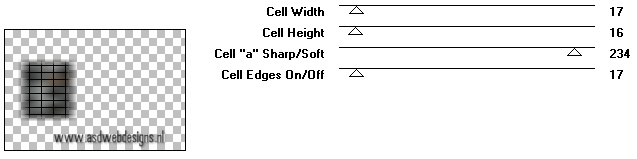
Effects - Plugins -
Tramages - Pool
Shadow
Effects - Plugins -
Alien Skin Eye Candy
5 - Impact - Glass
- Settings
Tab:
Preset
Clear, with
reflection
Note:
When using different
colors, you can
change the glass
color in at the
basic tab.
Selections - Select None
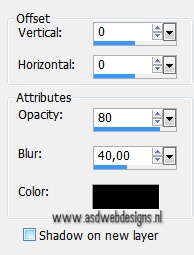
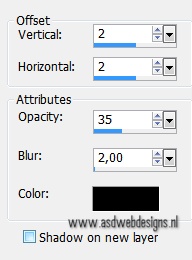
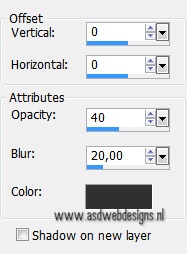
Effects 3D
Effects - DropShadow
- Color: #000000

06
Layers -
Duplicate
Image - Resize -
15% - Resize
all Layers not
checked
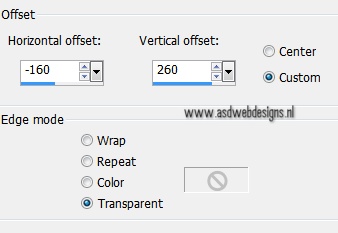
Effects - Image
Effects - Offset
Effects - Plugins
- Simple - Top
Left Mirror
07
Layer Palette - Click on the top
Layer
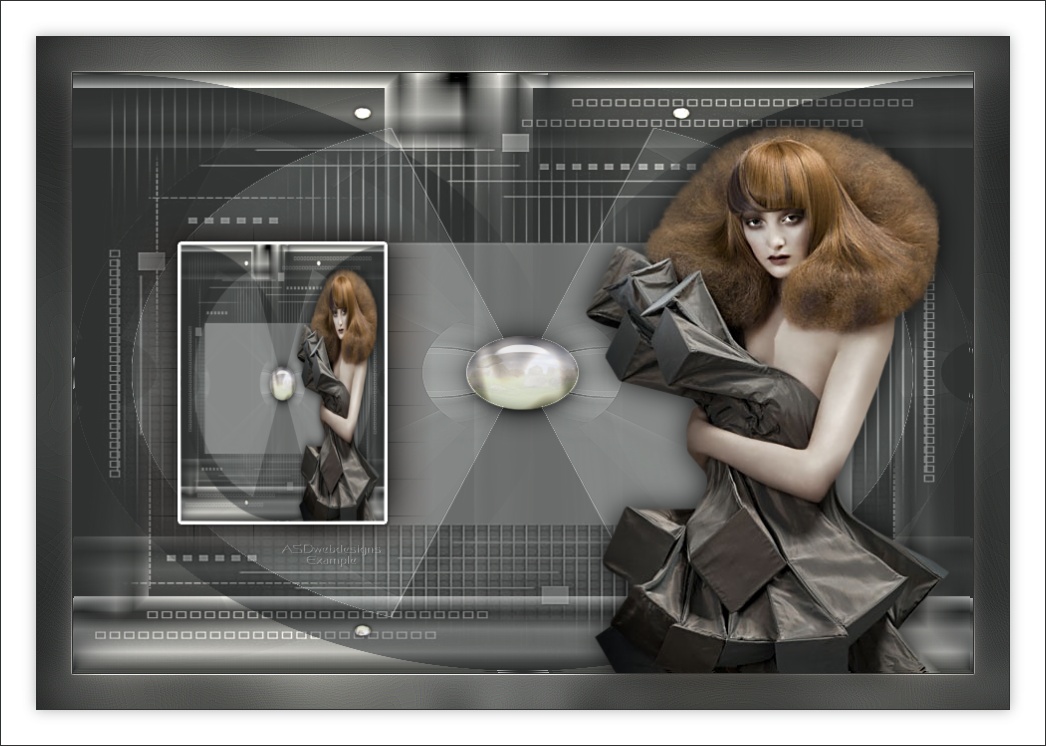
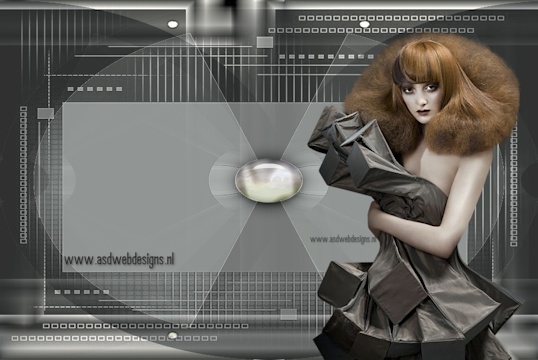
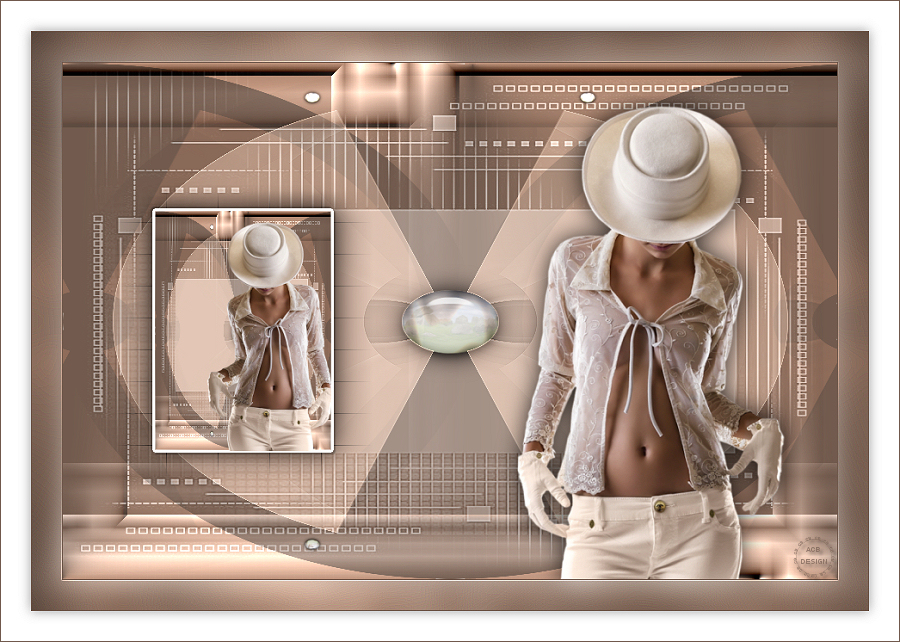
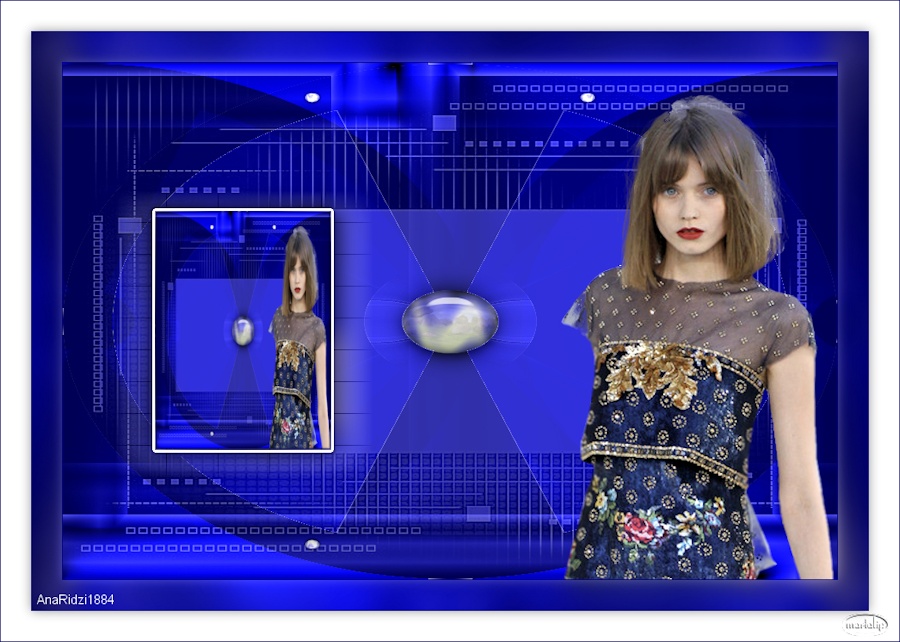
Open Tube "SvB (828) Beauty"
Edit - Copy
On your work image: Edit - Paste
As New Layer
Move to the right
like this:
Effects
3D Effects -
DropShadow -
Color:
#000000
08
Edit - Copy Special - Copy
Merged ( if you do not have this
option - merge visible and copy,
then undo the last
step)
09
Color Palette:
Change your
Foregroundcolor to
#ffffff

Layers - New
Raster Layer
Selections -
Load/Save Selection
- Load Selection
From Alpha Channel
- Selectie 3
Edit - Paste Into
- Selection
Selections - Modify - Select
Selection Borders
Fill with the
Foregroundcolor
Selections -
Select None
Effects
3D Effects -
DropShadow -
Color:
#000000
Repeat with the Vertical and
Horizontal Offset to Minus 2
Adjust - Blur - Gaussian Blur -
15
Effects - Plugins
- Tramages - Pool
Shadow
Effects - Edge Effects - Enhance
More
Selections
- Invert
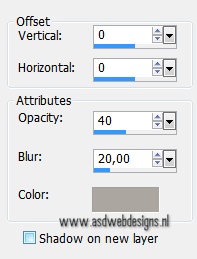
Effects 3D
Effects - DropShadow
- Color:
#aca6a0
Selections -
Select None
13
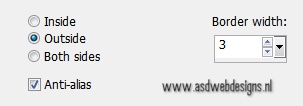
Image - Add Borders - Symmetric
checked - 1 px -
Backgroundcolor
Selections -
Select All
Image - Add Borders - Symmetric
checked - 35 px -
Foregroundcolor
Effects 3D
Effects -
DropShadow -
Color:
#000000
Selections -
Select None
14
Image - Add Borders - Symmetric
checked - 1 px -
Backgroundcolor
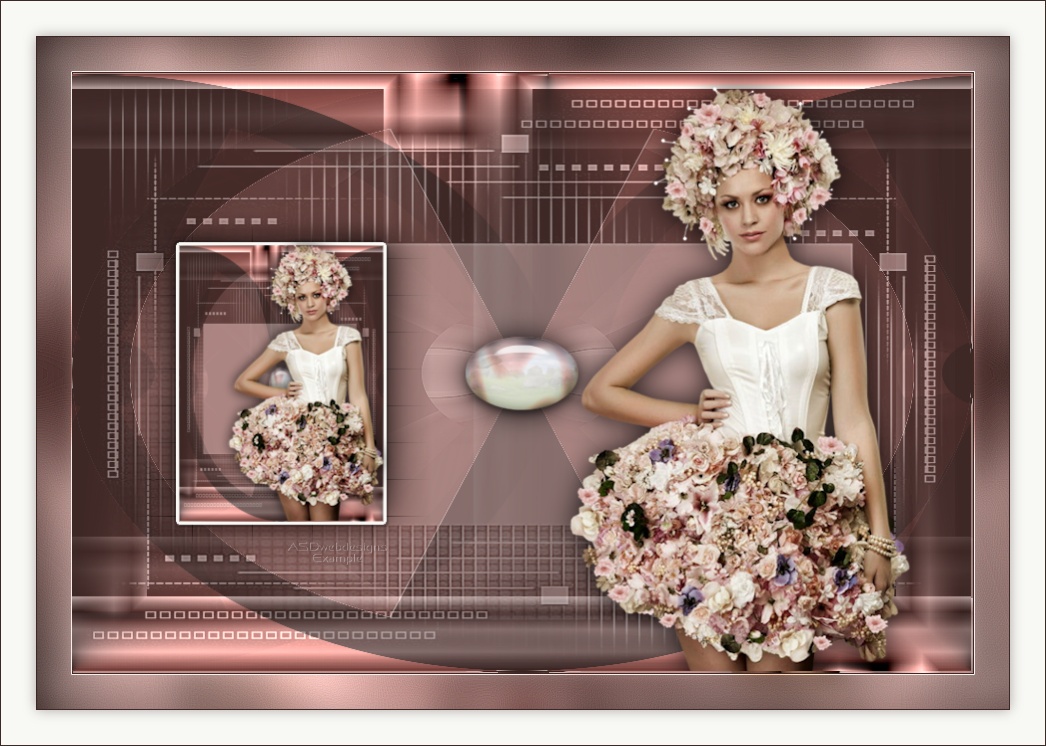
Add your name or watermark, save as JPG
file and you're done!