The tutorial:
01
Maximize Tube "430_KaD_Alfakanaal" from tray
Window - Duplicate
(or shift+D) - Close the original
and proceed on the copy
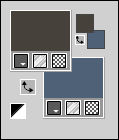
Open the Color Chart
in PSP.
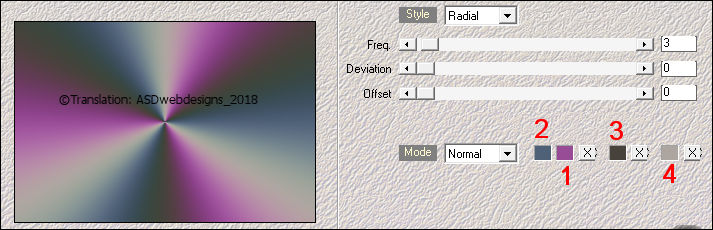
Effects - Plugins -
Mehdi - Wavy Lab 1.1
( The numbers
correspond to the
numbers on the Color
Chart, you can
select them by
double Clicking on
the color in Mehdi
and use the Dropper
Tool on the Color
Chart)
Adjust - Blur -
Gaussian Blur -
Radius 40
Effects - Plugins -
Tramages - Pool
Shadow - Default
Effects - Plugins -
<I.C.NET
Software>
Filters
Unlimited 2.0 -
&Bkg Kaleidoscope> -@BlueBerry
Pie
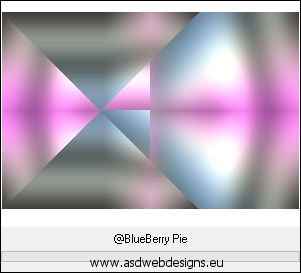
Effects - Image
Effects - Seamless
Tiling - Default
settings
02
Layers - Duplicate
Layer Palette -
Double click on this Layer and set the Blend Mode to
"Multiply" and the Layer Opacity to 50
Layers - Merge -
Merge Down
Adjust - Sharpness -
Sharpen
03
Layers - Duplicate
Image - Free Rotate - Right
checked - 90° -
Both boxes unchecked
Image - Resize - 80%
- Resize all Layers
not checked
Adjust - Blur -
Gaussian Blur -
Radius 15
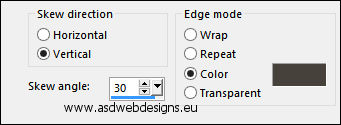
Effects - Geometric Effects - Skew -
Color
#47423c
 (3)
(3)
04
Layer Palette -
Click on the Bottom
Layer
Selections - Select
All
Layer Palette -
Click on the Top
Layer
Image - Crop to selection
05
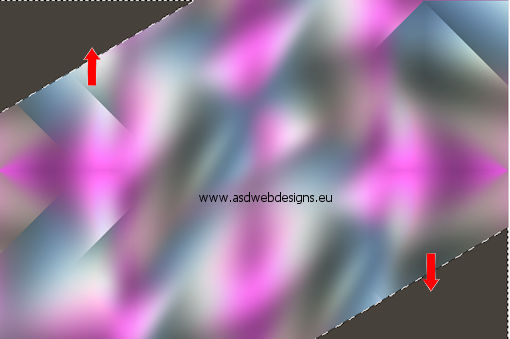
Magic Wand Tool
 - Mode: Add /Shift -
Tolerance 0 -
Contiguous checked -
Anti Alias Checked -
Click in the
two Grey triangle
shapes in the
corners
- Mode: Add /Shift -
Tolerance 0 -
Contiguous checked -
Anti Alias Checked -
Click in the
two Grey triangle
shapes in the
corners
Selections - Promote
Selection to Layer
Layer Palette - Click on the
Middle Layer (Copy
of Raster 1)
Edit - Cut (Or hit the Delete Key of
your Keyboard)

Selections - Select None
Layer Palette -
Click on the Top
Layer
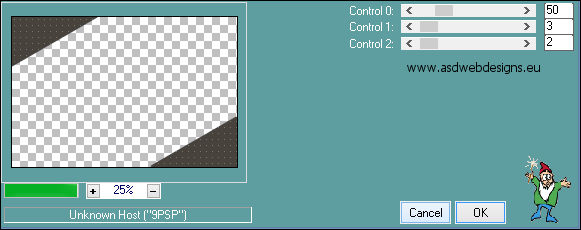
Effects - Plugins -
Carolaine and
Sensibility -
CS-LDots
- Default settings
06
Layers - Duplicate
Image - Mirror -
Mirror Horizontal
Layers - Merge -
Merge Down
Layers - Arrange -
Move Down
Layer Palette -
Double click on this Layer and set the Blend Mode to
"Overlay"
Layer Palette -
Click on the Top
Layer
Layer Palette -
Double click on this Layer and set the Blend Mode also to
"Overlay"
Layers - Merge -
Merge Visible
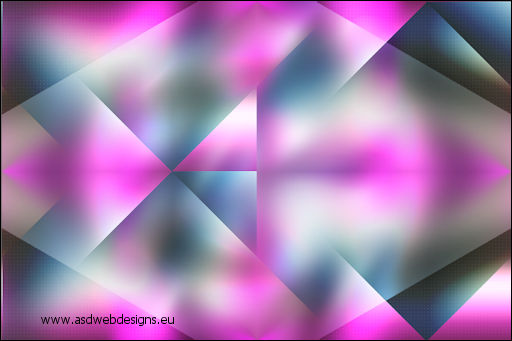
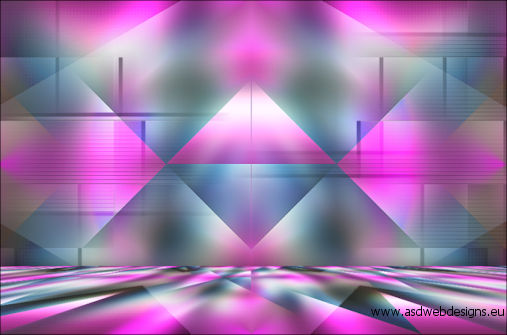
Result:
07
Layers - Duplicate
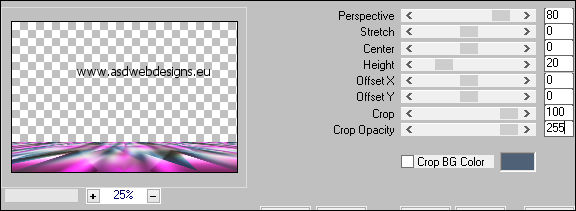
Effects - Plugins -
MuRa's Meister -
Perspective Tiling
Effects - 3D Effects - Drop
Shadow - Vertical &
Horizontal 0 - Opacity 60
- Blur 50 - Color #000000
08
Layer Palette - Click on the Bottom Layer
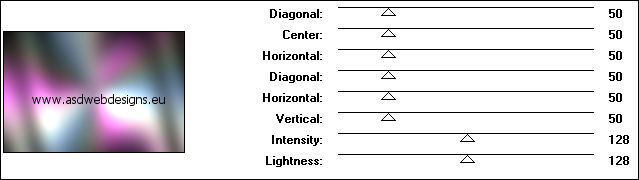
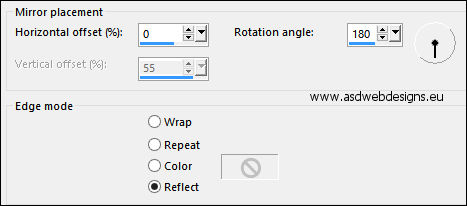
Effects - Reflection
Effects - Rotating
Mirror
Selections - Load/Save Selection - Load Selection From Alpha Channel
- Selectie 1
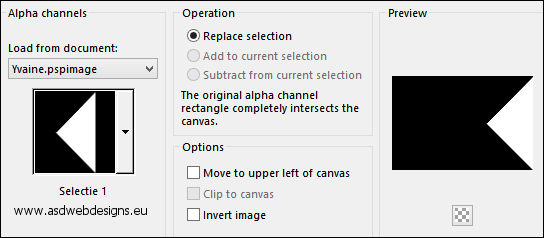
Selections - Promote Selection to Layer
Adjust - Blur - Gaussian Blur - Radius 15
Keep selected
09
Color
Palettte: Change the Foregroundcolor to #47423c (3)
Layers - New Raster
Layer
Fill the Selection with the
Foregroundcolor
Selections - Modify
- Contract - 5 px
Edit - Cut (Or hit the Delete Key of
your Keyboard)
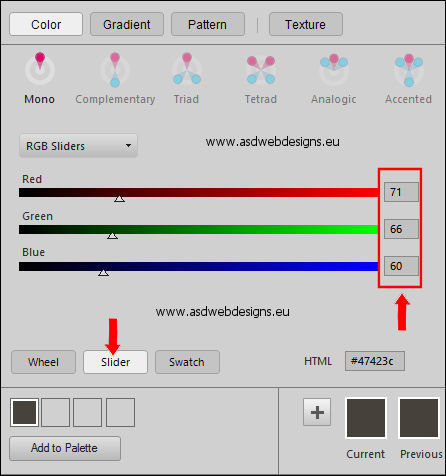
Write down the RGB numbers of your
Foregroundcolor.
In PSP2018: Double Click on the
Foregroundcolor, click on Slider:
Layers - Merge - Merge Down
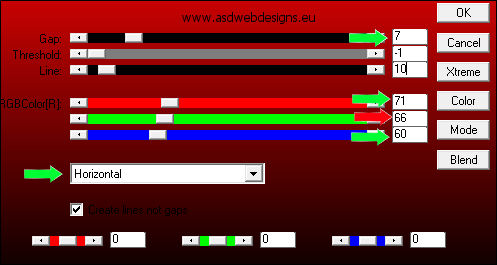
Effects - Plugins -
AP 01[Innovations] -
Lines - SilverLining
- Horizontal
The last 3 settings
are the 3 RGB
numbers of your
Foregroundcolor
Selections - Select None
10
Layers - Duplicate
Image - Mirror - Mirror Horizontal
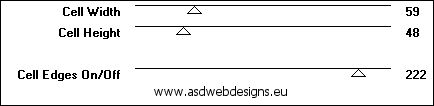
Layers - Merge - Merge Down
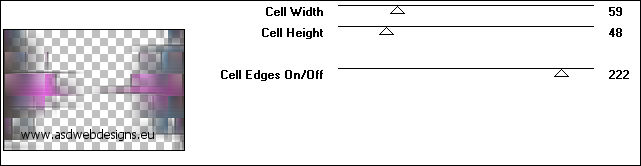
Effecten
- Toadies - Weaver
Adjust - Sharpness - Sharpen
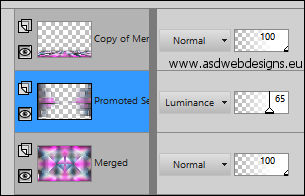
Layer Palette -
Double click on this Layer and set the Blend Mode to
"Luminance" and the Layer Opacity to 65
Your work and Layer Palette look like this now:
21
Layer Palette - Click on the Top
Layer
Layers -
New Raster Layer (Raster 1)
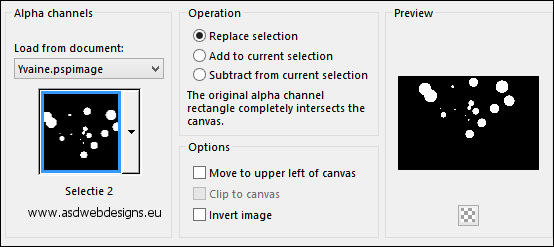
Selections - Load/Save
Selection - Load
Selection From Alpha
Channel - Selectie 2
Fill the Selection
with the
Foregroundcolor
Selections - Modify
- Contract - 3 px
Edit - Cut (Or hit the Delete Key of
your Keyboard)
Flood Fill Tool
 - Set the Opacity to 75
Fill the Selection
with the
Foregroundcolor
Set
the Opacity of the
Flood Fill Tool back
to 100
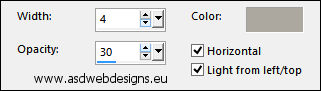
Effects - Texture Effects - Blinds
- Color:
#aca79f
 (4)
(4)
Selections - Select None
Layer Palette -
Double click on this Layer and set the Blend Mode to
"Soft Light"
22a
Edit - Copy Special - Copy Merged
Edit
- Paste As New
Image
Image - Resize
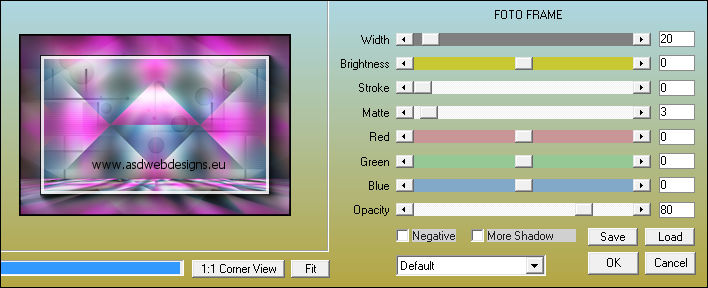
- 30%- Resize all Layers checked
Effects - Plugins -
AAA Frames - Foto
Frame
Maximize Tube
"430_KaD_Text" from
tray
Edit - Copy
Minimize to tray, you need it again.
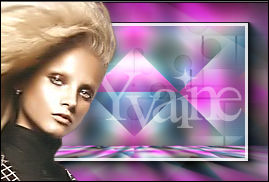
On the little framed image:
Edit - Paste As New
Layer
Press K
on your
keyboard to
activate the
Pick Tool
Enter these
parameters for the
X and Y
Positions on the
Toolbar
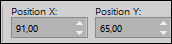 (91,65)
Hit any key on
your keyboard to
close the Pick Tool
Layer Palette -
Double click on this Layer and set the Blend Mode to
"Soft Light"
22b
Maximize Tube
"KaD_Woman_143" from
tray
Remove the Watermark
Edit - Copy
On the little framed image:
Edit - Paste As New
Layer
Move to the Left like this:
Layers - Merge - Merge Visible
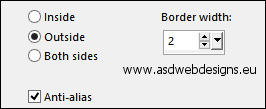
Effects - Plugins
- Richard Rosenman -
Solid
border - Color #000000

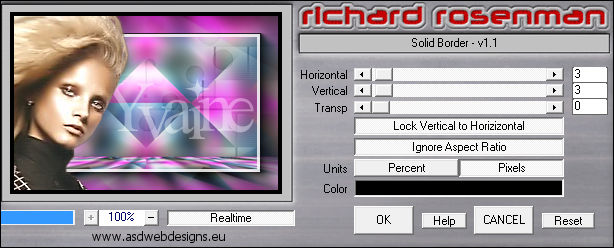
Effects - Plugins
- Richard Rosenman -
Solid border - Color
#ffffff

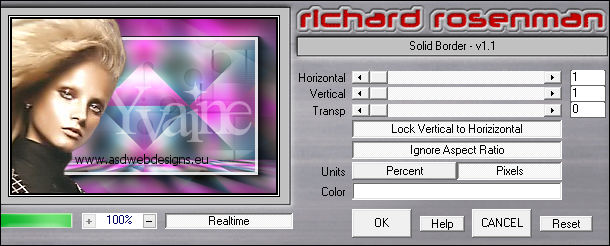
(Or
if you do not have
this plugin: Add a 3
px black border and
a 1 px White Border)
Edit
- Copy!
23
Go
back to your main
work Image
Edit - Paste As New
Layer
Image - Resize - 70% - Resize all Layers not checked
Press K
on your
keyboard to
activate the
Pick Tool
Enter these
parameters for the
X and Y
Positions on the
Toolbar
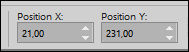 (21,231)
Hit any key on
your keyboard to
close the Pick Tool
24
Layers -
Duplicate
Image - Resize - 70% - Resize all Layers not checked
Press K
on your
keyboard to
activate the
Pick Tool
Enter these
parameters for the
X and Y
Positions on the
Toolbar
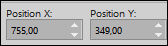 (755,349)
Hit any key on
your keyboard to
close the Pick Tool
25
Layers -
Duplicate
Image - Resize - 70% - Resize all Layers not checked
Press K
on your
keyboard to
activate the
Pick Tool
Enter these
parameters for the
X and Y
Positions on the
Toolbar
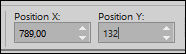 (789,132)
Hit any key on
your keyboard to
close the Pick Tool
Layers - Merge -
Merge Down
Edit
- Repeat Layer Merge
Down
Effects - 3D Effects - Drop
Shadow - Vertical &Horizontal
0 - Opacity
60
- Blur 25 - Color #000000

Adjust -
Sharpness - Sharpen
26
Layers - New Raster
Layer
Selections - Load/Save
Selection - Load
Selection From Alpha
Channel - Selectie 3
Fill the Selection
with the
Foregroundcolor
Selections - Select None
Effects - Distortion Effects - Wave

Press K
on your
keyboard to
activate the
Pick Tool
Enter this parameter
for the Y
Position on the
Toolbar
 (Minus 5)
Hit any key on
your keyboard to
close the Pick Tool
Layers - Arrange - Move Down
26
Layers - Duplicate
Press K
on your
keyboard to
activate the
Pick Tool
Enter this parameter
for the X
Position on the
Toolbar
 (768)
(768)
Hit any key on
your keyboard to
close the Pick Tool
Layers - Merge - Merge Down
Effects - 3D Effects - Drop
Shadow - Vertical &
Horizontal 2 - Opacity 35
- Blur 2 - Color #000000
27
Color Palette: Change the Foregroundcolor to
#2d2a27 (5)
and the Backgroundcolor to #ffffff
Layer Palette - Click on the Top Layer
Layers - New Raster
Layer
Selections - Load/Save
Selection - Load
Selection From Alpha
Channel - Selectie 4
Fill the Selection
with the
Foregroundcolor

Selections - Modify
- Contract - 2 px
Fill
the Selection with
the Backgroundcolor
Selections - Select None
Effects - 3D Effects - Drop
Shadow - Vertical &
Horizontal 2 - Opacity 35
- Blur 2 - Color #000000
28
Layer
Palette - Click on the Bottom Layer
Layers - Duplicate
Selections - Load/Save
Selection - Load
Selection From Alpha
Channel - Selectie 1
Edit - Cut (Or hit the Delete Key of
your Keyboard)
Selections - Edit - Selection ( It
will turn red!)
Image - Mirror -
Mirror Horizontal
Selections - Edit - Selection (the
red is gone and you have a new
selection)Edit - Cut (Or hit the Delete Key of
your Keyboard)
Selections - Select None
Effects - Plugins - AP 01[Innovations] - Lines - SilverLining - Horizontal
(same RGB numbers as before!)
Layer Palette -
Double click on this Layer and set the Blend Mode to
"Multiply" and the Layer Opacity to 40
29
Layers - New Raster
Layer
Fill
with the
Backgroundcolor
Layers - New Mask
Layer - From Image -
Narah_mask_0349

Layers - Duplicate
Layers - Merge - Merge Group
Layer Palette -
Double click on this Layer and set the Blend Mode to
"Overlay" and the Layer Opacity to 80
30
Layer Palette - Click on the
Second Layer from the
Bottom (Copy
of Merged)
Selections - Load/Save
Selection - Load
Selection From Alpha
Channel - Selectie 5
Selections - Promote Selection to Layer
Layers - Arrange -
Bring to Top
Adjust - Blur - Gaussian Blur - Radius 20
Keep
Selected
31
Selections - Modify - Select
Selection Borders
Layers - New Raster Layer
Fill the Selection
with the
Foregroundcolor
(Zoom if need to)
Selections - Select None
Effects - 3D Effects - Drop
Shadow - Vertical &
Horizontal 0 - Opacity 60
- Blur 25 - Color #000000
Layers - Merge - Merge Visible
Result:
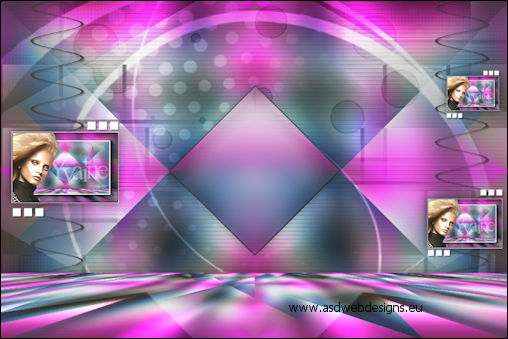
32
Maximize Tube
"KaD_Woman_143" from
tray
Edit - Copy
On your work image:
Edit - Paste As New
Layer
Image - Resize - 57% - Resize all Layers not checked
Move like this:
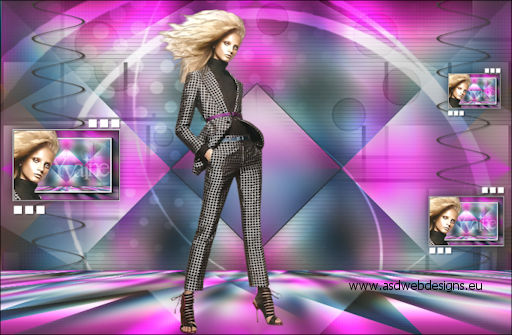
Adjust - Sharpness - Sharpen
33
Layers - Duplicate
Layer Palette: Clcik
on the Original Tube
Layer
Adjust - Blur - Gaussian Blur - Radius 8
Effecten - Toadies - Weaver
Layer Palette -
Double click on this Layer and set the Blend Mode to
"Burn"
34
Selections - Load/Save Selection - Load Selection From Alpha Channel
- Selectie 5
Selections - Invert
Edit - Cut (Or hit the Delete Key of
your Keyboard)
Selections - Select None
35
Layer Palette - Click on the Top Layer
Effects - 3D Effects - Drop
Shadow - Vertical 0 -
Horizontal 7 - Opacity 40
- Blur 10 - Color #000000
36
Maximize Tube
"430_KaD_Text" from
tray
Edit - Copy
On your work image:
Edit - Paste As New
Layer
Press K
on your
keyboard to
activate the
Pick Tool
Enter these
parameters for the
X and Y
Positions on the
Toolbar
 (515,100)
Hit any key on
your keyboard to
close the Pick Tool
Effects - 3D Effects - Drop
Shadow - Vertical Minus 4 -
Horizontal 7 - Opacity 50
- Blur 2 - Color
Foregroundcolor
37
Image - Add Borders - Symmetric
checked - 2 px -
Foregroundcolor
Image - Add Borders - Symmetric
checked - 1 px -
Backgroundcolor
Image - Add Borders - Symmetric
checked - 2 px -
Foregroundcolor
Image - Add Borders - Symmetric
checked - 5 px -
Backgroundcolor
Image - Add Borders - Symmetric
checked - 2 px -
Foregroundcolor
Image - Add Borders - Symmetric
checked - 1 px -
Backgroundcolor
Image - Add Borders - Symmetric
checked - 2 px -
Foregroundcolor
38
Image - Resize - Width 900 Pixels - Resize all Layers checked
Adjust - Sharpness - Unsharp Mask -
Radius
2 - Strength
30 - Clipping
2 - Luminance Only
not Checked
Add your name or
watermark and on her
request the
watermark from Kad's.
Save as JPG
file and you're done!