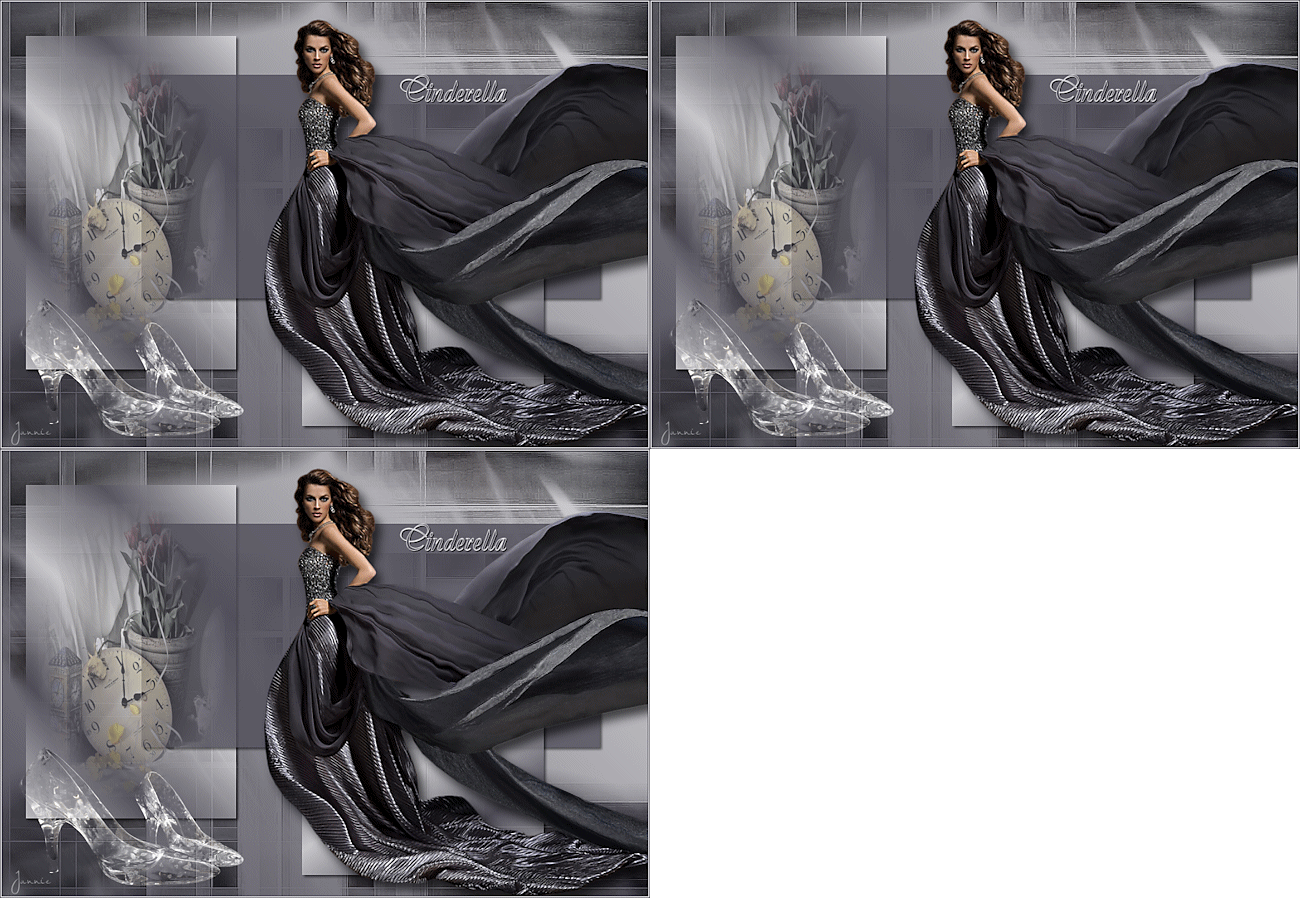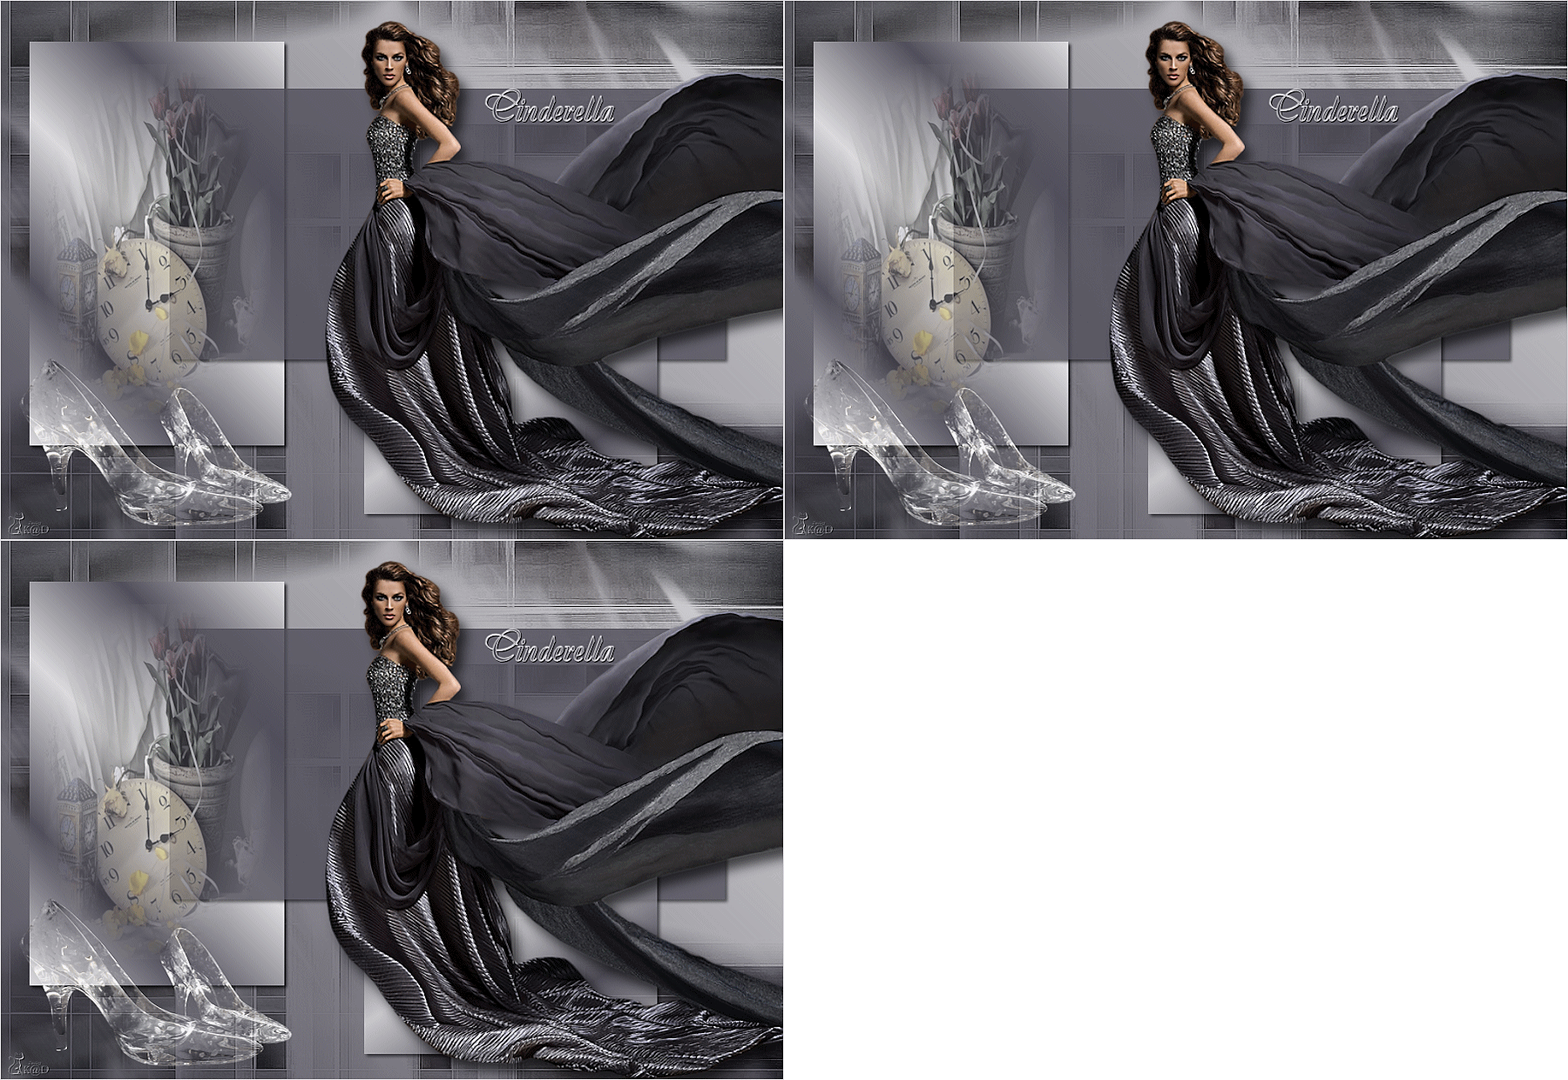

This tutorial is written with PSPX2
But can easily made with other versions
Preparations :
Open tubes in PSP
Install filters before you open PSP!
Install fonts in fonts folder in PSP
Install mask in your mask folder in PSP, unless otherwise specified
Install textures in texture folder in PSP
* If you recognize a tube as one of yours, please contact me so I can
give you credit or – if you wish – remove the tube.
Filters HERE
Material HERE
Materials :
Tubes :
1/ Maxyran_05_06_10 Women252 MAXYRAN
2/ Nini_Tube_Cendriella_Shoes
3/ Still_Life_103
Mask:
1/ sg_shaded-stripes.PspMask
Selecties :
Put them in your folder “selections”
Cinderella1 t/m 4
Filters :
EyeCandy 4000 - Jiggle
Jac’s Animation Shop (A/S)
---------------------------------------
Procedure
Let’s get started – Have Fun!
Remember to save your work often.
Colors :
Foreground : ##dad9dc -
Background : #514f5b
Gradient : Linear: 45 – 0, check invert
1
Open a new image – 900x620 pix – transparent
Selections – select all
2
Open tube : Maxyran_05_06_10 Women252.pspimage
Edit – copy
Edit – paste into selection
Selections – none
3
Effects – image effects – seamless tiling – standard
Adjust – blur – motion blur : angle 325 – strength 100
4
Layers – new mask layer – from image
Search for mask : sg_shaded-stripes
* luminance source
Effects – edge effects – enhance
Layers – merge group
5
Layers – new raster layer
Layers – arragen – bottom
Fill with gradient
Activate top layer
6
Selections – load from disk
Search selection : Cinderella 1
* luminance source – replace selection
Layers – new raster layer
Change gradient to linaer : 45 – 3, uncheck invert
Fill selection
Effects – 3D-effects – drop shadow : V&H 3 – 65 – 5
Selections – none
Opacity at 80
7
Selections – load from disk
Search selection : Cinderella 2
* luminance source – replace selection
Layers – new raster layer
Fill selection with background color
Effects – 3D-effects – drop shadow : V&H 3 – 65 – 5
Selections – none
Opacity at 80
8
Selections – load from disk
Search selection : Cinderella 3
* luminance source – replace selection
Layers – new raster layer
Change gradient to linaer : 325 – 3, uncheck invert
Fill selection
Effects – 3D-effects – drop shadow : V&H 3 – 65 – 5
Selections – none
Opacity at 80
9
Selections – load from disk
Search selection : Cinderella 4
* luminance source – replace selection
Layers – new raster layer
10
Open tube : Still_Life_103
Edit – copy
Edit – paste into selection
Selections – none
Opacity at 55
11
Open tube : Nini_Tube_Cendriella_Shoes
Edit – copy (top layer)
Edit – paste as a new layer
Image – mirror
Image – resize : 40%, uncheck all layers
Move to the left and down - see example
12
Open tube : Maxyran_05_06_10 Women252
Edit – copy
Edit – paste as a new layer
Move to the right – see example
Effects – 3D-effects – drop shadow : V10 – H8 – 65 – 20
13
Activate text tool – smooth – stroke width : 1
I used font: PrimroseJF (in zip) – size : 48 pix
Write : Cinderella
Effects – 3D-effects – drop shadow : V&H 1 – 80 – 0
Move up and right – see example
14
Layers – new raster layer
Place your name and/or watermark
Layers – merge all
15
Image – add borders :
1 pix foreground
1 pix background
1 pix forground
16
Image – resize – 650 pix
17
Adjust – sharpness- unsharp mask : 1 – 64 – 4
18
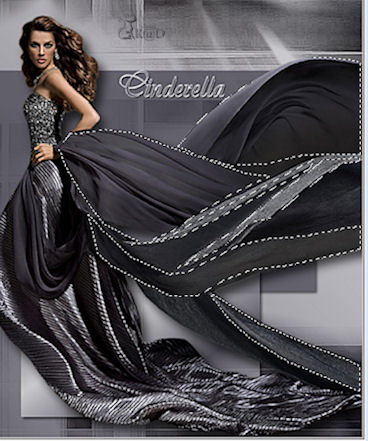
Make a selection as per print screen
19
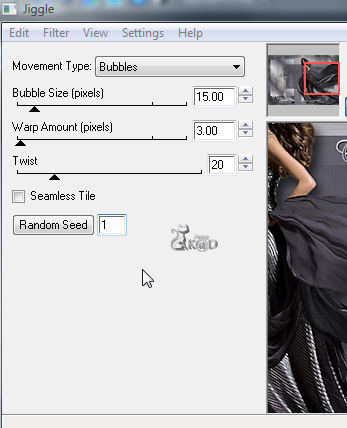
Effects – Eye Candy 4000 – Jiggle – see print screen
Selections – none
Edit - copy
20
Open A/S
Edit – paste as a new animation
21
Back to psp
Click undo 2x
Effects – Eye Candy 4000 – Jiggle
Click Random seed 1x
Selections – none
Edit - copy
22
Back to A/S
Edit – paste after current frame
23
Back to psp
Click undo 2x
Effects – Eye Candy 4000 – Jiggle
Click Random seed 1x
Selections – none
Edit - copy
24
Back to A/S
Edit – paste after current frame
Edit – select all
25
Animation – properties
Display time : 25
26
Check your animation by clicking on the filmstrip
27
Image – save as .gif
Your image is ready
I hope you enjoyed making it
Hugs,
K@rin – K@D’s Designs
15-03-2011

Tested by Jannie
