Open "341_KaD_Alfakanaal"
This image contains Alpha Selections
Window - Duplicate
(or shift+D) - Close the original and proceed on the copy
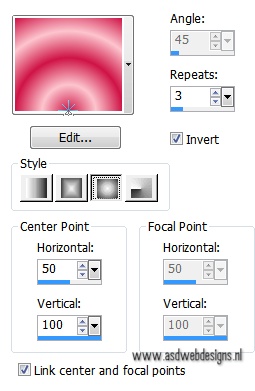
Fill with the
Gradient

Adjust - Blur -
Gaussian Blur - 50
Selections -
Select All
Open Tube "SvB (834) Beauty"
Edit - Copy
Minimize to tray, you need it again
later
On your work image: Edit - Paste
Into Selection
Selections -
Select None
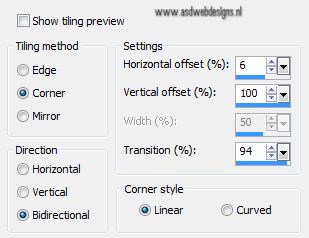
Effects - Image
Effects - Seamless
Tiling – Preset Side
by side
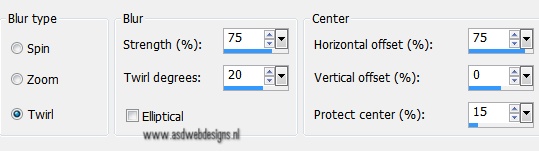
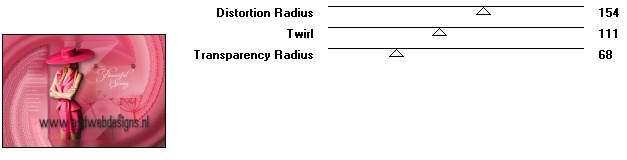
Adjust - Blur -
Radial Blur
Adjust - Blur -
Gaussian Blur - 50
Effects - Plugins -
VanDerLee -
Unplugged X -
Warning
Effects - Edge
Effects - Enhance
02
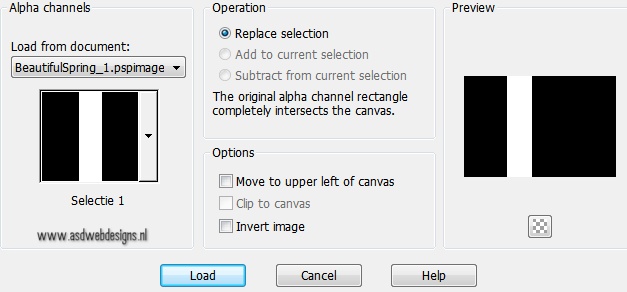
Selections -
Load/Save Selection
- Load Selection
From Alpha Channel -
Selectie 1
Selections -
Promote Selection to
Layer
Selections - Select
None
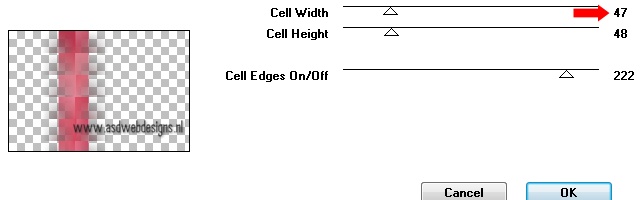
Effects - Plugins -
Toadies - Weaver
03
Selections -
Load/Save Selection
- Load Selection
From Alpha Channel -
again Selectie 1
Selections - Invert
Edit - Cut (Or hit
the Delete Key of
your Keyboard)
Selections - Select
None
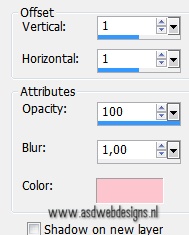
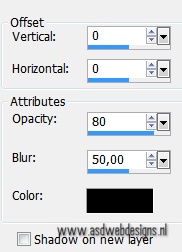
Effects 3D Effects -
DropShadow - Foregroundcolor

Effects - Plugins -
Alien Skin Eye Candy
5 - Impact - Extrude
- Settings
Tab:
Preset
341_KaD_BeautifulSpring_Extrude
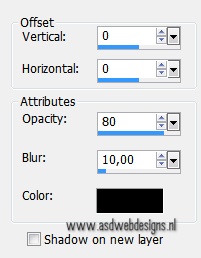
Effects 3D Effects -
DropShadow - Color: #000000

04
Layer Palette - Click on the Bottom Layer
Selections -
Load/Save Selection
- Load Selection
From Alpha Channel - Selectie 2
Selections - Promote
Selection to Layer
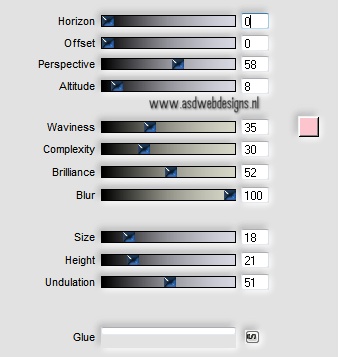
Effects - Plugins -
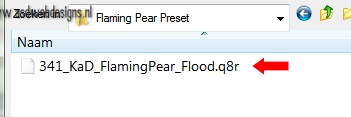
Flaming Pear - Flood -
Click on the Red
Arrow
 and load Preset
341_KaD_FlamingPear_Flood
and load Preset
341_KaD_FlamingPear_Flood
Or is this is not
working for you with
these settings -
Color = Foregroundcolor
Selections -
Select None
05
Layer Palette -
Click on the Bottom
Layer
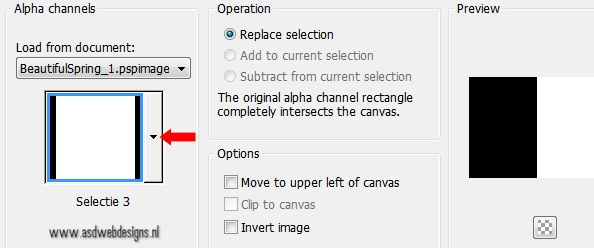
Selections -
Load/Save Selection
- Load Selection
From Alpha Channel -
Selectie 3
Selections -
Promote Selection to
Layer
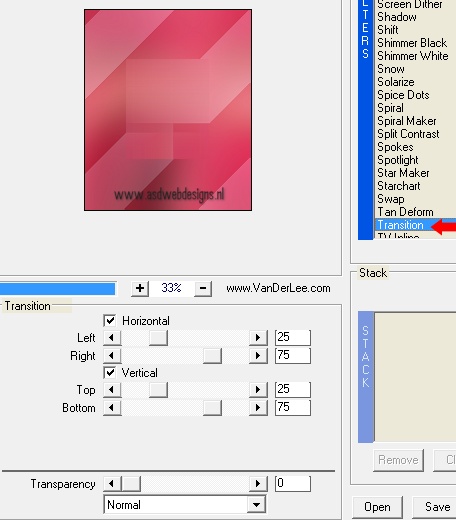
Effects - Plugins -
VanDerLee -
Unplugged X -
Transition
Adjust - Sharpness -
Sharpen
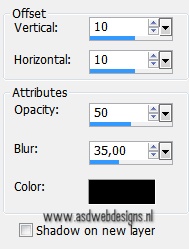
Effects 3D Effects -
DropShadow - Color: #000000
Selections - Select
None
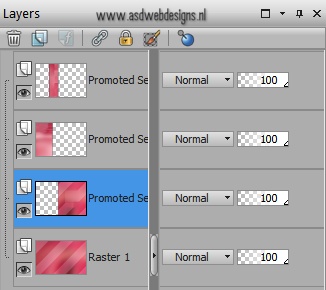
Your
work and Layer
Palette look like
this now:
06
Layer Palette - Click on the Top
Layer
Open Tube "341_KaD_Text1"
Edit - Copy
On your work image: Edit - Paste
As New Layer
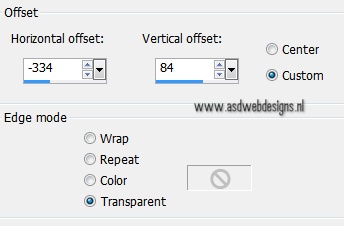
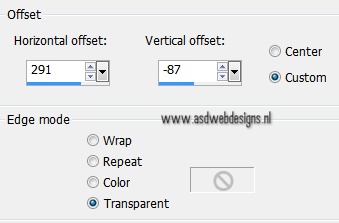
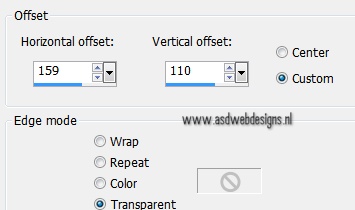
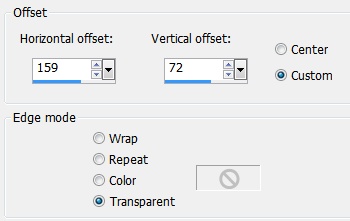
Effects - Image
Effects - Offset
07
Layers - New
Raster Layer
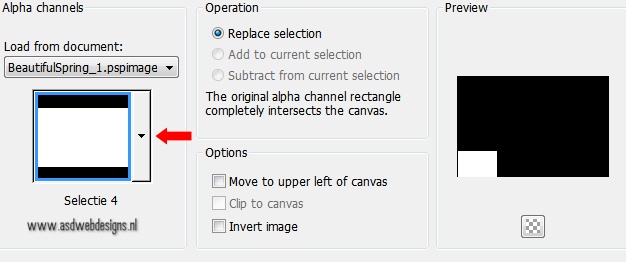
Selections -
Load/Save Selection
- Load Selection
From Alpha Channel -
Selectie 4
Open Tube "KaD_Scenery4"
Edit - Copy
On your work image: Edit - Paste
Into Selection
Selections - Select
None
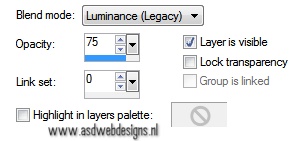
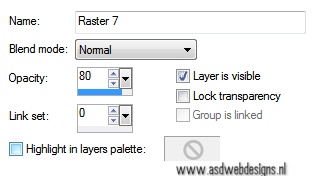
Layer Palette -
Double click on this Layer and set the Blend Mode to
"Luminance (Legacy)" and the Layer Opacity to 75
08
Edit - Paste As New
Layer (Tube is still
in your PSP memory)
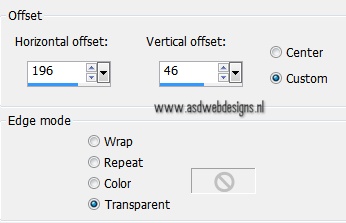
Effects - Image
Effects - Offset
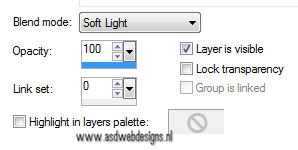
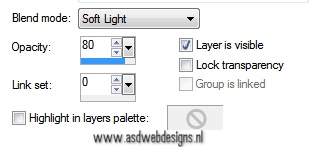
Layer Palette -
Double click on this Layer and set the Blend Mode to
"Soft Light"
09
Color Palette: Set
your Foreground
Gradient back to
color and change to
#ffffff

Layers - New
Raster Layer
Fill with the
Foregroundcolor
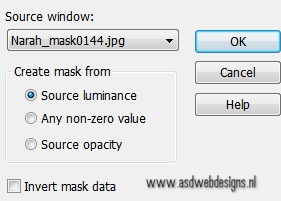
Layers - New Mask
Layer - From Image -
Narah_mask0144
Layers - Merge - Merge Group
Image - Flip
Image - Resize - 75% - Resize
all Layers not checked
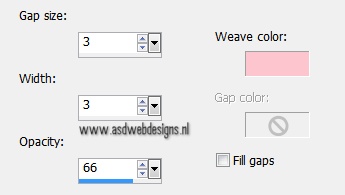
Effects - Image Effects - Offset
Effects - Texture Effects - Weave -
Weave Color #fcc5ce
Adjust-Sharpness -
Sharpen More
Layers - Arrange - Move Down
Layer Palette -
Double click on this Layer and set the Blend Mode to
"Soft Light" and the Layer Opacity to 80
Layer Palette - Click on the Top
Layer
Open Tube "341_KaD_Deco1"
Edit - Copy
On your work image: Edit - Paste
As New Layer
Effects - Image Effects - Offset
11
Open Tube "KaD_Text2"
Edit - Copy
On your work image: Edit - Paste
As New Layer
Image - Resize - 90% - Resize
all Layers not checked
Effects - Image Effects - Offset
Layer Palette -
Double click on this Layer and set
the Layer Opacity of this Layer to
80
12
Maximize Tube "SvB (834)
Beauty" from
tray
Edit - Copy
On your work image: Edit - Paste
As New Layer
Image - Resize - 90% - Resize
all Layers not checked
Effects 3D Effects -
DropShadow - Color: #000000
Move like this:
13
Layers - Merge - Merge all (Flatten)
Edit Copy!
14
Image - Add Borders - Symmetric
checked - 1 px - #cf1446

Selections -
Select All
Image - Add Borders - Symmetric
checked - 35 px - #fcc5ce
Selections -
Invert
Edit - Paste inot
Selection (Image is
still in your PSP
memory)
Adjust - Blur - Gaussian Blur - 15
Effects - Plugins
- Filter Factory B
- James Bondage
Selections - Invert
Effects 3D Effects -
DropShadow - Color: #000000
Selections -
Select None
Image - Add Borders - Symmetric
checked - 1 px - #cf1446
15
Image - Resize - Width 950 px - Resize
all Layers checked
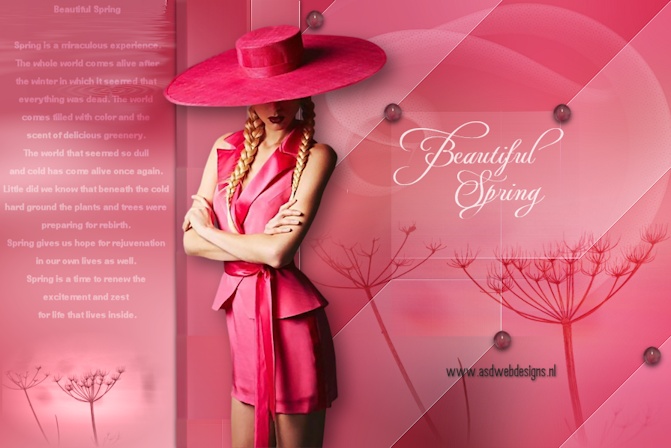
Add your name or watermark, save as JPG
file and you're done!