The tutorial:
01
Maximize
"422_KaD_Alfakanaal"
from tray
Selections -
Select All
Maximize
"422_KaD_Background"
Edit - Copy
Edit - Paste -
Paste Into Selection
Selections -
Select None
Tip: You can use
Adjust Variations or
Nik Color Efex Pro
to change the colors to your
taste
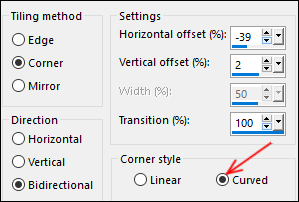
02
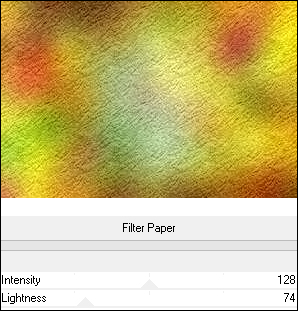
Effects - Plugins
- Filters Unlimited
- Paper Textures -
Filter Paper
03
Layers -
Duplicate
Effects - Plugins
- VM Toolbox - Grid

Image - Resize -
80% - Resize All
Layers - not
checked
04
Selection Tool
(S) Click on
Layer Opaque
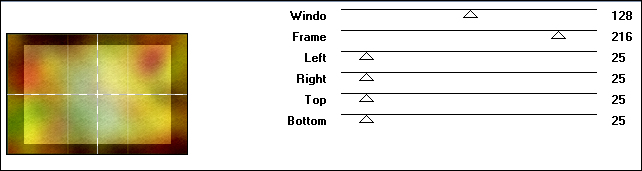
Effects - Plugins
- Mock - Windo
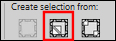
Selections -
Modify - Contract -
50px
Selections -
Promote Selection to
Layer
Selections -
Select None
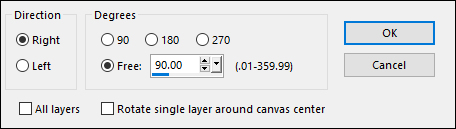
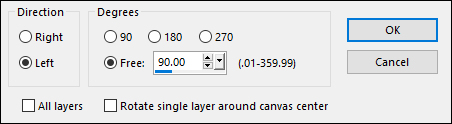
Image - Free
Rotate
05
Effects - Plugins
- VM Toolbox - Zoom
Blur

Layers - Arrange
- Move Down
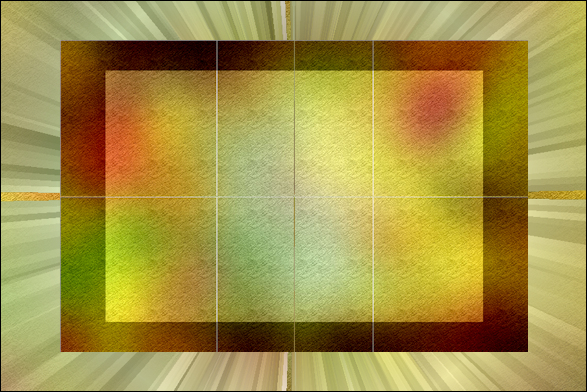
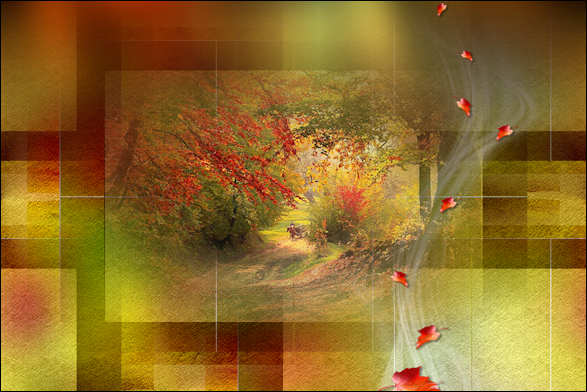
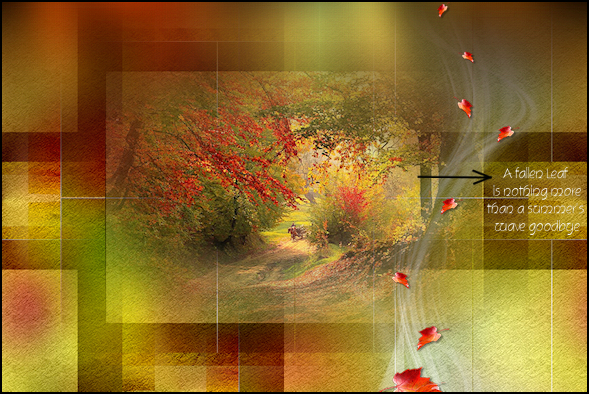
Your work looks
like this now:
06
Layer Palette:
Click on the Bottom
Layer
Selections -
Select All
Selections -
Modify - Contract -
40px
Layer Palette:
Click on the Middle
Layer
Selections -
Invert
Edit - Cut
(or hit Delete on
your keyboard)
Selections -
Select None
Layer Palette:
Change the Blend
Mode of this Layer
to Burn
Layers - Merge -
Merge Visible
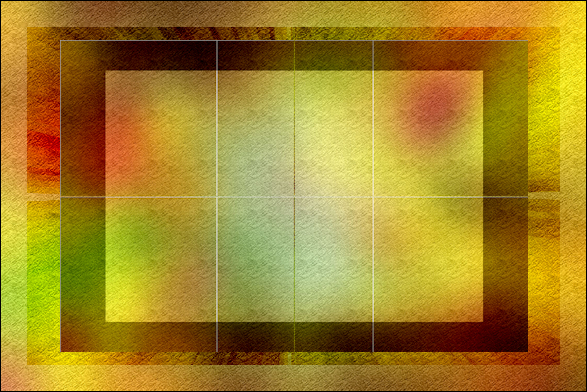
Result:
07
Effects - Image
Effects - Seamless
Tiling
Maximize
"KaD_AutumnScenery6"
from tray
Remove the
watermark
Edit - Copy
On your work
image: Edit -
Paste - Paste As New
Layer
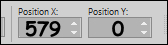
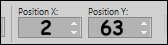
Pick Tool (K)
Enter these
Parameters for the X
and Y Positions on
the Toolbar

Press any key to
close the Pick Tool
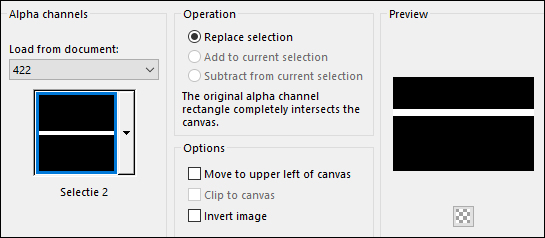
08
Selections -
Load/Save - Load
Selection From Alpha
Channel - "Selectie
1"
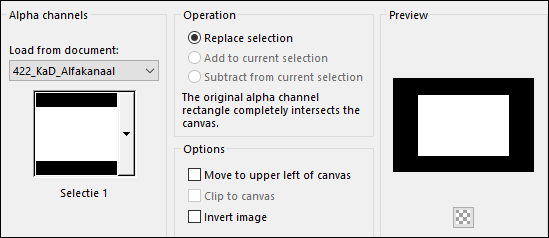
Selections -
Invert
Edit - Cut
(or hit Delete on
your keyboard)
Selections -
Select None
Adjust -
Sharpness - Sharpen
09
Layer Palette:
Click on the Bottom
Layer
Selections -
Load/Save - Load
Selection From Alpha
Channel - "Selectie
2"
Selections -
Promote Selection to
Layer
Selections -
Select None
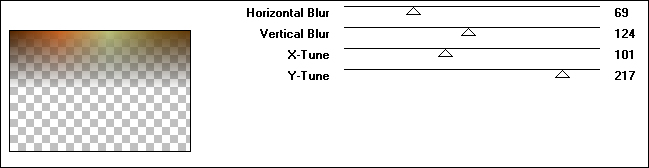
10
Effects - Plugins
- VM Toobox - Square
Blur
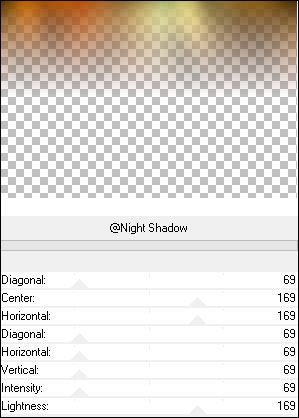
Effects - Plugins
- Filters Unlimited
- &<Background
Designers IV -
@night Shadow -
Default settings
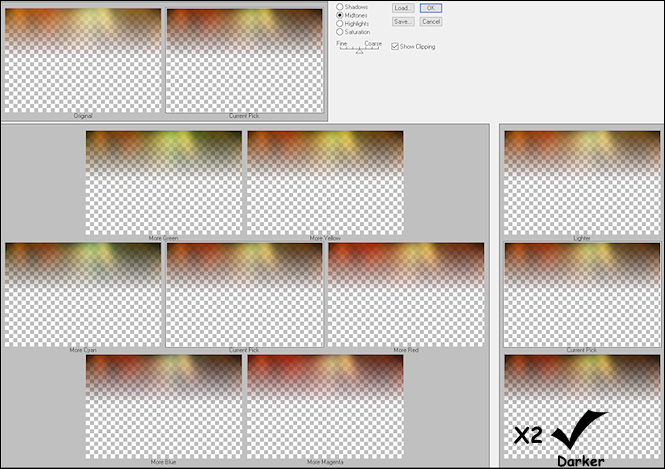
11
Effects - Plugins
- Adjust -
Variations
Click twice on
Darker
Effects - 3D
Effects - Drop
Shadow:
Vertical: 0
Horizontal: 0
Opacity: 40
Blur: 20
Color: #000000
Effects - Edge
Effects - Enhance
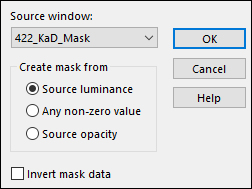
12
Layers - New
Raster Layer
Fill the Layer
with the
Foregroundcolor

Layers - New Mask
Layer - From Image -
422_KaD_Mask"
Layers - Merge -
Merge Group
Layers - Arrange
- Move Down
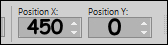
Pick Tool (K)
Enter these
Parameters for the X
and Y positions on
the Toolbar
Layer Palette:
Lower the Opacity of
this Layer to 77
Press any key to
close the Pick Tool
13
Maximize
"KaD_FallingLeaves1"
from tray
Edit - Copy
On your work
image: Edit -
Paste - Paste As New
Layer
Layers - Arrange
- Bring to Top
Pick Tool (K)
Enter these
Parameters for the X
and Y positions on
the Toolbar
Press any key to
close the Pick Tool
Effects - 3D
Effects - Drop
Shadow:
Vertical: 2
Horizontal: 3
Opacity: 35
Blur: 2
Color: #000000
Adjust -
Sharpness - Sharpen
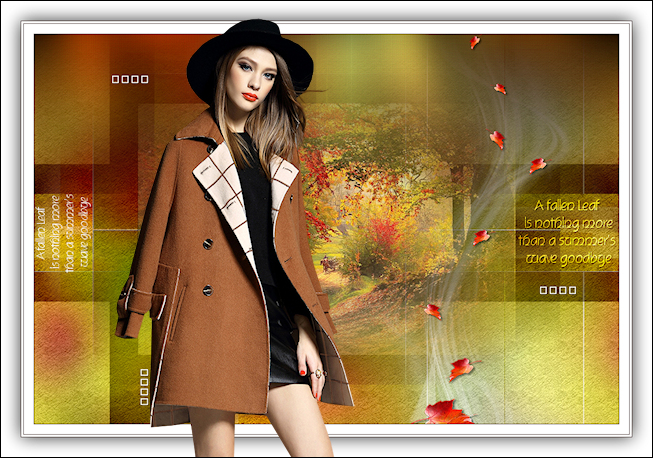
Your work looks
like this now:
14
Maximize
"KaD_Text1"
from tray
Edit - Copy
On your work
Image: Edit -
Paste - Paste As New
layer
Move to the Right
like this:
Effects - 3D
Effects - Drop
Shadow:
Vertical: 1
Horizontal: 1
Opacity: 35
Blur: 2
Color: #000000
Layer Palette:
Change the Blend
Mode of this Layer
to Overlay
Layers -
Duplicate
15
Maximize
"422_KaD_Deco01"
from tray
Edit - Copy
On your work
image: Edit - Paste
- Paste As New layer
Pick Tool (K)
Enter these
Parameters for the X
and Y positions on
the Toolbar
Press any key to
close the Pick Tool
16
Layers - Merge -
Merge All Flatten
Image - Add
Borders - Symmetric
- checked - 1px -
Backgroundcolor

Image - Add
Borders - Symmetric
- checked - 15px -
Foregroundcolor
Image - Add
Borders - Symmetric
- checked - 1px -
Backgroundcolor
Image - Add
Borders - Symmetric
- checked - 3px -
Foregroundcolor
Image - Add
Borders - Symmetric
- checked - 1px -
Backgroundcolor
Selections -
Select All
Image - Add
Borders - Symmetric
- checked - 30px -
Foregroundcolor
Effects - 3D
Effects - Drop
Shadow:
Vertical: 0
Horizontal: 0
Opacity: 80
Blur: 40
Color: #000000
Selections -
Select None
17
Maximize
"KaD_Woman_125"
from tray
Erase the
watermark
Edit - Copy
On your work
image: Edit -
Paste - Paste As New
Layer
Image - Mirror
Image - Resize -
85% - Resize All
Layers - not
checked
Move slightly to
the Left like this:
Effects - 3D
Effects - Drop
Shadow:
Vertical: 0
Horizontal: 7
Opacity: 35
Blur: 15
Color: #000000
Adjust -
Sharpness - Sharpen
18
Maximize
"KaD_Herfstblad1"
from tray
Erase the
watermark
Edit - Copy
On your work
image: Edit -
Paste - Paste As New
Layer
Image - Resize -
10% - Resize All
Layers - not
checked
Image - Free
Rotate
Move to the Upper
Left corner of the
Frame
19
Layers -
Duplicate
Image - Flip
Horizontal
Image - Resize -
90% - Resize All
Layers - not
checked
Layers - Arrange
- Move Down
Move into place
like this:

Layer Palette:
Click on the Top
Layer
Layers - Merge -
Merge Down
Effects - 3D
Effects - Drop
Shadow:
Vertical: 2
Horizontal: 2
Opacity: 35
Blur: 2
Color: #000000
20
Layers -
Duplicate
Image - Free
Rotate
Move to the
Bottom Right corner
like this:

21
Layes - Duplicate
Image - Flip
- Flip Horizontal
Move like this:

Image - Add
Borders - Symmetric
checked - 1px -
Backgroundcolor
22
Optional:
Image - Resize - Width 900 Pixels - Resize all Layers checked
Add your name or watermark, save as JPG
file and you're done!