The tutorial:
01
Maximize
"444_KaD_Alfakanaal"
from tray
Edit - Copy
(This image
contains Alpha
Selections)
Edit - Paste -
Paste As New
Image
Close the
original and
proceed on the
Copy
02
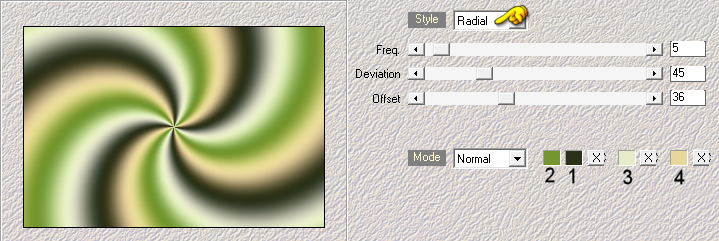
Effects - Plugins
- Mehdi - Wavy Lab
1.1
Adjust - Blur -
Gaussian Blur -
Radius: 30
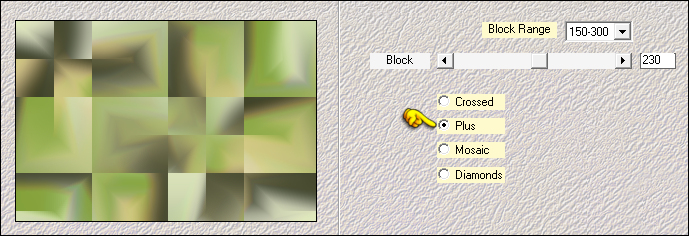
Effects - Plugins
- Mehdi - Sorting
Tiles
03
Layers -
Duplicate
Image - Mirror -
Mirror Horizontal
Image - Mirror -
Mirror Vertical
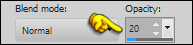
Layer Palette:
Change the Blend
Mode to Overlay
and lower the
Opacity to 50
Layers - Merge -
Merge Down
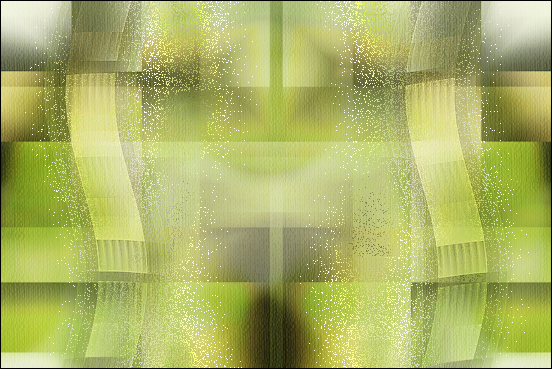
Result:
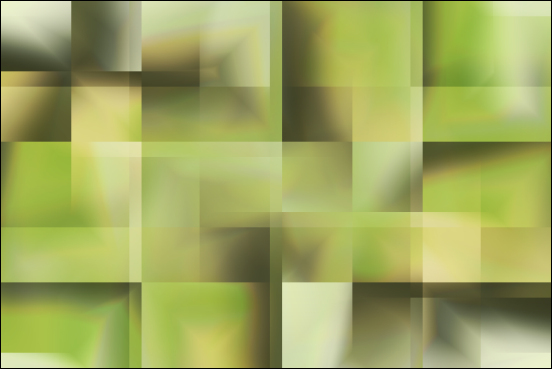
04
Layers -
Duplicate
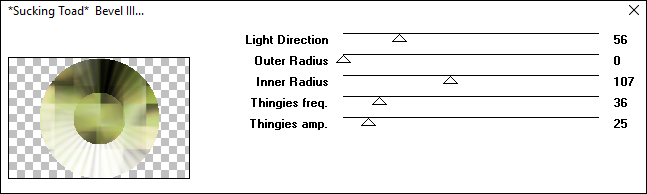
Effects - Plugins
- Toadies - *Sucking
Toad* - Bevel III -
Default settings
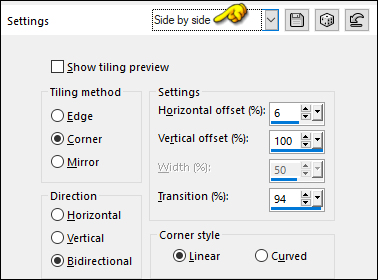
Effects - Image
Effects - Seamless
Tiling - Preset -
Side by side
05
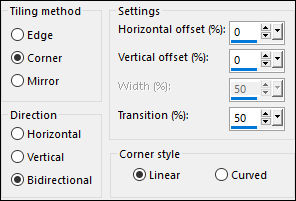
Effects - Image
Effects - Seamless
Tiling - Default
settings
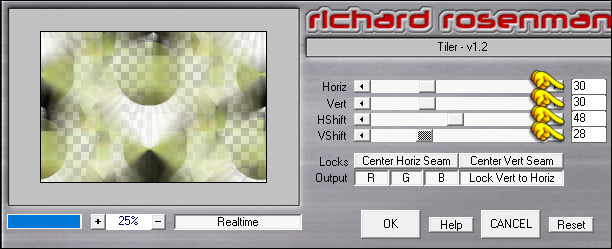
Effects - Plugins
- Richard Rosenman -
Tiler
06
Note: If
you have problems
using Tiler,
Frischluft, or
Texturizer in the
next two steps:
Delete the active
Layer and Copy and
Paste
"Stap4TEMstap7" onto
your work image as a
new Layer.
Continue from Step#8
If you want it to
blend wih your
colors colorize this
Layer or set the
Blendmode to
Luminance Legacy and
the Opacity to 40
Effects - Plugins
- Frischluft - Box
Blur
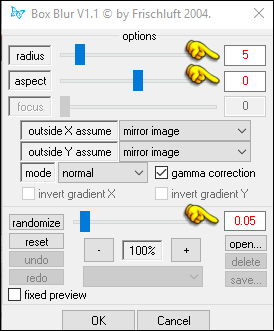
Layer Palette:
Change the Blend
Mode of this Layer
to Soft Light
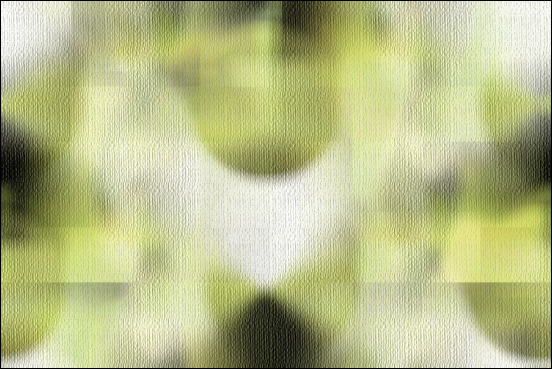
07
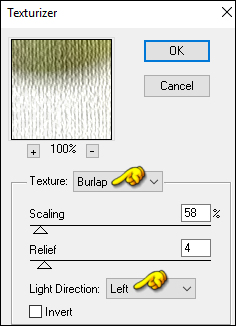
Effects - Plugins
- Texture -
Texturizer - Burlap
Result:
08
Layer Palette:
Click on the Bottom
Layer
Effects -
Reflection Effects -
Rotating Mirror

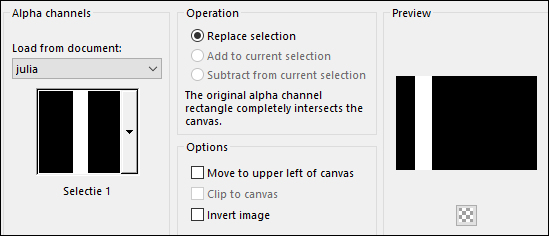
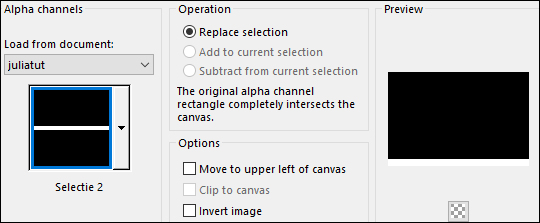
Selections -
Load/Save - Load
Selection from Alpha
Channel -"Selectie
1"
Selections -
Promote Selection to
Layer
Keep selected
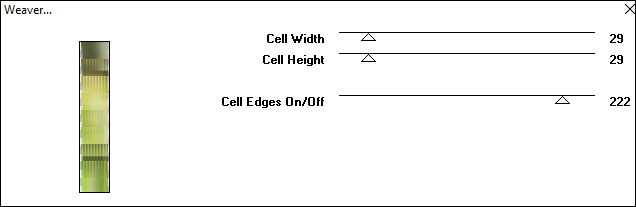
09
Effects - Plugins
- Toadies - Weaver
Selections -
Select None
Effects - 3D Effects - Drop Shadow: Vertical: 0
Horizontal: 0 Opacity: 60 Blur: 25
Color: #2b3118 
Effects - Plugins
- Toadies - What Are
You?

Effects - Edge
Effects - Enhance
Layers -
Duplicate
Image - Mirror -
Mirror Horizontal
Layers - Merge -
Merge Down
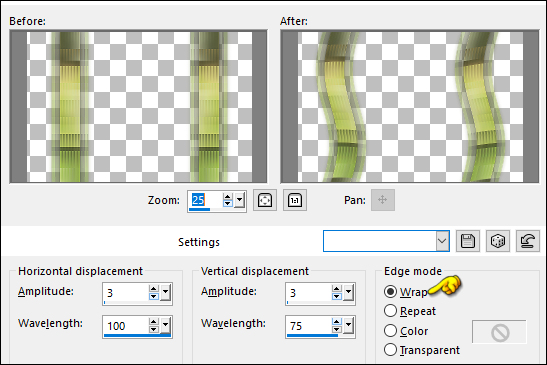
10
Effects -
Distortion Effects -
Wave
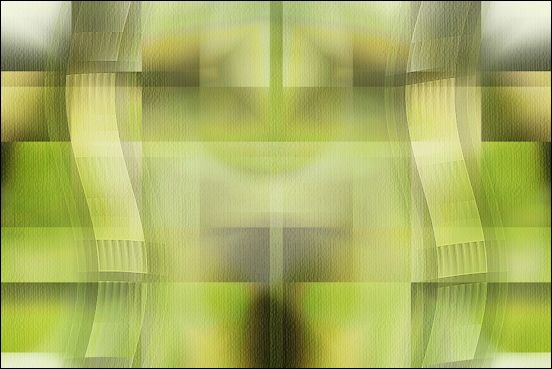
Result:
11
Layers -
Duplicate
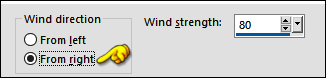
Effects - Distortion Effects - Wind
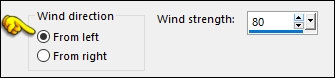
Effects -
Distortion Effects -
Wind
Layers - Arrange
- Move Down
Layer Palette:
Change the Blend
Mode of this Layer
to Dissolve
and lower the
Opacity to 50
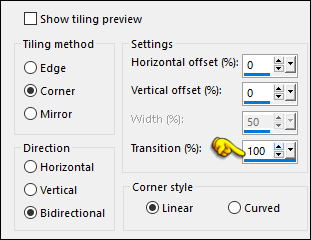
11
Effects - Image Effects - Seamless Tiling
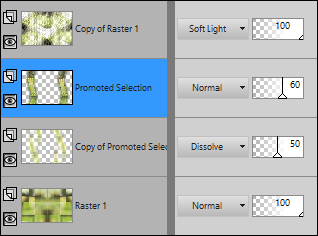
Layer Palette: Click on the Layer above (Promoted Selection)
Effects - 3D Effects - Drop Shadow: Vertical: 0
Horizontal: 0 Opacity: 60 Blur: 25
Color: #2b3118
Layer Palette:
Lower the Opacity of
this Layer to 60
Your work looks
like this now:
12
Layer Palette:
Click on the Bottom
Layer (Raster1)
Selections -
Load/Save - Load
Selection from Alpha
Channel -"Selectie
2"
Selections - Promote Selection to Layer
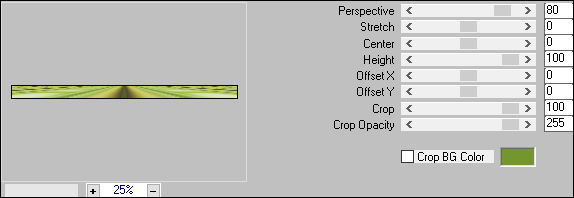
Effects - Plugins
- MuRa's Meister -
Perspective Tiling -
Default settings
Selections - Select None
Layers - Arrange - Bring to Top
Effects - 3D Effects - Drop Shadow: Vertical: 0
Horizontal: 0 Opacity: 60 Blur: 25
Color: #000000
13
Layer Palette:
Click on the Bottom
Layer
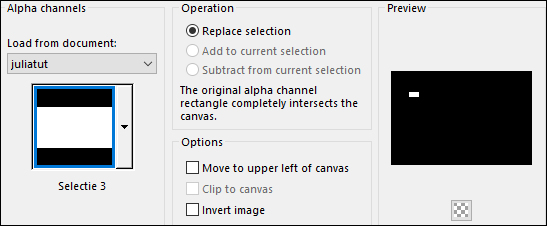
Selections -
Load/Save - Load
Selection from Alpha
Channel -"Selectie
3"
Promote Selection
to Layer
Layers - Arrange
- Bring to Top
14
Materials Palette: Change the Foregroundcolor to #e7ebc9

Layers - New
Raster Layer
Fill the Layer with the Foregroundcolor
Selections - Modify - Contract - 3px
Edit - Cut (or hit Delete on your Keyboard)
Keep selected
15
Flood Fill Tool
 Lower the
Opacity on the Toolbar to 20
Lower the
Opacity on the Toolbar to 20
Fill the Selection with the Foregroundcolor
Raise the Opacity back to 100 on the Toolbar
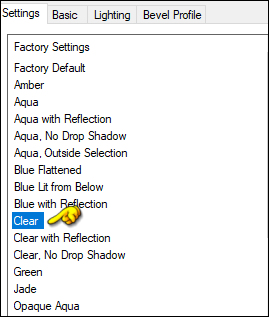
Effects - Plugins - Alien Skin Eye Candy 5 - Impact - Glass - Preset
- Clear
Keep selected
16
Maximize "©SvB Zuil vol bloemen" from tray
Edit - Copy the
Bottom Layer
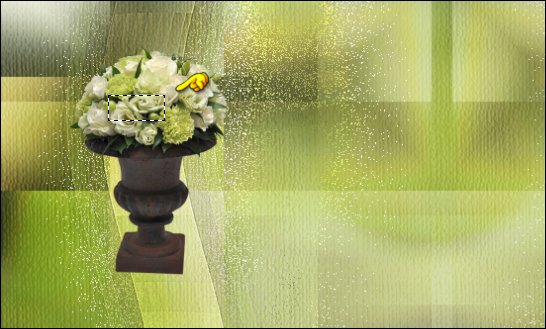
On your work image: Edit - Paste - Paste As New Layer
Image - Resize - 40% - Resize All Layers - not checked
Move the tube into the Selection like this:
Selections - Invert
Edit - Cut (or
hit Delete on your
keyboard)
Selections -
Select none
Layers - Arrange - Move Down
17
Layer Palette:
Click on the Top
Layer
Layers - Merge -
Merge Down
Edit - Repeat
Layer - Merge Down
Effects - 3D Effects - Drop Shadow: Vertical: 0
Horizontal: 0 Opacity: 60 Blur: 25
Color: #2b3118
Layers - Duplicate
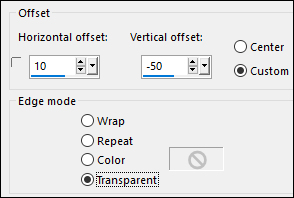
Effects - Image
Effects - Offset
Layers - Merge -
Merge Down
18
Maximize
"444_KaD-Text1"
from tray
Edit - Copy
On your work
image: Edit - Paste
- Paste As New Layer
Pick Tool (K)  Enter these parameters for the X and Y positions on the Toolbar
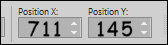 711.00 145.00
Press any key to close the Pick Tool
Effects - 3D Effects - Drop Shadow: Vertical:
2
Horizontal: 2 Opacity: 35 Blur: 2
Color: #2b3118
19
Maximize "Maximize "SvB Zuil vol bloemen_Bewerkt" from tray
Edit - Copy
On your work
image: Edit - Paste
- Paste As New Layer
Pick Tool (K)
Enter these parameters for the X and Y positions on the Toolbar
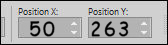 50.00 263.00
Press any key to close the Pick Tool
Effects - 3D Effects - Drop Shadow: Vertical: 0
Horizontal: 7 Opacity: 50 Blur: 30
Color: #2b3118

Adjust -
Sharpness - Sharpen
Result:
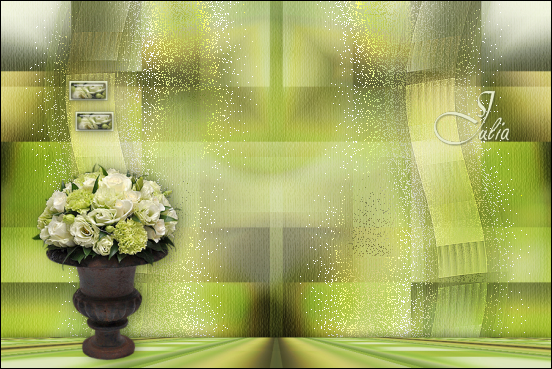
Layers - Merge - Merge All Flatten
20
Image - Add
Borders - Symmetric
checked - 1px -
#2b3118
Image - Add Borders - Symmetric checked - 3px - #e8d69a
Image - Add Borders - Symmetric checked - 1px - #2b3118
Image - Add Borders - Symmetric checked - 10px - #e7ebc9
Image - Add Borders - Symmetric checked -
2px -#2b3118

Selections - Select All
Image - Add Borders - Symmetric checked - 35px - #e7ebc9
Effects - 3D Effects - Drop Shadow: Vertical: 0
Horizontal: 0 Opacity: 60 Blur: 25
Color: #2b3118
Selections - Select None
Image - Add Borders - Symmetric checked - 1px - #2b3118
Image - Add Borders - Symmetric checked - 3px - #e8d69a
Image - Add Borders - Symmetric checked - 1px - #2b3118
21
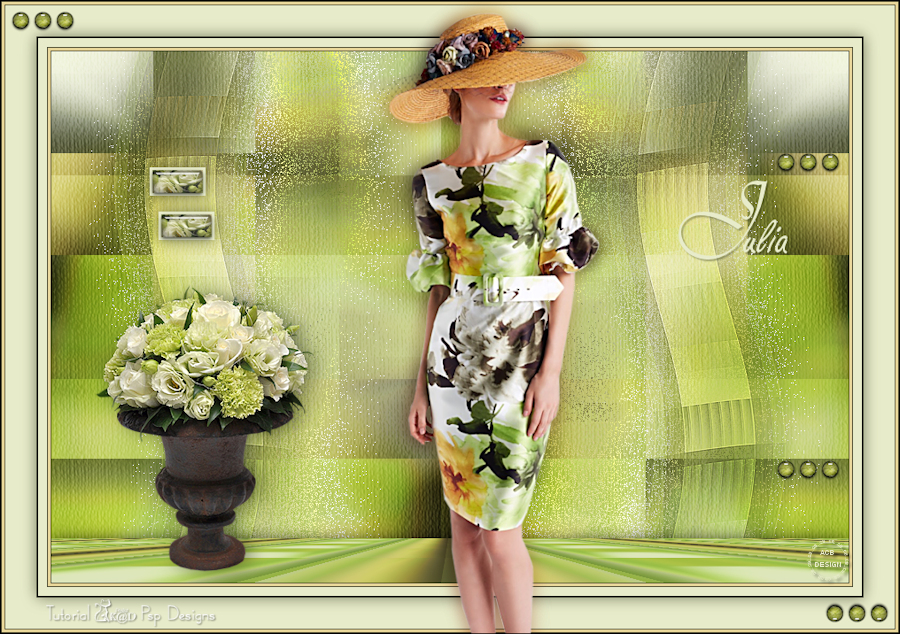
Maximize "KaD_Woman_163" from tray
Erase the
watermark
Edit - Copy
On your work
image: Edit -
Paste - Paste As New
Layer
Image - Resize -
87% - Resize All
Layers - not
checked
Pick Tool (K)
Enter these parameters for the X and Y positions on the Toolbar
 420.00 13.00
Press any key to close the Pick Tool
Adjust - Sharpness - Unsharp Mask

Layers - Duplicate
Layer Palette:
Click on the Layer
below (original
tube)
Adjust - Blur -
Gaussian Blur -
Radius: 10
Layer Palette: Change the Blend Mode to Multiply and
lower the Opacity to 85
22
Maximize "444_KaD_Deco1" from tray
Edit - Copy
Layer Palette:
Click on the Top
Layer
Edit - Paste -
Paste As New Layer
Pick Tool (K)
Enter these parameters for the X and Y positions on the Toolbar
 874.00 170.00
Press any key to close the Pick Tool
23
Maximize "444_KaD_Deco2" from tray
Edit - Copy
Edit - Paste - Paste As New Layer
No need to move
Layers - Merge - Merge All Flatten
24
Image - Resize -
900px - Resize all Layers checked
Adjust -
Sharpness -
Unsharp Mask
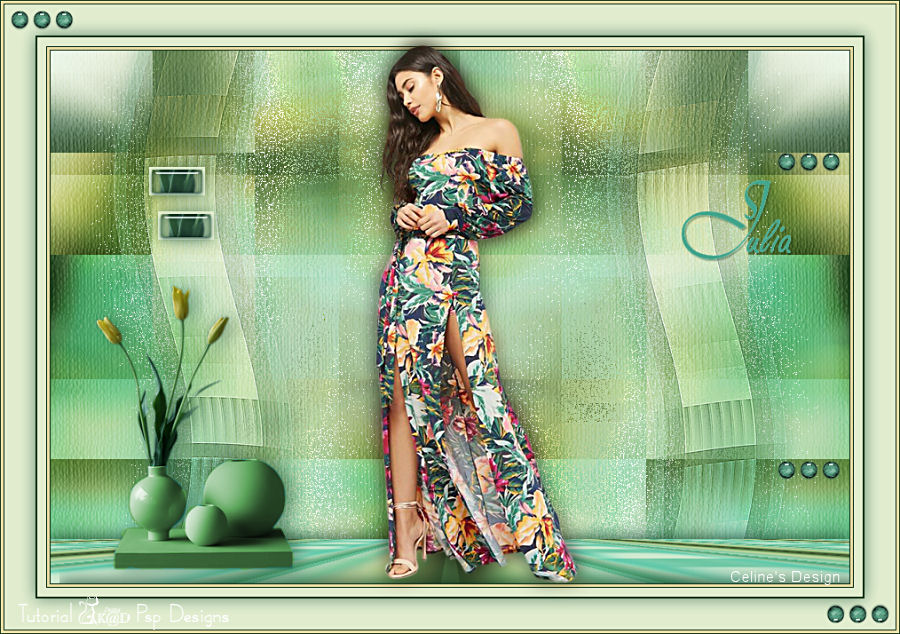
Add your name or watermark,
and KaD's tutorial
watermark
Save as JPG
file and you're done!
If you wish you can
post your result on
our ASDwebdesigns
Gallery Facebook
Group