
~°~
Original by
KadsPSPdesign
~°~
Thank you Karin for
your permission to
translate your
tutorials.
Translated by Chris for ASDWebdesigns
Please read my
TERMS
before sharing this
tutorial! |
Materials:

Disclaimer: Each
Graphic is the property of the original artist to
whom the copyright belongs and may not be placed in
a collection or offered for sale on-line or
otherwise.
This translation is
written with PSP18, if you work with older versions some things
might be different but the result will be the same.
|
Acknowledgements:
- Lady tube and Text by Yoka
- Mask by Narah
- All other files by Karin
|
Plugins:
I.C.Net Software - Filters Unlimited 2.0
MuRa's Meister - Copies
Simple - 4Way Average
Toadies - Ommadawn **
AP Lines - SilverLining
** Import into Filters Unlimited otherwise your result will be different
|
Preparations:
Open the Mask in PSP and minimize to tray
Open KaD_372_Alfakanaal in PSP
Save all other files to a folder of your choice
From PSP 14,
15 AND 16 there is no option for Image - Mirror & Image - Flip There is
a new option but this does not give the same result except when the tube/image
covers the whole image from side to side There is a easy way to add
the old Mirror and Flip options to the Image Menu I have written a tutorial
you can find it
HERE.
From PSP 17 the option is back
|
Colors:
 |
 |
 |
 |
 |
|
|
|
|
#292931 |
#efda65 |
#fbf8d9 |
#ffffff |
#000000 |
|
|
|
Note: When working with your own colors, play with the Blend Mode
and/or Opacity at your own discretion
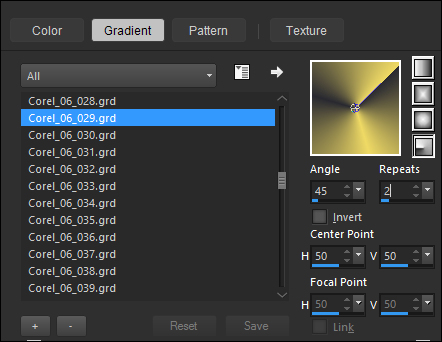
Color Palette: Set your Foregroundcolor to
Foreground/Background Gradient
(Corel_06_029) - Style: Radial
|
The tutorial:
01
Open "KaD_372_Alfakanaal" (this image contains Alpha Selections)
Window - Duplicate - or press Shift+D - Close the original
Fill the copy with the Gradient 
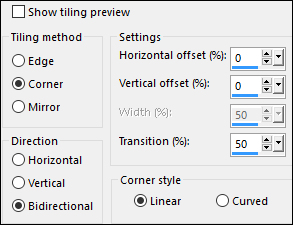
Effects - Image Effects - Seamless Tiling

02
Layers - Duplicate
Image - Mirror - Mirror Horizontal (Image-Mirror in older versions of PSP)
Image - Mirror - Mirror Vertical (Image-Flip in older versions of PSP)
Set the Blend mode of this Layer to Dodge and lower the Opacity to 60
Layers - Merge - Merge Visible
03
Layers - Duplicate
Effects - Plugins - MuRa's Meister - Copies
Effects - Image Effects - Seamless Tiling
Effects - Edge Effects - Enhance
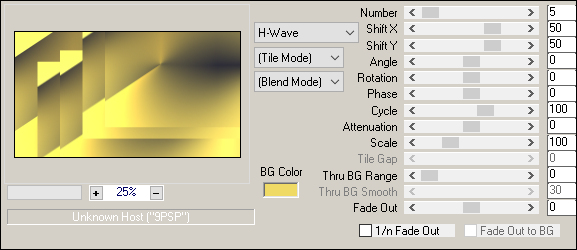
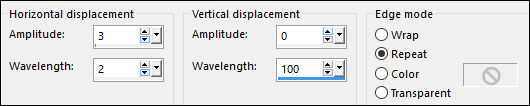
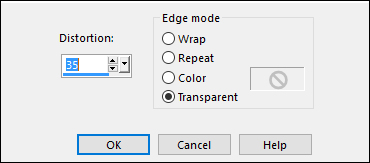
Effects - Distortion Effects - Wave
Layer Palette: Lower the Opacity of this Layer to 70
Layers - Duplicate
Layer Palette: Set the Blend Mode of this Layer to Overlay
Layers - Merge - Merge Down
04
Color Palette: Set your Foreground back to Color - #ffffff
Layers - New Raster Layer
Selections - Load/Save Selection - Load Selection from Alpha Channel - Selectie1

Fill the Selection with the Foregroundcolor
Selections - Modify - Contract by 10px
Edit - Cut or press delete on your keyboard Keep Selected
Flood Fill Tool: Lower the Opacity to 30 on the Toolbar
Again fill the Selection with your Foregroundcolor
Selections - Select None
Flood Fill Tool: Reset the Opacity
to 100 on the Toolbar
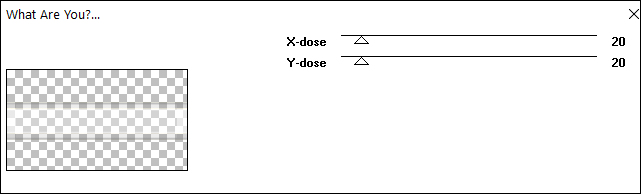
Effects - Plugins - Toadies - What Are You?
05
Open Tube "Yoka-TEXT Makeup-210515
Edit - Copy
Edit - Paste - Paste As New Layer
Note: If you are using different colors, colorize to match your work
Image - Resize 40% - Resize All Layers - unchecked
Adjust - Sharpness - Sharpen
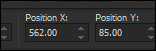
Press K on your keyboard to activate the Move Tool and enter these Parameters:
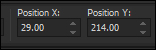
Press any key to close the Move Tool
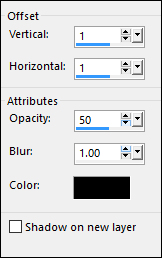
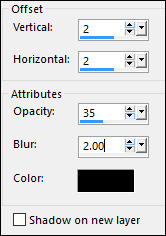
Effects - 3D Effects - Drop Shadow
06
Layer Palette: Click on the second Layer from the bottom (Copy of Merged)
Layers - Duplicate
Effects - Plugins - Simple - 4Way Average
Selections - Load/Save Selection - Load Selection from Alpha Channel - Selectie2
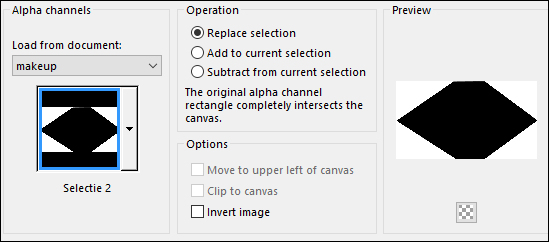
Edit - Cut or hit Delete on your keyboard
Selections - Select None
Layer Palette: Set the Blend Mode of this Layer to Overlay
07
Selections - Load/Save Selection - Load Selection from Alpha Channel - Selectie3
Selections - Promote Selection To Layer Keep Selected
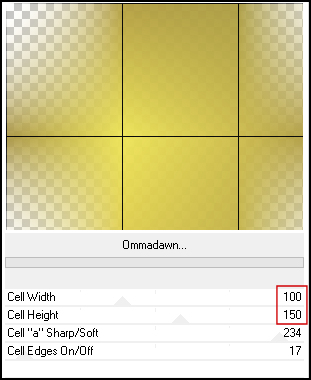
Effects - Plugins - Filters Unlimited 2.0 - Toadies - Ommadawn
Selections - Select None
Effects - Image Effects - Seamless Tiling
Layer Palette: Set the Opacity of this Layer to 40
08
Layers - Duplicate
Image - Mirror - Mirror Horizontal (Image-Mirror in older versions of PSP)
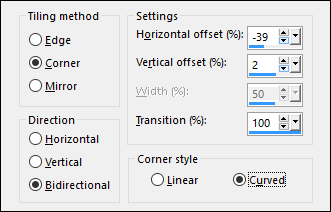
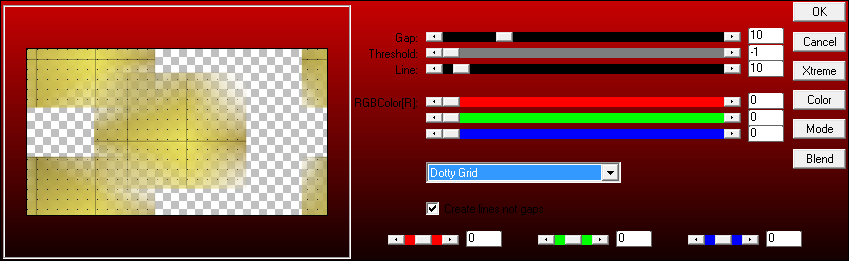
Effects - Plugins - AP01 - Innovations - Lines - Silver Lining - Dotty Grid
Layer Palette: Set the Bend Mode to Hard Light
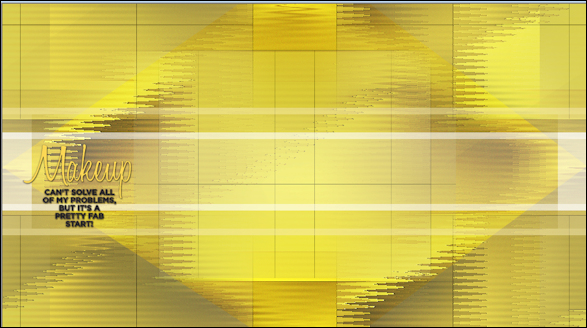
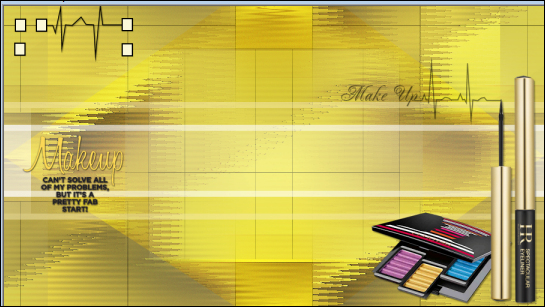
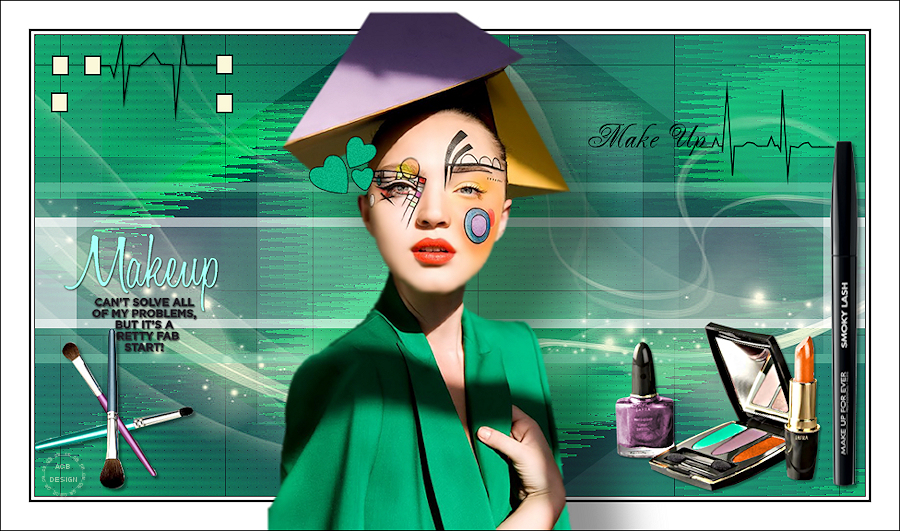
Your work looks like this now:
09
Layer Palette: Click
on the Top LayerOpen tube"KaD_Makeup3"
Edit - Copy
Edit - Paste - Paste As New Layer
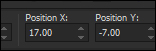
Press K on your keyboard to activate the Move Tool and enter these Parameters:
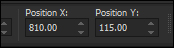
Press any key to close the Move Tool
Effects - 3D Effects - Drop Shadow
10
Open tube "KaD_Makeup2"
Edit - Copy
Edit - Paste - Paste As New Layer
Image - Mirror - Mirror Horizontal (Image-Mirror in older versions of PSP)
Image - Resize - 30% - Resize All Layers - unchecked
Effects - Geometric Effects - Perspective Horizontal
Layers - Arrange - Move Down
Effects - 3D Effects - Drop Shadow
V2 - H2 - 35 - 2 - #000000
Press K on your keyboard to activate the Move Tool and enter these Parameters:

Press any key to close the Move Tool
11
Open tube"372_KaD_Deco1"
Edit - copy
Edit - Paste - Paste As New Layer
Press K on your keyboard to activate the Move Tool and enter these Parameters:
Press any key to close the Move Tool
Effects - 3D Effects - Drop Shadow
V1 - H1 - 15 - 1 - #000000
12
Open tube"372_KaD_Deco2"
Edit - copy
Edit - Paste - Paste As New Layer
Press K on your keyboard to activate the Move Tool and enter these Parameters:
Press any key to close the Move Tool
Effects - 3D Effects - Drop Shadow
V1 - H1 - 15 - 1 - #000000
Your work looks like this now:
13
Layer Palette: Click on the 5th Layer from the Bottom (Copy of Promoted Selection)
Layers - New Raster Layer
Color Palette: Change the Backgroundcolor to #fbf7d9
Fill the Layer with the Backgroundcolor
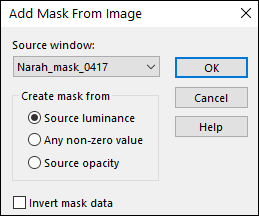
Layers - New Mask Layer - From Image - Narah_mask_0417
Layers - Merge - Merge Group
Adjust - Sharpness - Sharpen
Check you have all of your Layers in the right place
Layers - Merge - Merge Visible
14
Image - Add Borders - Symmetric checked - 1px #000000
Image - Add Borders - Symmetric checked - 3px #ffffff
Image - Add Borders - Symmetric checked - 3px #000000
Image - Add Borders - Symmetric checked - 30px #ffffff
15
Open Tube"Yoka-Lady-Make-Up-2105152"
Edit - copy
Edit - Paste - Paste As New Layer
Image - Mirror - Mirror Horizontal ( Image - Mirror in older versions of PSP)
Image - Resize - 75% - Resize All Layers - not checked
Press K on your keyboard to activate the Move Tool and enter these Parameters:
Press any key to close the Move Tool
Adjust - Sharpness - Sharpen
15
Layer Palette: Click on the Bottom Layer (The Background)
Selections - Select All
Image - Crop to Selection
Layer Palette: Click on the Top Layer
Effects - 3D Effects - Drop Shadow
V0 - H7 - 50 - 25 - #000000
Image - Add Borders - Symmetric checked - 1px - #000000
16
Optional:
Image - Resize - Width 900 Pixels - Resize all Layers checked
Add your name or watermark, save as JPG
file and you're done!
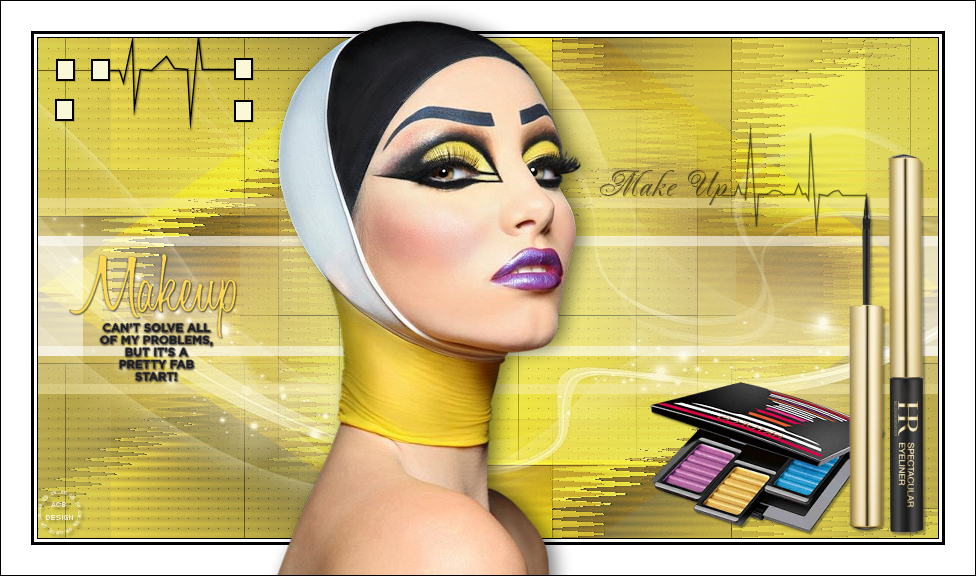
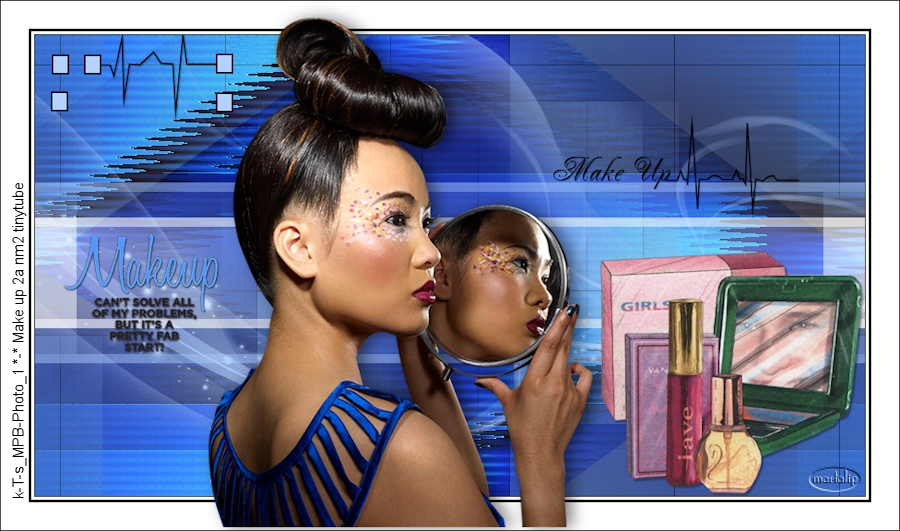
Extra Example by Chris
 |
|
With special
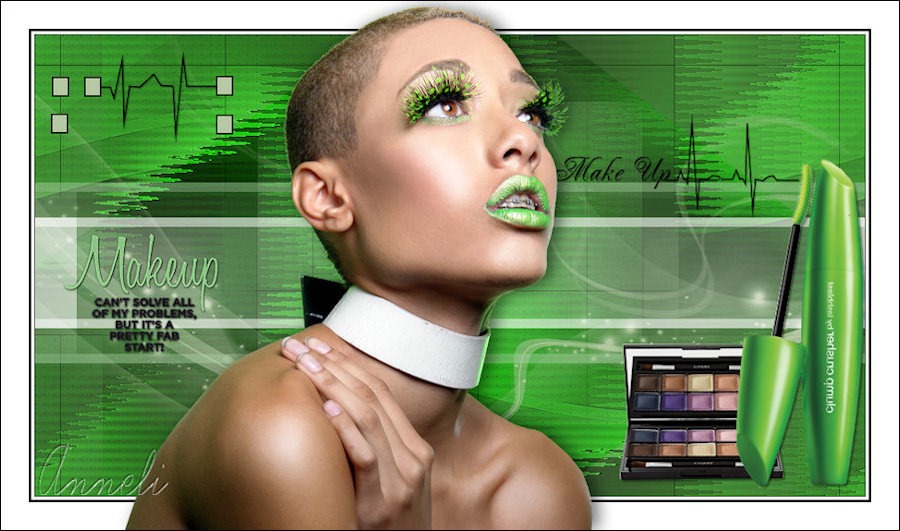
thanks to testers Martalip and Anneli
Martalip:
Anneli:
|
Back to the top
ASDWebdesigns ©2008 - 2016 |