The tutorial:
01
Maximize
"403_Kad_Alfakanaal"
from tray
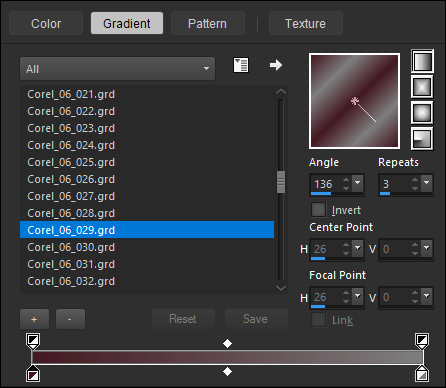
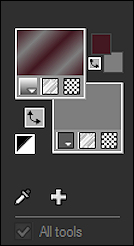
 Fill with the
Gradient
Fill with the
Gradient

Effects - Image
Effects - Seamless
Tiling
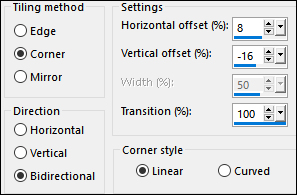
Edit - Repeat
Seamless Tiling
Adjust - Blur -
Gaussian Blur -
Radius: 50
02
Layers -
Duplicate
Edit - Repeat
Duplicate Layer
Layer Palette:
Close the Bottom
Layer
Staying on the
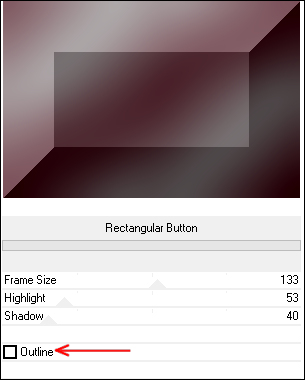
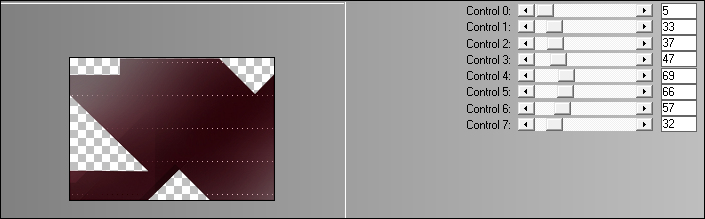
Top Layer: Effects -
Plugins - Filters
Unlimited 2.0 -
Buttons and Frames -
Rectangular Button
(Outline not
checked)
03
Effects - Plugins
- Mehdi - Sorting
Tiles

Effects - Image
Effects - Seamless
Tiling (Same
settings)
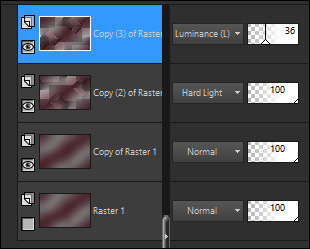
Layer Palette:
Change the Blend
Mode of this Layer
to Hard Light
04
Layers -
Duplicate
Image - Mirror -
Mirror Vertical
(Image - Flip in
older versions of
PSP)
Image - Mirror -
Mirror Horizontal
(Image - Mirror in
Older versions of
PSP)
Layer Palette:
Change the Blend
Mode of this Layer
to Luminance (Legacy)
and lower the
Opacity to 36
Effects - Edge
Effects - Enhance
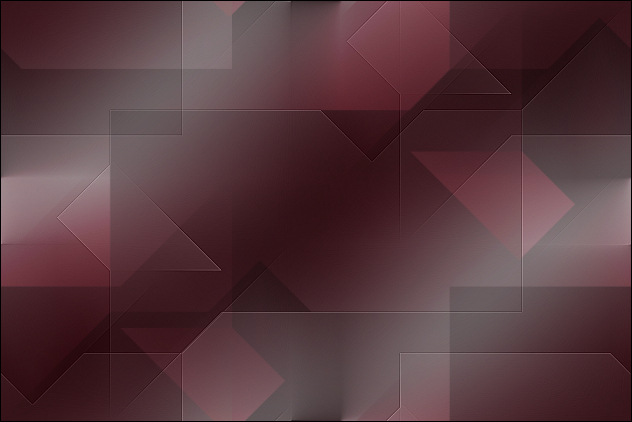
Your work and
Layer Palette look
like this now:
Layers - Merge -
Merge Visible
05
Materials
Palette:
Change the
Backgroundcolor to
#ffffff

Layers - New
Raster Layer
Selections -
Load/Save - Load
Selection From Alpha
Channel - " Selectie
1"
Fill th Selection
with the
Backgroundcolor
(Right Mouse Click)
Selections -
Select None
06
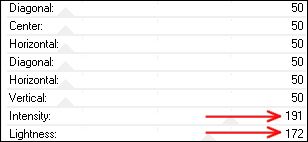
Effects -
Distortion Effects -
Wave

Image - Rotate
Left
Effects - Plugins
- Alien Skin - Eye
Candy 5 - Impact -
Motion Trail- Preset
-"403_KaD_MotionTrail"
Image - Rotate
Right
07
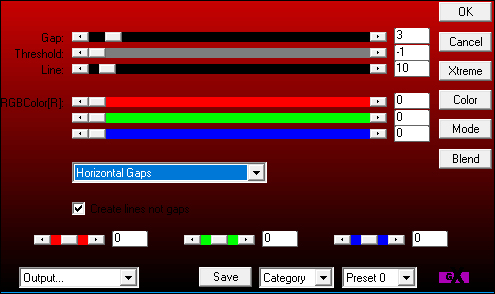
Effects - Plugins
- AP 01
[Innovations] -
Lines - SilverLining
- Horizontal Gaps
Layers -
Duplicate
Image - Mirror -
Mirror Vertical
(Image - Flip in
older versions of
PSP)
Layers -Merge -
Merge Down
Effects - Simple -
Pizza Slice Mirror
Layer Palette:
Change the Blend
Mode of this Layer
to Overlay
and lower the
Opacity to 57
08
Effects - Image
Effects - Seamless
Tiling (Same
settings)
Layer Palette:
Click on the middle
Layer (Merged)
Selections -
Load/Save - Load
Selection From Alpha
Channel - " Selectie
2"
Selections -
Promote Selection to
Layer
Keep selected
09
Effects - Plugins
- L en K -
landksiteofwonders -
L en K's - Zitah
Selectons -
Select None
Effects - Plugins
- Filters Umlimited
-Tramages - Pool
Shadow
Effects - Image
Effects - Seamless
Tiling (Same
settings)
Layer Palette:
Lower the Opacity of
this Layer to 60
10
Materials
Palette: Change the
Backgroundcolor to
#7f7f7f

Layes - New
Raster Layer
Layers - Arrange
- Move Down
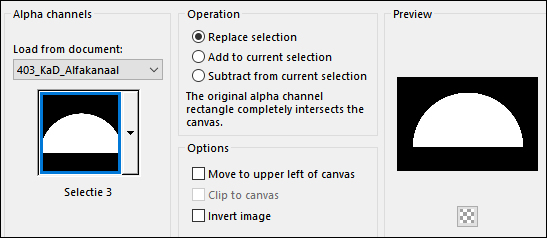
Selections -
Load/Save - Load
Selection From Alpha
Channel - "
Selectie3"
Fill the Selection
with the
Backgroundcolor
Selections -
Select None
Adjust - Blur -
Gaussian Blur -
Radius: 20
11
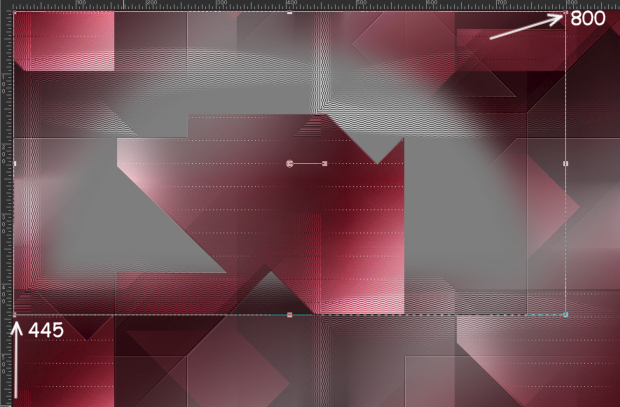
View Rulers
Press K to
activate the Pick
Tool (D
for the Raster
Deform Tool in older
Versions of PSP)
Move slightly to
the left like this:
(800 x 445)
Press any key to
close the Pick Tool
View - Rulers
12
Layers -
Duplicate
Image - Mirror -
Mirror Vertical
Image - Flip in
older versions of
PSP)
Image - Mirror -
Mirror Horizontal
(Image - Mirror in
older versions of
PSP)
Layers - Merge
Down
Layer Palette:
Change the Blend
Mode of this Layer
to
Luminance(Legacy)
and lower the
Opacity to 46
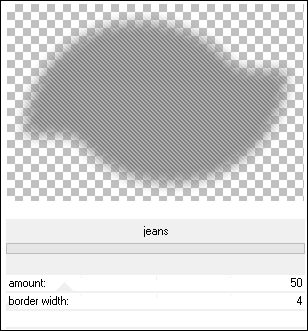
Effects - Plugins
- penta.com - jeans
13
Layer Palette:
Open the Bottom
Layer
Edit - Copy
Special - Copy
Merged
Layers - New
Raster Layer
Layers - Arrange
- Bring to Top
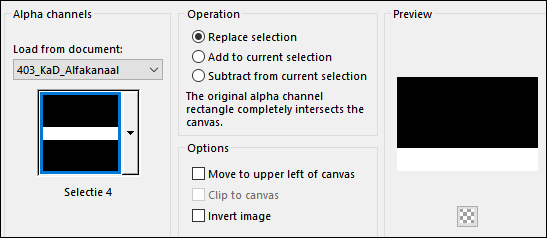
Selections -
Load/Save - Load
Selection From Alpha
Channel - "
Selectie4"
Edit - Paste -
Paste Into Selection
(Image is still in
memory)
Keep Selected
14
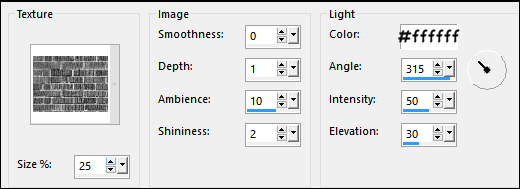
Effects - Texture
Effects - Texture -
"Corel_15_032"
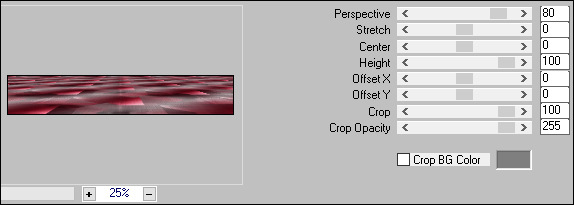
Effects - Plugins
- MuRa's Meister -
Perspective Tiling -
Default settings
Selections -
Select None
Adjust -
Sharpness - Sharpen
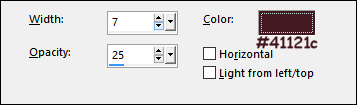
Effects - 3D
Effects - Drop
Shadow:
Vertical: 0
Horizontal: 0
Opacity: 80
Blur:40
Color: #000000
15
Effects - Plugins
- Filters Unlimited
- Tramages - Pool
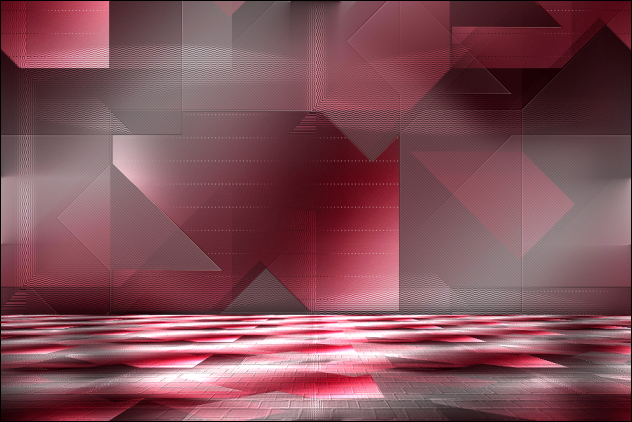
Shadow
Your work and
Layer Palette look
like this:

16
Layer Palette:
Click on the 2nd
Layer from the
Bottom (Merged)
Layers -
Duplicate
Image - Resize -
78% - Resize All
Layers - not checked
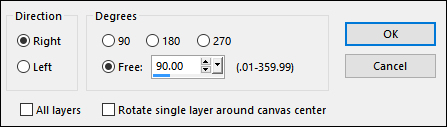
Image - Free
Rotate
Press K on
your Keyboard to
activate the Pick
Tool
Enter these
Parameters:

Press any key to
close the Pick Tool
Effects - Edge
Effects - Enhance
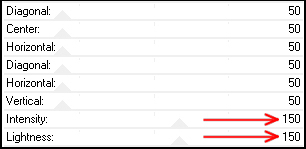
17
Effects - Texture
Effects - Blinds
Layer Palette:
Change the Blend
Mode of this Layer
to Color
Layers -
Duplicate
Image - Mirror -
Mirror Vertical
(Image - Flip in
older versions of
PSP)
Change the Blend
Mode of this Layer
to Luminance
18
Maximize
"403_KaD_Text"
from tray
Edit - Copy
On your work
image: Edit - Paste
- Paste As New Layer
Layers - Arrange
- Move up
Edit - Repeat
Move Layer Up
Again Edit
- Repeat Move Layer
Up
Pres K on
your keyboard to
activate the Pick
Tool
Enter these
Parameters:

Press any key to
close the Pick Tool
Layer Palette:
Change the Blend
Mode of this Layer
to Screen
19
Maximize
"403_KaD_Deco1"
from tray
Edit - Copy
On your work
image: Edit -
Paste - Paste As New
Layer
Layers - Arrange
- Bring to Top
Press K on
your keyboard to
activate the Pick
Tool
Enter these
Parameters:

Press any key to
close the Pick Tool
20
Maximize
"403_KaD_Text1"
from tray
Edit - Copy
On your work
image: Edit -
Paste - Paste As New
Layer
Press K on
your keyboard to
activate the Pick
Tool
Enter these
Parameters:

Press any key to
close the Pick Tool
21
Layers - New Raster
Layer
Material Palette:
Change the
Foreground Gradient
back to Color
#41121c

Brush Tool (B)
Select
"1217492837"
from the drop down
menu
Size: 450

Stamp once with
the Foregroundcolor
 like this:
22
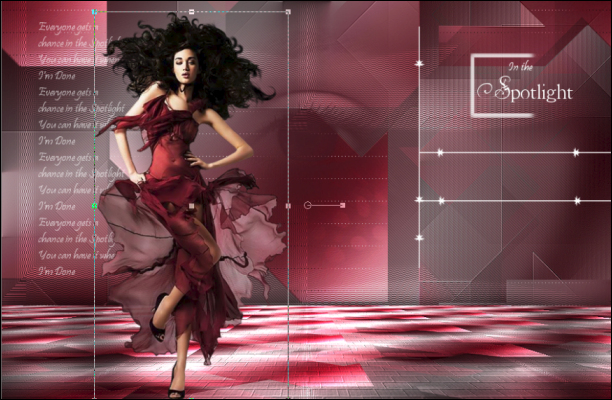
Maximize
"KaD_Woman_105" from
tray
Erase the
Watermark
Edit - CopyOn
your work image:
Edit - Paste - Paste
As New Layer
Image - Resize -
78% - Resize All
Layers - not checked
Move slightly to
the Left like this:
Effects - 3D
Effects - Drop
Shadow: Vertical:
7 Horizontal:
10
Opacity: 30
Blur: 20
Color: #000000
23
Materials
Palette: Change the
Backgroundcolor to
#ffffff
Image - Add
Borders - 1px -
Foregroundcolor
#41121c
Selections -
Select All
Image - Add
Borders - 15px-
Backgroundcolor
Edit - Copy
Effects - 3D
Effects - Drop
Shadow: Vertical:
0 Horizontal:
0 Opacity: 40
Blur: 20
Color: #000000
Selections -
Select None
24
Image - Add Borders
- 1px -
Foregroundcolor
Selections -
Select All
Image - Add
Borders - 15px-
Backgroundcolor
Image - Add
Borders - 1px -
Foregroundcolor
Selections
- Invert
Edit - Paste -
Paste Into Selection
(image is still in
memory)
Adjust - Blur -
Gaussian Blur -
Radius 7
Effects - Plugins
- L en K -
landksiteofwonders -
L en K's - Zitah
Selections - Select
None
25
Image - Add
Borders - 1px -
Foregroundcolor
Selections -
Select All
Image - Add
Borders - 15px -
Backgroundcolor
Effects - 3D Effects
- Drop Shadow:
Vertical: 0
Horizontal: 0
Opacity:
40
Blur: 20
Color: #000000
Selections -
Select None
Image - Add
Borders - 1px -
Foregroundcolor
26
Optional: Image -
Resize - Width
900 Pixels -
Resize all Layers
checked
Adjust -
Sharpness - Unsharp
Mask

Add your name or
watermark, save as
JPG file and you're
done!
Extra Examples
by Chris and Anya