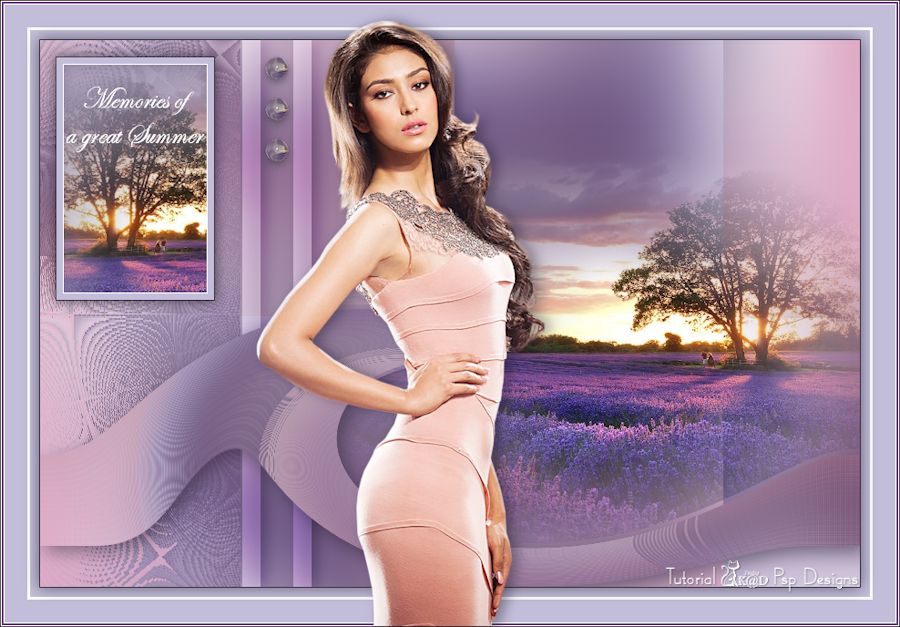
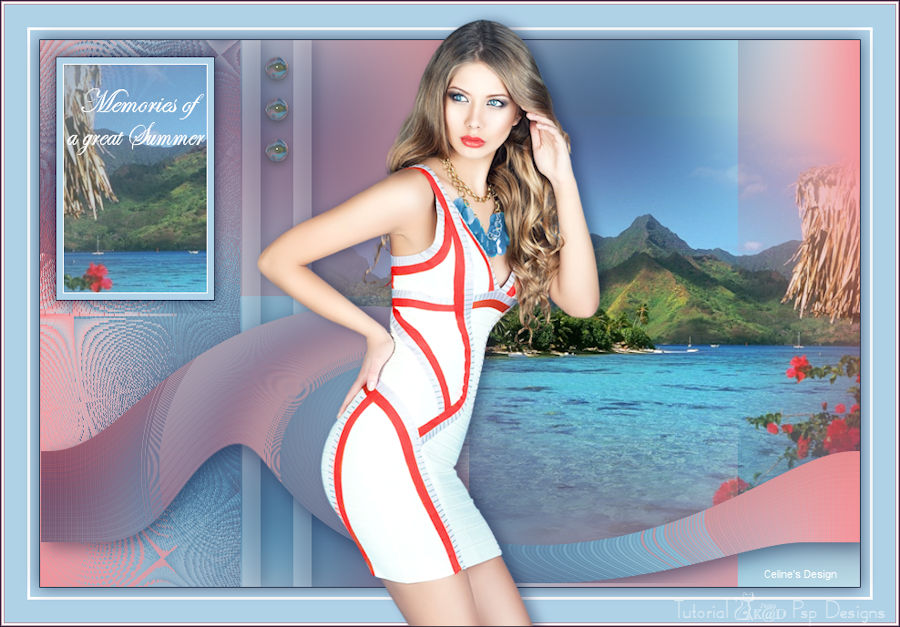
The tutorial:
01
Maximize
"440_KaD_Alfakanaal"
from tray
Window -
Duplicate (or
Shift+D)
This image
contains Alpha
Selections
Close the
original and
proceed on the
copy
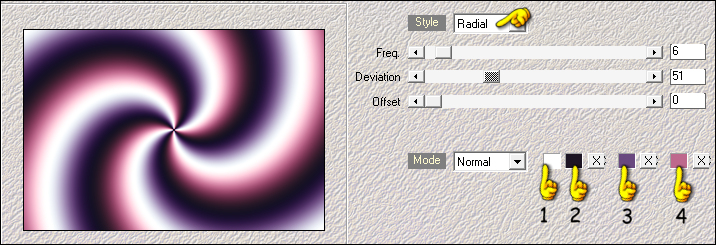
Effects - Plugins
- Mehdi - Wavy Lab
1.1
Adjust - Blur -
Gaussian Blur -
Radius: 50
02
Layers - New
Raster Layer
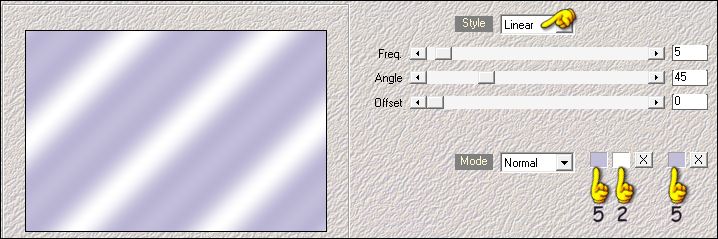
Effects - Plugins
- Mehdi Wavy Lab
Note: This
is a different
version not
1.1 and will give
different results
Layer Palette:
Change the Blend
Mode of this Layer
to Hard Light
and lower the
Opacity to 34
Layers - Merge -
Merge Down
03
Effects - Plugins
- Filters Unlimited
- Toadies - Weaver

Layers -
Duplicate
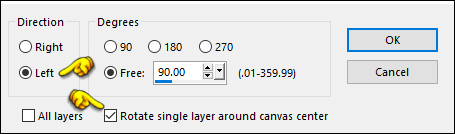
Image - Free
Rotate
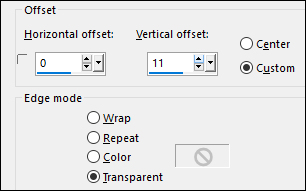
04
Effects - Image
Effects - Offset
Layer Palette:
Click on the Bottom
Layer
Selections -
Select All
Click on the Top
Layer
Image - Crop to
Selection
Layers - Merge -
Merge Down
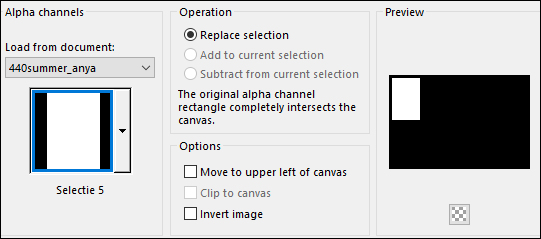
05
Selections -
Load/Save - Load
Selection From Alpha
Channel "Selectie 1"
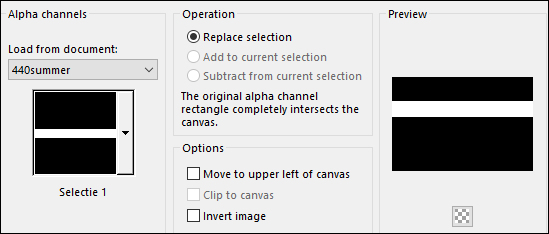
Selections -
Promote Selection to
Layer
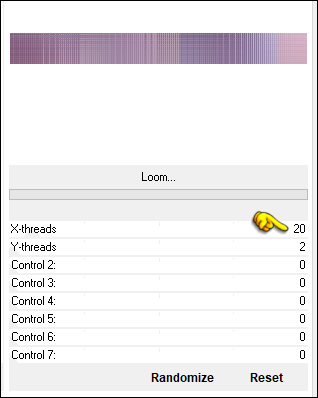
Effects - Plugins
- Filters Unlimited
- FunHouse - Loom
Selections -
Select None
06
Image - Mirror -
Mirror Horizontal
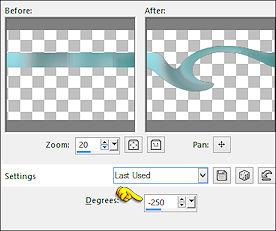
Effects -
Distortion Effects -
Twirl
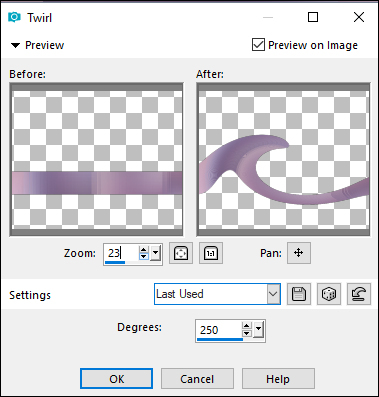
Note: If your
twirl looks not like
the above example
(zoom in) you can
set the degrees to
Minus 250 instead
and then Flip the
image (Image -
Mirror - Mirror
Vertical)
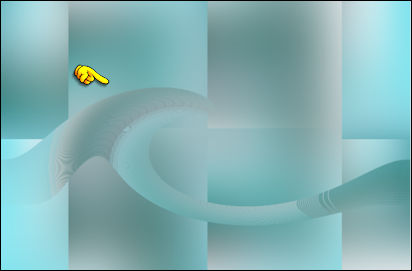
07
Objects - Align -
Bottom
Note: If
you don't have this
option, activate the
Pick Tool (K)
Enter these
parameters for the
X and Y
positions on the
Toolbar
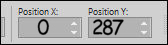 0.00 287.00
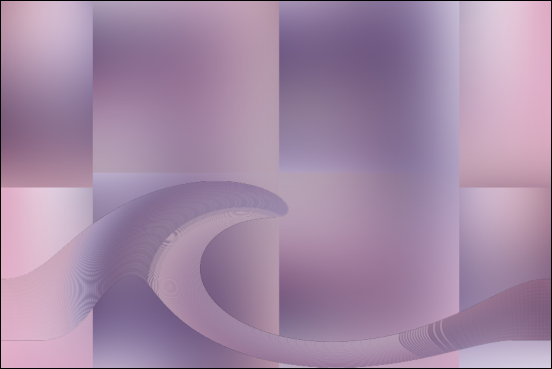
Press any key to
close the Pick Tool
Result:
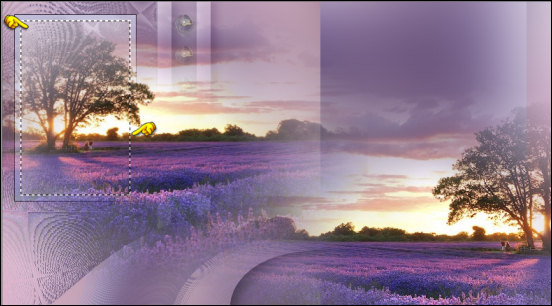
08
Maximize
"KaD_MistedLandscape5"
from tray
Erase the
watermark
Edit - Copy
Minimize to tray
again
On your work
image: Edit -
Paste - Paste As New
Layer
Move to the Right
edge like this:

09
Selections -
Load/Save - Load
Selection From Alpha
Channel "Selectie 2"
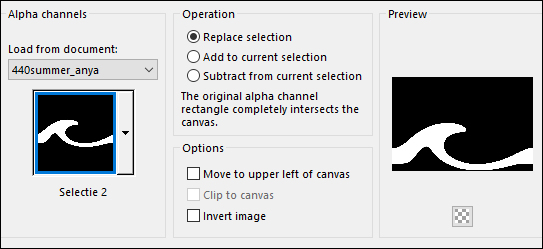
Hit the
Delete key on your
keyboard
Note: If
necessary, move the
Layer into the
Selection before
pressing Delete
Selections -
Select None
Layer Palette:
Click on the Layer
below (Promoted
Selection)
Effects - 3D
Effects - Drop
Shadow:
Vertical: 6
Horizontal: 6
Opacity: 45
Blur: 30
Color:
#1d1424 
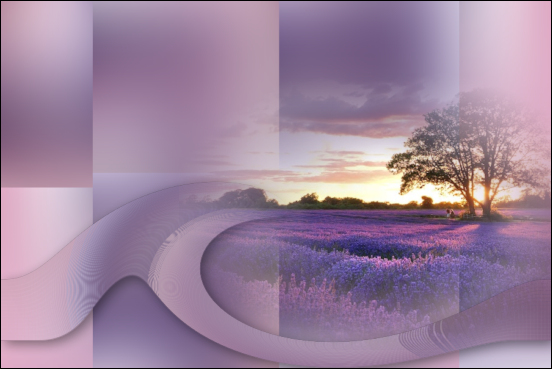
Your work and
Layer Palette look
like this now:
10
Layer Palette:
Click on the Bottom
Layer (Raster1)
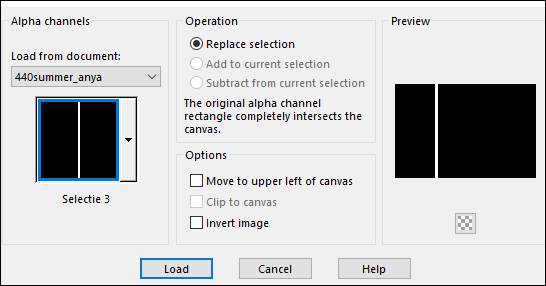
Selections -
Load/Save - Load
Selection From Alpha
Channel "Selectie 3"
Selections -
Promote Selection to
Layer
Selections -
Select None
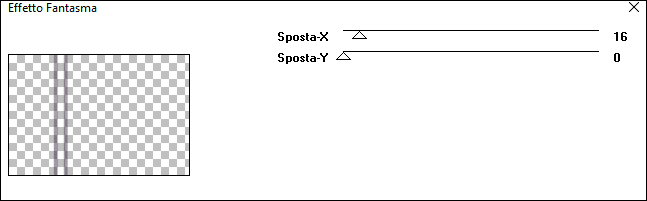
Effects - Plugins
-
It@lian
Editors Effect -
Effetto Fantasma
Effects - 3D
Effects - Drop
Shadow:
Vertical: 0
Horizontal: 7
Opacity: 40
Blur: 20
Color:
#1d1424
Layer Palette:
Change the Blend
Mode of this Layer
to Overlay
11
Layer Palette:
Again Click on the
Bottom Layer
(Raster1)
Layers -
Duplicate
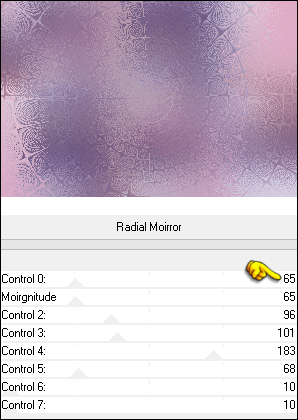
Effects - Plugins
- Filters Unlimited
- FunHouse - Radial
Moirror
12
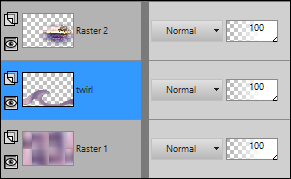
Selections -
Load/Save - Load
Selection From Alpha
Channel "Selectie 4"
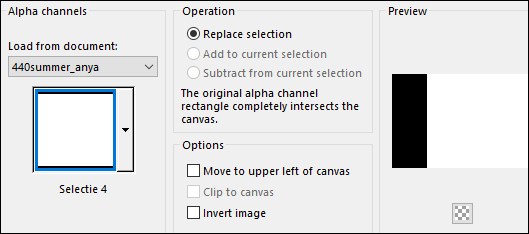
Edit - Cut
(or hit Delete on
your keyboard)
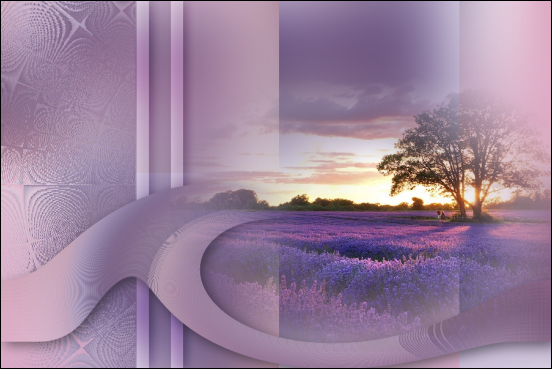
Selections -
Select None
Result:
13
Layer Palette:
Click on the Top
Layer
Edit - Copy
Special - Copy
Merged
On your work
image: Edit -
Paste - Paste As New
Layer
Effects -
Geometric Effects -
Circle - Transparent
checked
Image - Resize -
5% - Resize All
Layers - not
checked
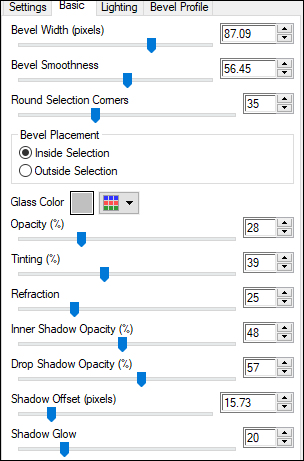
Effects - Plugins
- Alien Skin - Eye
Candy 5 - Impact -
Glass - Preset:
"440_KaD_Glass"
Note: If the
Preset isn't working
for you, use these
settings in the
Basic tab
14
Press K on your
keyboard to activate
the Pick Tool

Enter these
parameters for the X
and Y positions on
the Toolbar
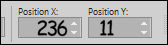 236.00
11.00
236.00
11.00
Press any key to
close the Pick Tool
Layers -
Duplicate
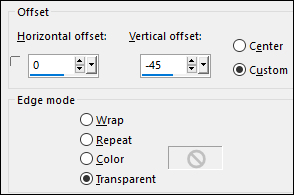
Effects - Image
Effects - Offset
15
Layers -
Duplicate
Effects - Image
Effects - Offset
Layers - Merge -
Merge Down
Edit - Repeat
Layer Merge Down
Adjust -
Sharpness - Sharpen
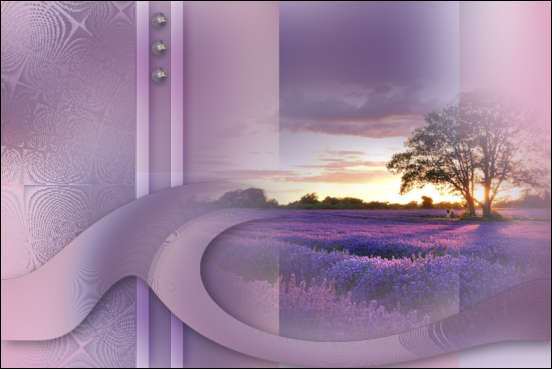
Your work looks
like this now:
16
Layers - New
Raster Layer
Selections -
Load/Save - Load
Selection From Alpha
Channel "Selectie 5"
Fill the
Selection with the
Foregroundcolor
Selections -
Modify - Contract -
1px
Edit - Cut
(or hit Delete on
your keyboard)
Keep selected
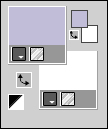
17
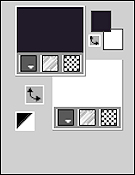
Materials
Palette:
Change the
Foregroundcolor to
#c2bdd9

Fill the
Selection with the
Foregroundcolor
Selections -
Modify - Contract -
7px
Edit - Cut
(or hit Delete on
your keyboard)
Fill the
Selection with the
Backgroundcolor

Selections -
Modify - Contract -
1px
Edit - Cut
(or hit Delete on
your keyboard)
Flood Fill Tool:
Lower the Opacity to
40 on the Toolbar
Fill the
Selections with the
Foregroundcolor
Raise the Opacity
of the Flood Fill
Tool back to 100 on
the Toolbar
Keep selected
18
Maximize
"KaD_MistedLandscape5"
again from tray
Image - Mirror -
Mirror Horizontal
Edit - Copy
You can close
this tube now
On your work
image: Edit -
Paste - Paste As New
Layer
Image - Resize -
90% - Resize All
Layers - not
checked
Move into the
frame like this:
Selections -
Invert
Edit - Cut
(or hit Delete on
your keyboard)
Selections -
Select None
Layers - Merge -
Merge Down
19
Effects - 3D
Effects - Drop
Shadow:
Vertical: 0
Horizontal: 0
Opacity: 40
Blur: 20
Color:
#1d1424
Layers -
Duplicate
Layers - Merge -
Merge Down
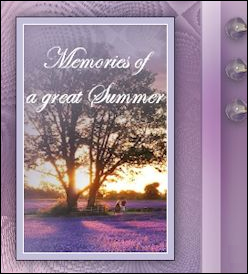
Result so far:
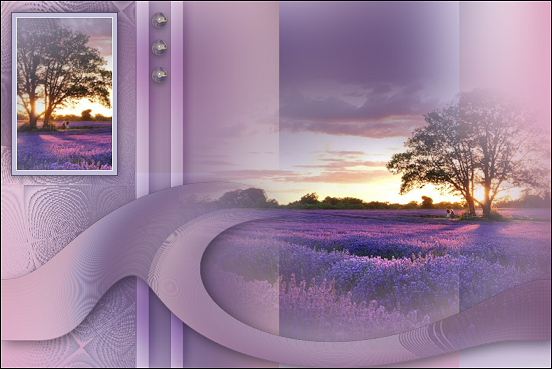
20
Materials
Palette:
Change the
Foreground back to
#1d1424
and close it
Text Tool (T)
Font: Easy Street
Alt EPS
Size: 36px

Type "Memories
of"
Layer Palette:
Right click and
Convert to Raster
Layer
Type " a great
Summer"
Layer Palette:
Right click and
Convert to Raster
Layer
Arrange in the
small frame like
this:
Layers - Merge -
Merge Down
Layers -
Duplicate
Layer Palette:
Change the Blend
Mode of this Layer
to Screen
21
Layer Palette:
Check that you are
happy with the
positions and Blend
Modes of your Layers
(These can all be
adjusted to your
taste)
Layers - Merge -
Merge Visible
Image - Add
Borders - Symmetric
checked - 1px -
#1d1424
Selections - Select
All
Image - Add
Borders - Symmetric
checked - 10px
#c2bdd9
Image - Add
Borders - Symmetric
checked - 3px -
#ffffff
Image - Add
Borders - Symmetric
checked - 25px
#c2bdd9
Effects - 3D
Effects - Drop
Shadow:
Vertical: 0
Horizontal: 0
Opacity: 60
Blur: 25
Color:
#1d1424
Selections -
Select None
Image - Add
Borders - Symmetric
checked - 1px -
#68487e
Image - Add
Borders - Symmetric
checked - 2px -
#ffffff
Image - Add
Borders - Symmetric
checked - 1px -
#68487e
22
Maximize
"KaD_Woman_159"
from tray
Erase the
watermark
Edit - Copy
On your work
image: Edit -
Paste - Paste As New
Layer
Image - Resize -
83% - Resize All
Layers - not
checked
Pick Tool (K)
Enter these
parameters for the
X and Y
positions on the
Toolbar
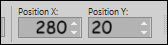 280.00 20.00
Press any key to
close the Pick Tool
Effects - 3D
Effects - Drop
Shadow:
Vertical: 0
Horizontal: 7
Opacity: 40
Blur: 20
Color:
#1d1424 
Image - Add
Borders - Symmetric
checked - 1px -
#1d1424
23
Optional:
Image - Resize - Width 900 Pixels - Resize all Layers checked
Add your name or watermark,
and KaD's watermark. save as JPG
file and you're done!