Open "342_KaD_Alfakanaal"
This image contains Alpha Selections
Window - Duplicate
(or shift+D) - Close the original and proceed on the copy
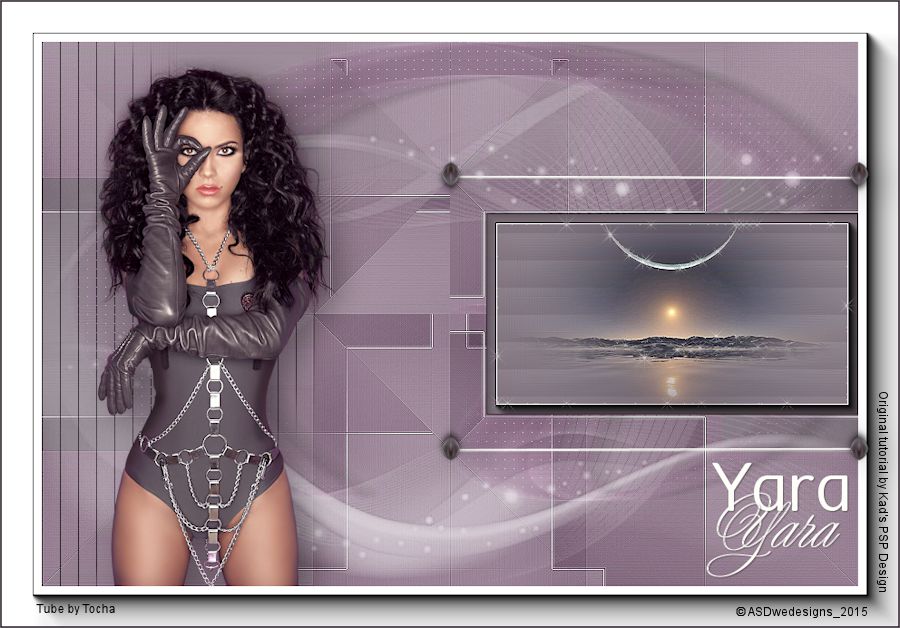
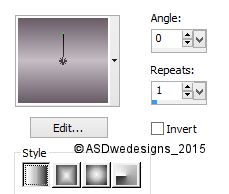
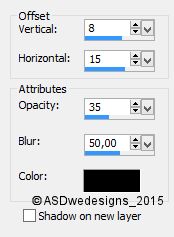
Fill with the
Gradient

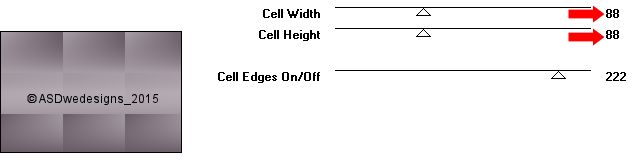
Effects - Plugins
- Toadies - Weaver
Effects - Edge
Effects - Enhance
Effects - Plugins - Simple - Blintz
Edit - Repeat
Blintz
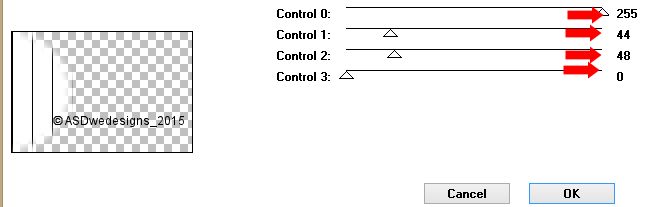
Effects - Plugins - Toadies - What Are
You? - X-dose 255 -
Y-dose 0
Effects - Edge
Effects - Enhance
Effects - Plugins - Simple - Pizza Slice
Mirror
Adjust - Sharpness - Sharpen
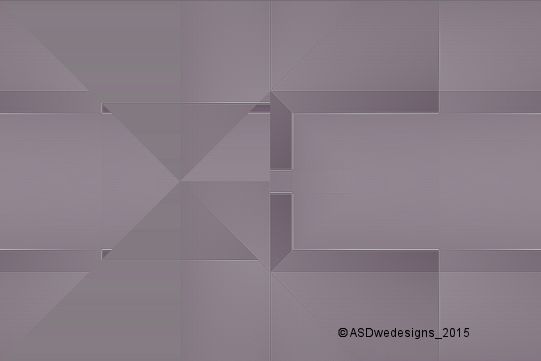
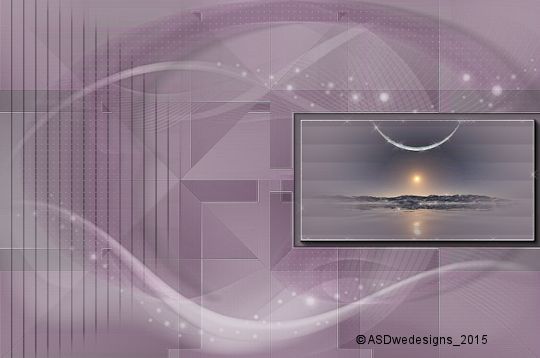
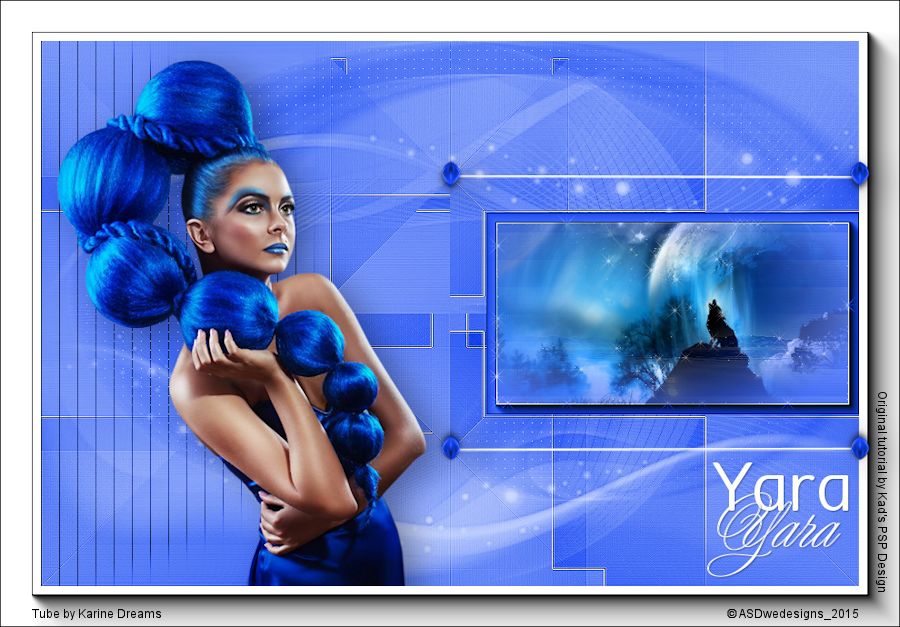
Your work looks
like this now:
02
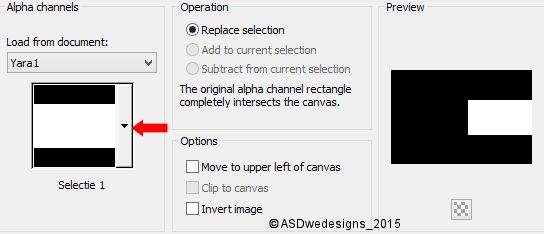
Selections - Load/Save
Selection - Load
Selection From Alpha
Channel -
Selectie 1
Selections -
Promote Selection to
Layer
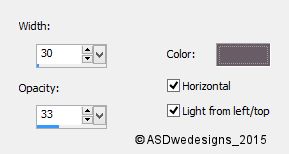
Effects - Texture
Effects - Blinds -
Foregroundcolor

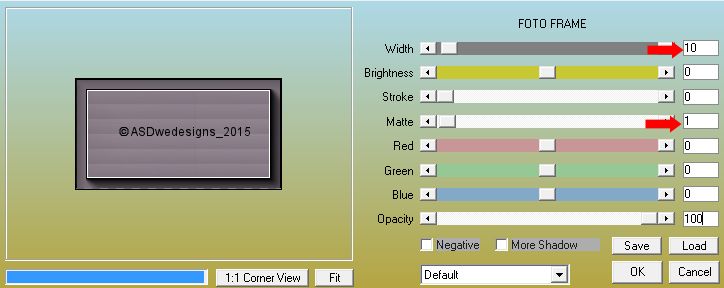
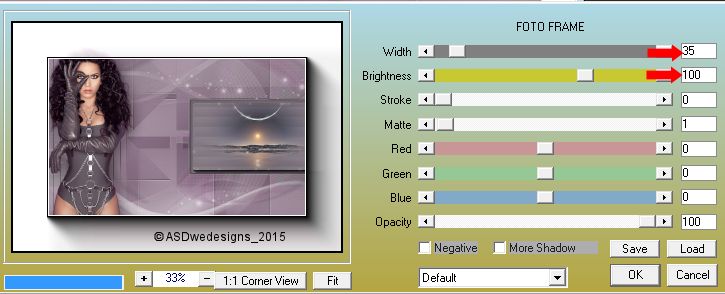
Effects - Plugins -
AAA Frames - Foto
Frame
Keep selected
03
Selections - Modify - Contract - 11 px
Open Tube "coucher_de_lune_tubed_by_thafs"
Edit - Copy
On your work image: Edit - Paste
as New Layer
Image - Resize - 50% - Resize all
Layers not checked
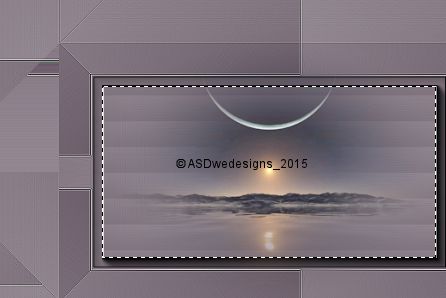
Move into the
Selection like this:
Selections -
Invert
Edit - Cut (Or hit the Delete Key of
your Keyboard)
Selections -
Invert
Adjust -
Sharpness - Sharpen
Layers - Merge -
Merge Down
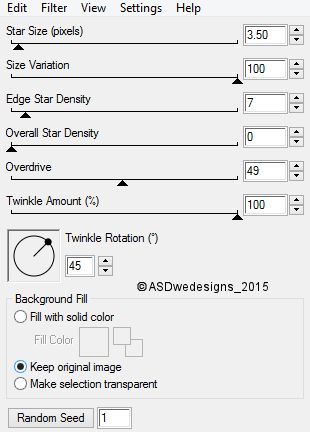
Effects - Plugins - Alien Skin -
Xenofex 2 -
Constellation
Selections -
Select None
04
Color Palette: Change the Backgroundcolor to #ffffff

Layer Palette - Click on the Bottom
Layer
Layers - New
Raster Layer
Fill with the
Backgroundcolor
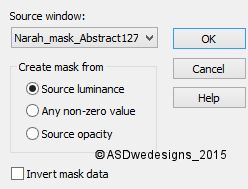
Layers - New Mask
Layer - From Image -
Narah_mask_Abstract127
Layers - Merge - Merge Group
Adjust -
Sharpness - Sharpen
More
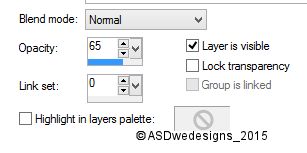
Layer Palette -
Double click on this Layer and set
the Layer Opacity of this Layer to
65
05
Layer Palette - Click on the Bottom
Layer
Layers - New
Raster Layer
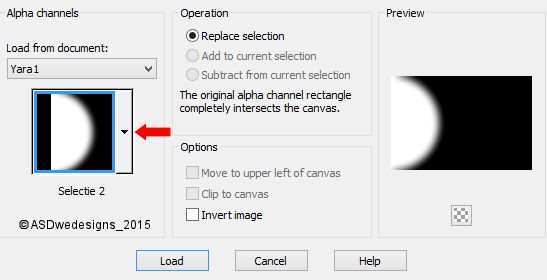
Selections - Load/Save
Selection - Load
Selection From Alpha
Channel -
Selectie 2
Fill with the
Backgroundcolor
Selections - Select
None
Effects - Plugins - Tramages -
Tow The Line
Layer Palette -
Double click on this Layer and set the Blend Mode to
"Burn"
Layers - Duplicate
Effects - Geometric Effects - Circle
- Transparent checked
Image - Mirror
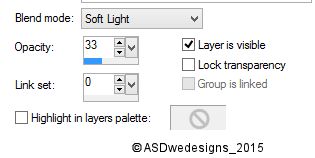
Layer Palette -
Double click on this Layer and set the Blend Mode to
"Soft Light" and the Layer Opacity to 33
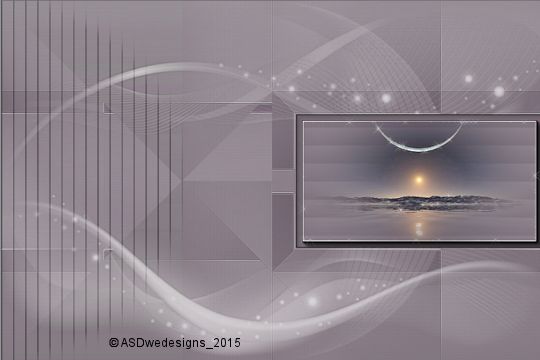
Your work and
Layer Palette look
like this now:
07
Color Palette: Set
the
Foregroundgradient
back to color
Layer Palette - Click on the Bottom
Layer
Layers - New
Raster Layer
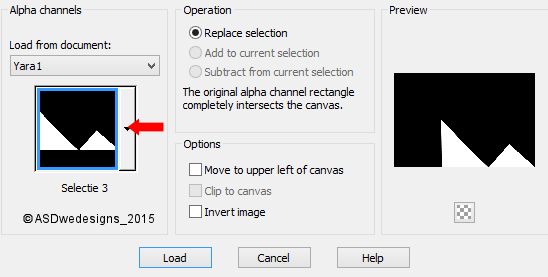
Selections - Load/Save
Selection - Load
Selection From Alpha
Channel - Selectie
3
Fill the
Selection with the
Foregroundcolor
Selections -
Select None
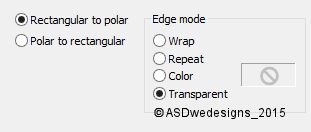
Effects - Distortion Effects - Polar
Coordinates
Edit - Repeat
Polar
Coordinates
Image - Flip
Effects - Distortion Effects - Wind
- From Leftt checked - Wind Strength:
100
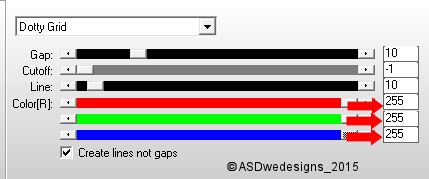
Effects - Plugins - AP [Lines]
- Lines - Silverlining
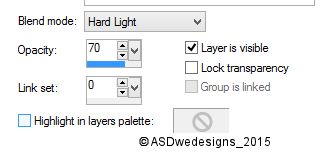
Layer Palette -
Double click on this Layer and set the Blend Mode to
"Hard Light" and the Layer Opacity to 70
Layers - Arrange - Bring to Top
Layers - Merge - Merge Down
08
Layer Palette - Click on the Bottom
Layer
Layers -
Duplicate
Image - Free Rotate - Right
checked - 90°
Effects - Plugins - Simple - Blintz
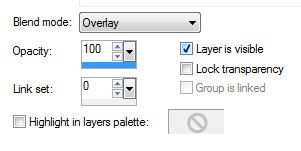
Layer Palette -
Double click on this Layer and set the Blend Mode to
"Overlay"
Layers - Merge - Merge all (Flatten)
Your work looks like this now:
09
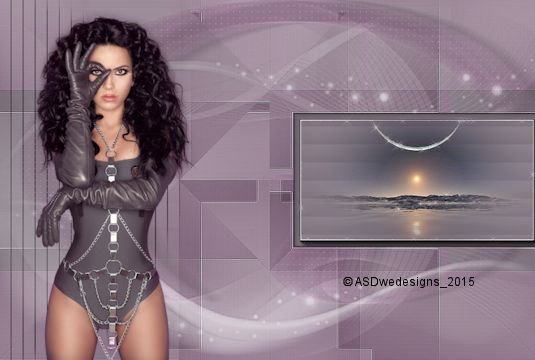
Open Tube "Tocha24452"
Edit - Copy
On your work image: Edit - Paste
As New Layer
Image - Resize - 45% - Resize all
Layers not checked
Move to the Left
like this:
Adjust - Sharpness - Unsharp Mask -
Radius
2 - Strength
28 - Clipping
2 - Luminance Only
not Checked
Effects 3D Effects -
Dropshadow -
Color #000000

10
Image - Add Borders - Symmetric
checked - 45 px -
Color #ffffff
Effects - Plugins -
AAA Frames - Foto
Frame
11
Open Tube "342_KaD_Deco2"
Edit - Copy
On your work image: Edit - Paste
As New Layer
Effects - Image Effects - Offset
12
Open Tube "342_KaD_Deco1"
Edit - Copy
On your work image: Edit - Paste
As New Layer
Effects - Image Effects - Offset
13
Open Tube "342_KaD_Text1"
Edit - Copy
On your work image: Edit - Paste
As New Layer
Effects - Image Effects - Offset
14
Image - Add Borders - Symmetric
checked - 1 px -
Color #695c67
Image - Resize - Width
900 px - Resize
all Layers checked
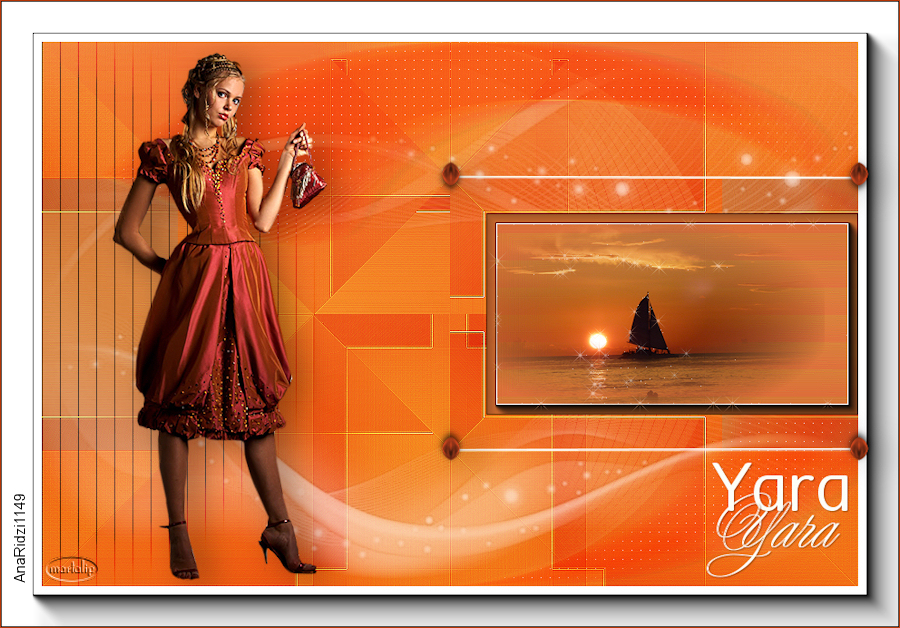
Add your name or watermark, save as JPG
file and you're done!