1/ kindpng_2322929 HIER
2/ Falling Leaves 02 by www.the-night-bird.deviantart.com HIER
3/ KaD_Woman_214
4/ 485_KaD_Text1
Alpha Selections : open in PSP and minimize
(this image is not empty – it contains alpha selections)
1/ 485_KaD_Alfakanaal
Masks : open in PSP and minimize
1/ Narah_Mask_1412
Color palette :
If you work with your own colors, make your own color palette with the alpha channel,
so you can easily switch between your colors.
There are color differences in the different versions of Psp.
Therefore, use the html codes of the color palette to be sure,
that you have the same colors. Also when merging layers, there may be color differences.

Plugins :
1/ Mehdi : Wavy Lab 1.1 – Sorting Tiles
2/ Unlimited 2.0 : &<Bkg Kaleidoscope> – @BlueBerry Pie (-)
3/ Unlimited 2.0 – &<Background Designers> – @Night Shadow (-)
4/ Italian Editors effect – Effetto Fantasma
5/ Alien Skin – Eye Candy 5 – Impact
(-) Import into Filters Unlimited
------------------------------------------------
THE TUTORIAL
When working with your own colors, play with the Blend Mode and/or Opacity at your own discretion
From now on I use the terms "MIRROR" and "FLIP" again.
Mirror: Mirror horizontal - Flip: Mirror vertical
 People who are visually impaired, contact me and I will send you a word document.
Let’s get started.
Remember to save your work often
Some print screens have other colors than the original.
Colors :
Foreground color : color 1
Background color : color 2
1
Open the alpha channel : 485_KaD_Alfakanaal
Window – Duplicate
Minimize the original – we continue on the copy
2
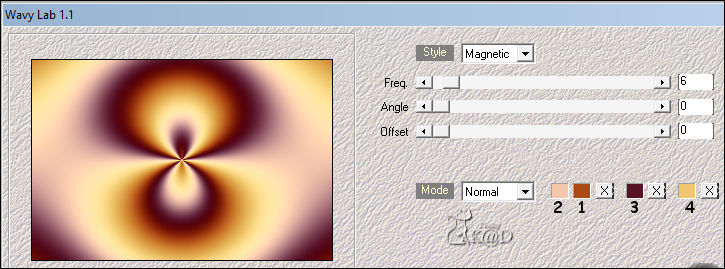
Plugins – Mehdi – Wavy Lab 1.1 – see PS
3
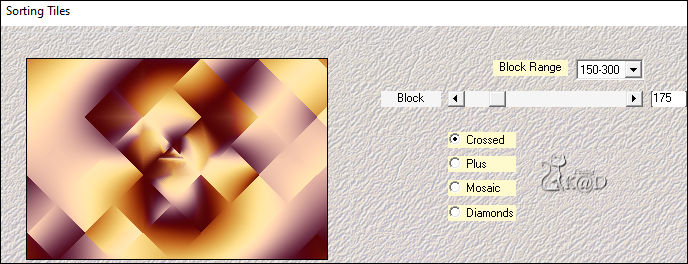
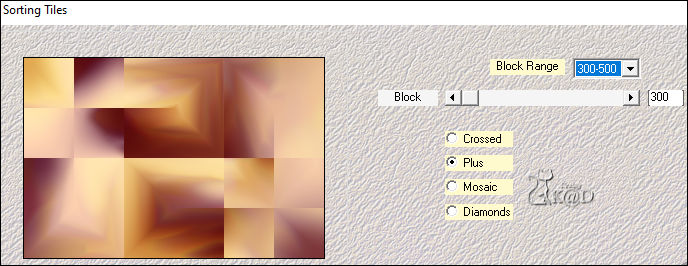
Plugins – Mehdi – Sorting Tiles – see PS
4
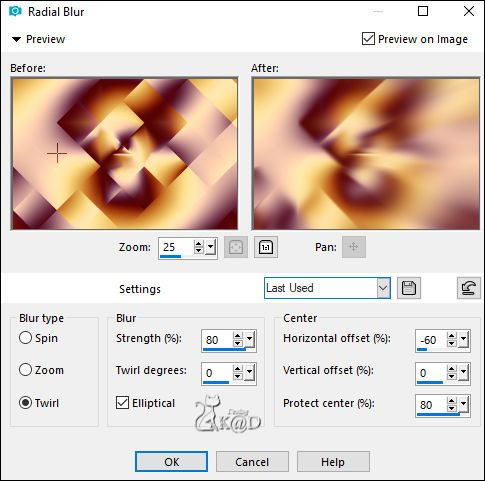
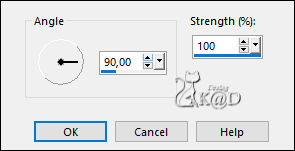
Adjust – Blur – Radial blur – see PS
4-1
Adjust – Blur – Motion blur – see PS
Plugins – Mehdi – Sorting Tiles – see PS
5
Layers – Duplicate
Image – Rotate Left
Plugins – Unlimited 2.0 – &<Bkg Kaleidoscope> – @BlueBerry Pie – see PS
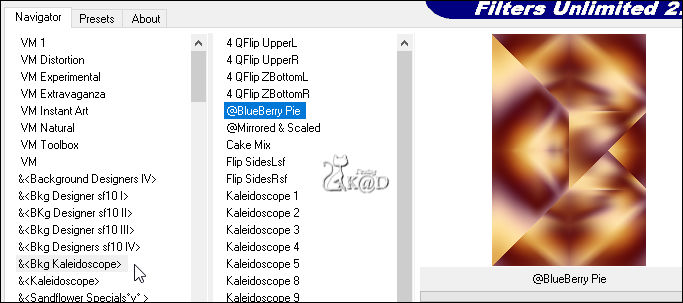
Image – Rotate Right
6
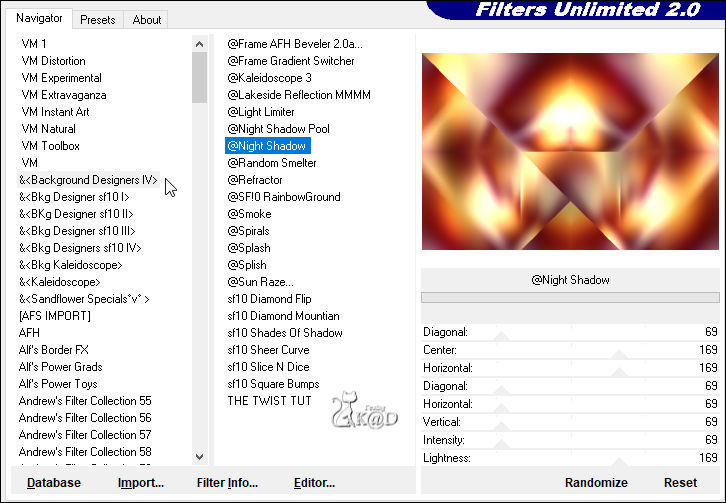
Plugins – Unlimited 2.0 – &<Background Designers> – @Night Shadow – see PS
Change Layer Opacity to 70
Layers – Merge – Merge down
7
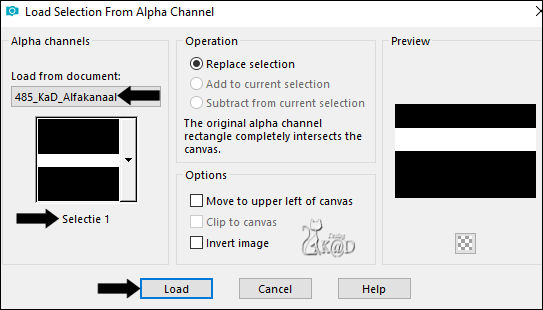
Selections – Load/Save Selection – Load Selection From Alpha Channel – Selectie 1 – see PS
Selections – Promote selection to layer (Promoted selection)
Adjust – Blur – Gaussian blur : 25
Selections – Modify – Contract : 4
Press Delete on the keyboard
8
Change background color to color 5 (#ffffff)
Layers – New Raster layer (Raster 2)
Change Opacity of the Flood fill tool to 60 – see PS

Fill selection with background color
Change Opacity of the Flood fill tool back to 100
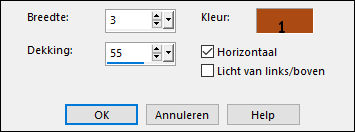
Effects – Texture effects – Blinds – see PS
Select none
Effects – 3D-effects – Drop Shadow : V&H 0 – 60 – 30 – Color 1
Layers – Merge – Merge down
9
Plugins – Italian Editors effect – Effetto Fantasma : 41 – 41
Image – Free Rotate – Right – 90 – no check marks
Objects – Align – Left (or X : 0 – Y : -225)
Change Blend Mode to Overlay
9-1
Activate Raster 1
Select all
Image – Crop to selection
10
Window – Duplicate (Shift + d)
Layers – Merge – Merge visible
Image – Resize: 70%, all layers
10-1
Activate kindpng_2322929
Remove de small image at the bottom
Edit – Copy
11
Edit – Past as a New layer
Image – Resize : 60%, no checkmark all layers
Objects – Align – Top
Objects – Align – Left (or X : 0 – Y : 0)
Effects – 3D-effects – Drop Shadow : V&H 2 – 35 – 2 – Color 1
Layers – Merge – Merge visible
Select all
12
Image – Add borders :
1 pix color 1
1 pix color 5
1 pix color 1
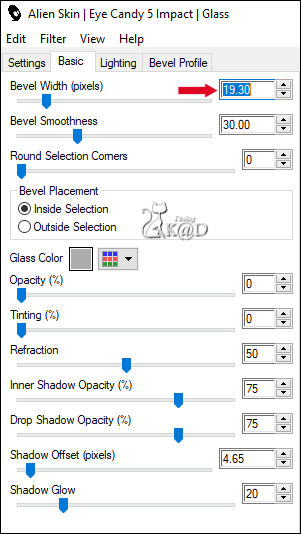
Plugins – Alien Skin – Eye Candy 5 – Impact : Clear but Change “Bevel width” to 19.30 – see PS
13
Select all
Image – Add borders : 25 pix color 5
Effects – 3D-effects – Drop Shadow : V&H 0 – 40 – 20 – Color #000000
Select none
Image – Resize : 20%, all layers
Adjust – Sharpness – Sharpen
Edit – Copy
14
Back to your work
Edit – Past as a New layer (Raster 2)
Layers –Arrange – Bring to top
Press K – Pos X : 72 – Pos Y : 80 – Press M UITLEG
14-1
Layers – Duplicate (Copy of Raster 2)
Plugins – Italian Editors effect – Effetto Fantasma : 31 – 31
Effects – Edge effects – Enhance
Layers – Arrange – Move down
14-2
Activate top layer (Raster2)
Effects – 3D-effects – Drop Shadow : V 0 – H 7 – 50 – 30 – Color #000000
Layers – Merge – Merge down (Copy of Raster 2)
14-3
Layers – Duplicate (Copy (2) of Raster 2)
Image – Resize : 65%, no checkmarks all layers
Press K – Pos X : 172 – Pos Y : 461 – Press M
15
Activate and Copy : kindpng_2322929
Edit – Past as a New layer (Raster 2)
Image – Resize : 65%, no checkmarks all layers
Objects – Align – top
Objects – Align – Left (or X : 0 – Y : 0)
Layers – Arrange – Move down 2x
Change Layer opacity to 40
Effects – 3D-effects – Drop Shadow : V 0 – H 7 – 50 – 30 – Color #000000
16
Activate top layer (Copy of Raster 2)
Activate and Copy : 485_KaD_Text1
Edit – Past as a New layer (Raster3)
Press K – Pos X : 28 – Pos Y : 269 – Press M
17
Layers – New Raster layer
Fill with background color
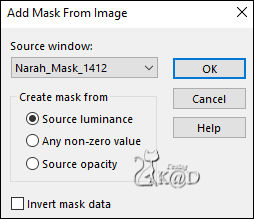
Layers – New Mask layer – From Image “Narah_Mask_1412”” – see PS
Layers – Merge – Merge group (Group - Raster 4)
Change Blend mode to Overlay
18
Activate and Copy : Falling Leaves 02 by www.the-night-bird.deviantart.com
Edit – Past as a New layer (Raster 4)
Image – Mirror
Image – Resize: 40%, no checkmarks all layers
Don’t move
19
Activate and Copy : KaD_Woman_214
Edit – Past as a New layer (Raster 5)
Image – Resize : 75%, no checkmarks all layers
Press K – Pos X : 468 – Pos Y : 25 – Press M
Effects – 3D-effects – Drop Shadow : V 0 – H 7 – 50 – 30 – Color #000000
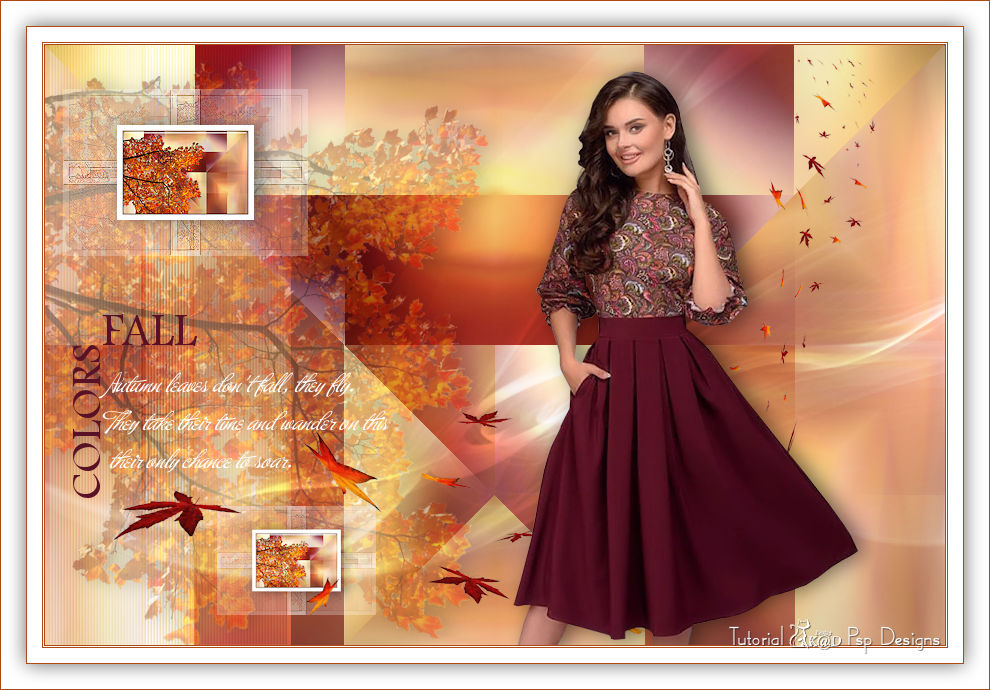
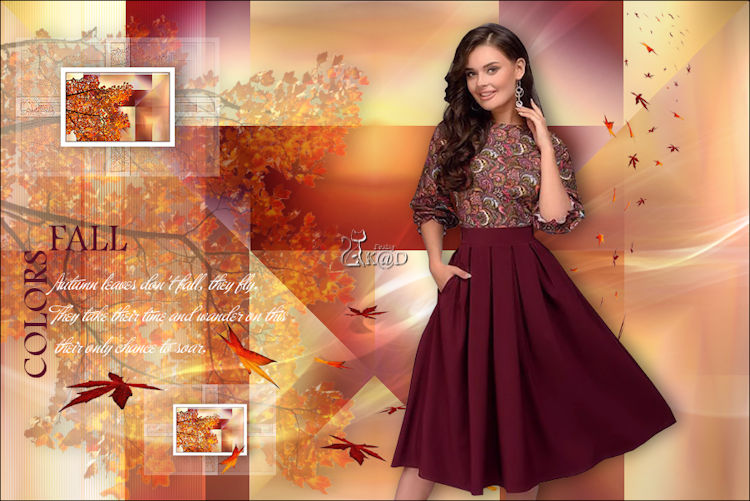
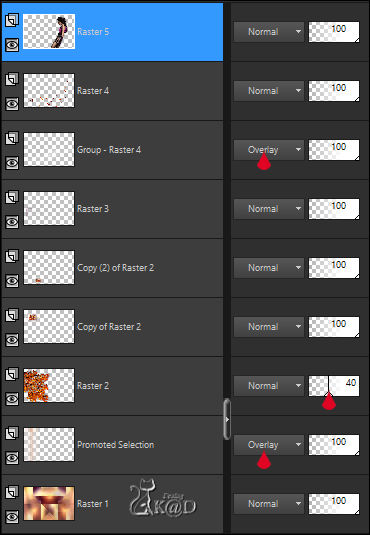
Result
20
Image – Add borders :
1 pix color 1
1 pix color 5
1 pix color 1
15 pix color 5
1 pix color 1
21
Select all
25 pix color 5
Effects – 3D-effects – Drop Shadow : V&H 0 – 60 – 30 – Color #000000
Select none
22
Add your name or watermark,
Add my watermark to your creation HERE
23
Image – Add borders : 1 pix color 1
Image – Resize : 900 pix
Adjust – Sharpen – Unsharp Mask : 2 – 30 – 2 – no check marks
Save as JPG file and you're done!
I hope you enjoyed this tutorial
Karin
16/06/2020
Mail me your version 
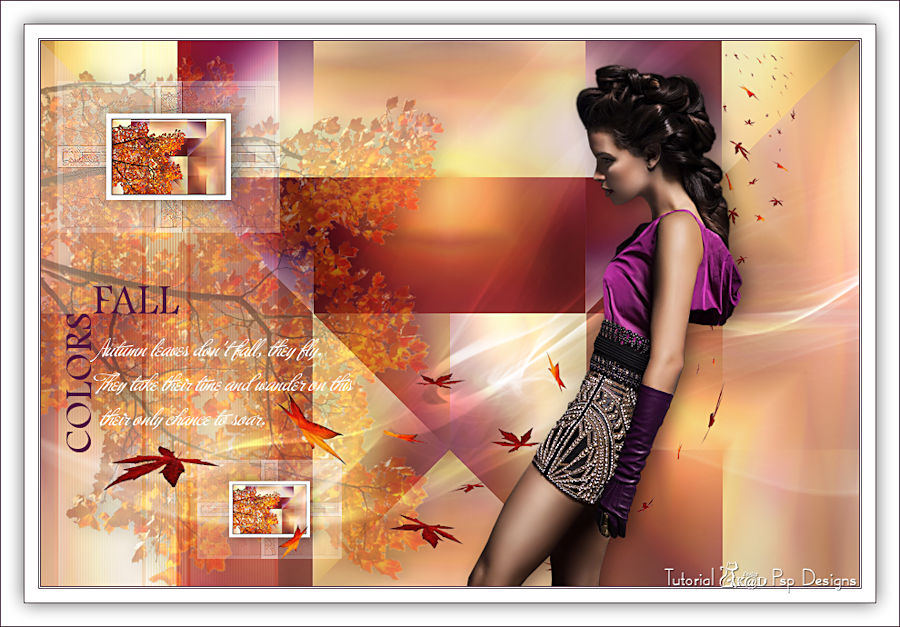
Extra example – Tube Calguis

Click on banner below to go to the gallery


