1/ KaD_Woman_217
2/ 492_KaD_Element1
3/ 492_KaD_Frame1
Alpha Selections : open in PSP and minimize
(this image is not empty – it contains alpha selections)
1/ 492_KaD_Alfakanaal
Masks : open in PSP and minimize
1/ Narah_Mask_1234
Color palette :
If you work with your own colors, make your own color palette with the alpha channel,
so you can easily switch between your colors.
There are color differences in the different versions of Psp.
Therefore, use the html codes of the color palette to be sure,
that you have the same colors. Also when merging layers, there may be color differences.

Plugins :
1/ Mehdi : Wavy Lab 1.1 – Sorting Tiles
2/ Unlimited 2.0 : &<BKg Designer sf10 II> – FFU Edge Average (-)
3/ Italian Editors Effect – Effetto Fantasma
4/ Unlimited 2.0 : &<Background Designers IV> – sf10 Diamond Flip (-)
5/ AP 01 [Innovations] – Lines – Silverlining
6/ Alien Skin – Eye Candy 5 : Impact – Glass
(-) Import into Filters Unlimited
------------------------------------------------
THE TUTORIAL
When working with your own colors, play with the Blend Mode and/or Opacity at your own discretion
From now on I use the terms "MIRROR" and "FLIP" again.
Mirror: Mirror horizontal - Flip: Mirror vertical
Let’s get started.
Remember to save your work often
Some print screens have other colors than the original.
 People who are visually impaired, contact me and I will send you a word document.
Colors :
Foreground color : Color 1
Background color : Color 2
1
Open the alpha channel : 492_KaD_Alfakanaal
Window – Duplicate
Minimize the original – we continue on the copy
2
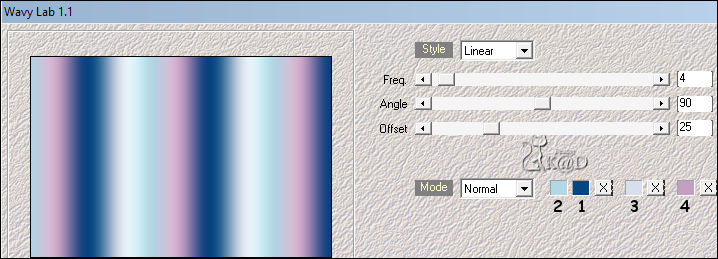
Plugins – Mehdi – Wavy Lab 1.1 – see PS
3
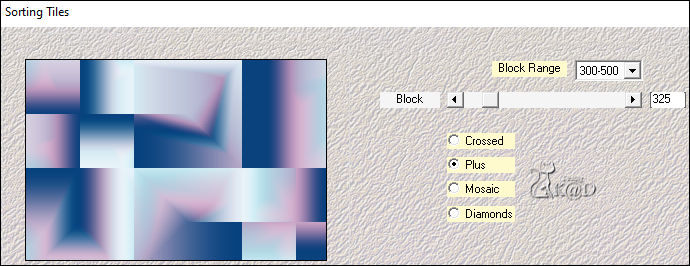
Plugins – Mehdi – Sorting Tiles – see PS
4
Layers – Duplicate
Image – Mirror
Plugins – Mehdi – Sorting Tiles – see PS
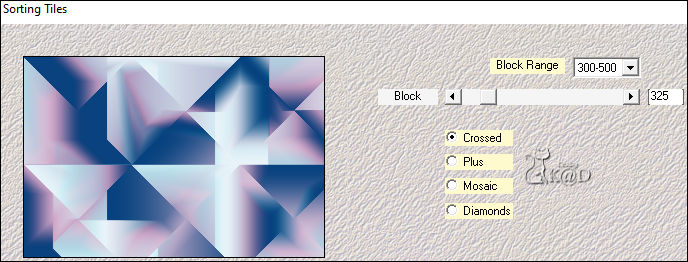
5
Plugins – Unlimited 2.0 – &<BKg Designer sf10 II> – FFU Edge Average – see PS
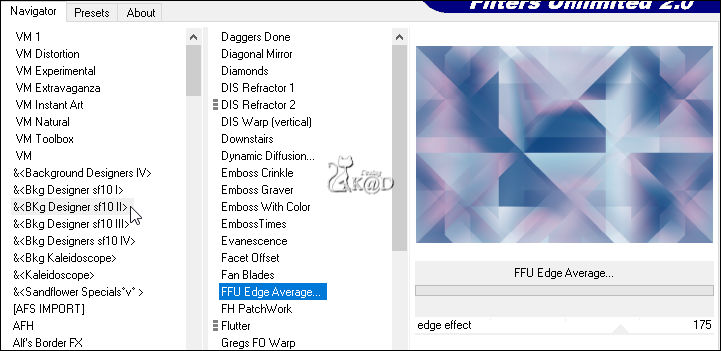
6
Plugins – Italian Editors Effect – Effetto Fantasma : 10 – 0
Change Blend mode to Multiply and Layer Opacity to 50
Layers – Merge – Merge down
6-1
Effects – Edge effects –Enhance
7
Layers – Duplicate
Effects – Geometric Effects – Skew – see PS
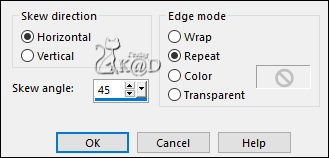
8
Plugins – Unlimited 2.0 - &<Background Designers IV> – sf10 Diamond Flip – see PS
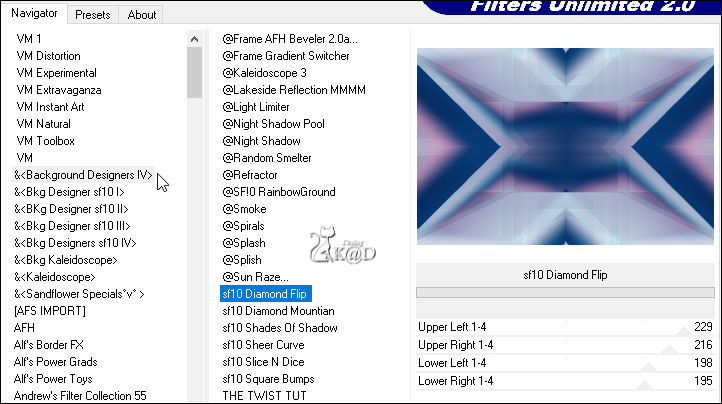
Change Blend mode to Overlay and Layer Opacity to 50
Layers – Merge – Merge down
9
Change foreground color to Color 4
Layers – New Raster layer (Raster 2)
Selections – Load/Save Selection – Load Selection From Alpha Channel – Selectie 1 – see PS
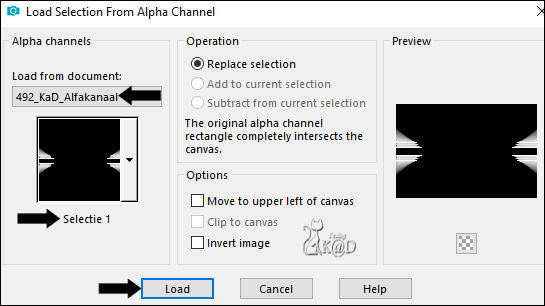
Fill with foreground color
Select none
Plugins – AP 01 [Innovations] – Lines – Silverlining – Dotty Grid – see PS
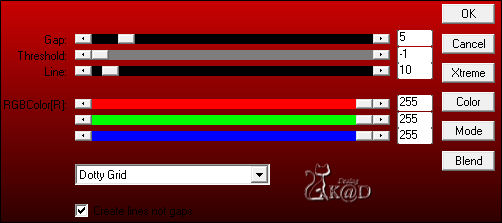
Adjust – Sharpness – Sharpen
10
Change foreground color to Color 5
Layers – New Raster layer
Fill with foreground color
Layers – New Mask layer – From Image ‘Narah_Mask_1234’ – see PS
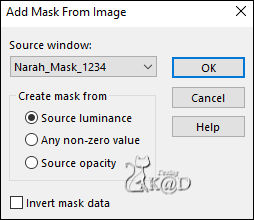
Layers – Merge – Merge group (Group Raster 3)
11
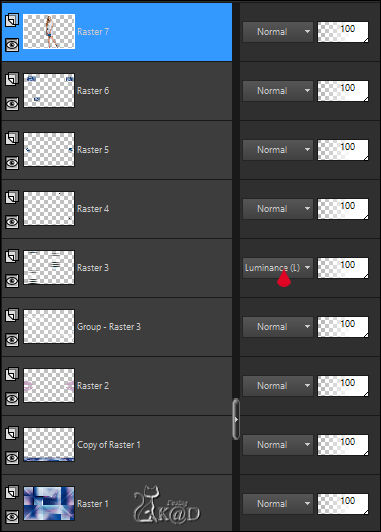
Activate and copy : 492_KaD_Element1
Edit – Paste as a new layer (Raster 3)
Press K – Pos X : 10 – Pos Y : 0 – Press M HELP
(K : activate the Pick Tool – M : deactivate the Pick Tool)
Change Blend mode to Luminance (Legacy)
12
Change foreground color to Color 1
Layers – New Raster layer (Raster 4)
Selections – Load/Save Selection – Load Selection From Alpha Channel – Selectie 2 – see PS
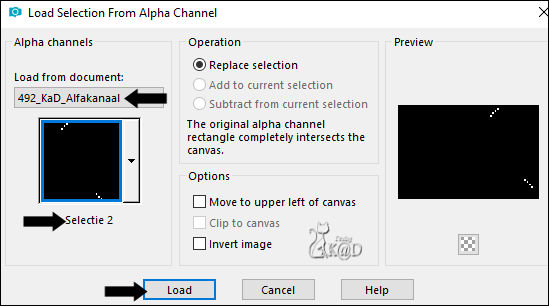
Fill with foreground color
Plugins – Alien Skin – Eye Candy 5 – Impact – Glass : CLEAR
Select none
13
Layers – New Raster layer (Raster 5)
Selections – Load/Save Selection – Load Selection From Alpha Channel – Selectie 3 – see PS
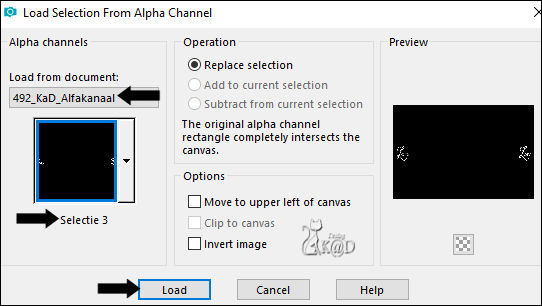
Fill with foreground color
Select none
Effects – 3D-effects – Drop Shadow : V&H 1 – 50 – 1 – Color #000000
Effects – 3D-effects – Drop Shadow : V 18 – H 16 – 30 – 1 – Color 1
14
Activate Raster 1
Layers – Duplicate (Copy of Raster 1)
Plugins – Geometric effects– Perspective Vertical – see PS
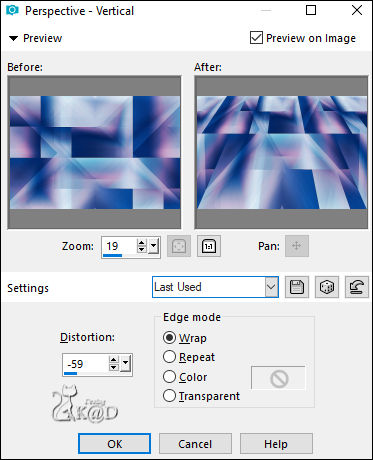
Press K and enter the values as on the PS

14-1
Selections – Load/Save Selection – Load Selection From Alpha Channel – Selectie 4 – see PS
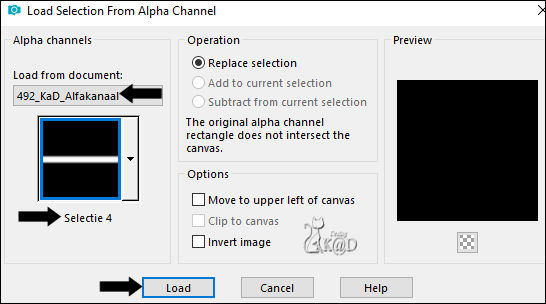
Press Delete on the keyboard
Select none
Effects – 3D-effects – Drop Shadow : V&H 0 – 40 – 20 – Color #000000
15
Activate Raster 1
Edit – Copy
15-1
Open : 492_KaD_Frame1
Keep the selection !
Layers – New Raster layer
Edit – Paste into selection
Layers – Arrange – Move down
Select none
Edit – Copy merged
Back to your work
16
Edit – Paste as a new layer (Raster 6)
Layers – Arrange – Bring to top
Press K – Pos X : 40 – Pos Y : 40
Change Layer Opacity to 81
16-1
Layers – Duplicate
Image – Resize : 85%, all layers NOT checked
Press K – Pos X : 737 – Pos Y : 49
16-2
Layers – Duplicate
Image – Resize : 2x85%, all layers NOT checked
Press K – Pos X : 173 – Pos Y : 421 – Druk M
16-3
Layers – Merge – Merge down
Repeat 1x
Effects – 3D-effects – Drop Shadow : V -7 – H 30 – 55 – 12 – Color 1
17
Activate and copy : KaD_Woman_217
Edit – Paste as a new layer (Raster 7)
Image – Resize : 38%, alle lagen NIET aangevinkt
Press K – Pos X : 384 – Pos Y : 9 – Press M
Effects – 3D-effects – Drop Shadow : V 0 – H 7 – 25 – 15 – Color 1
Adjust – Sharpness – Unsharp Mask : 2 – 30 – 2 – no check marks
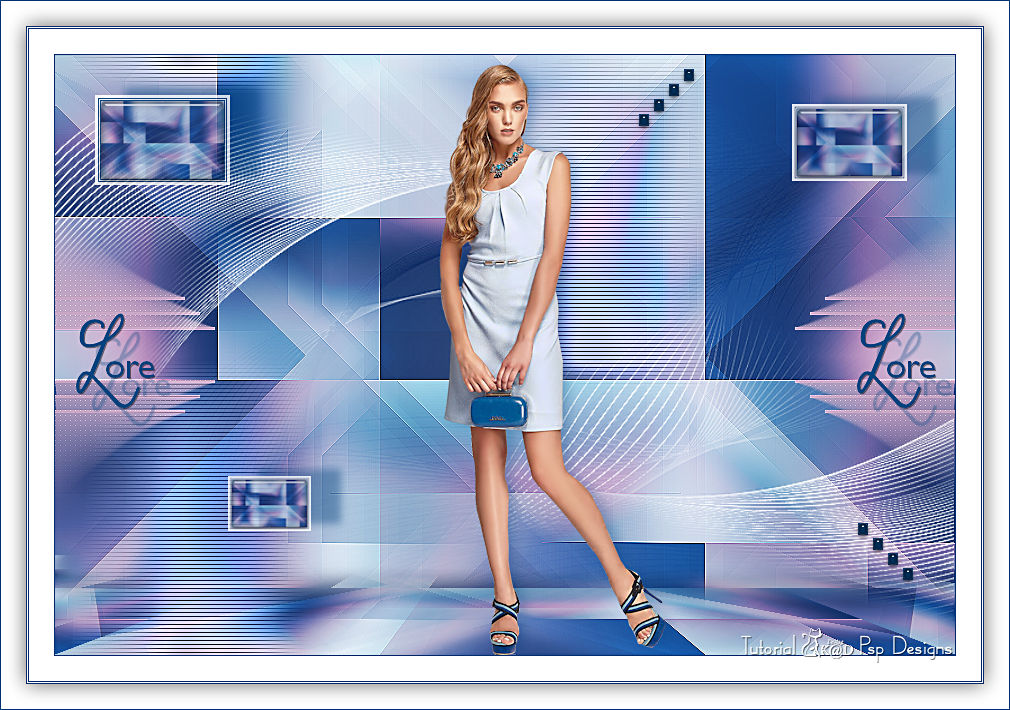
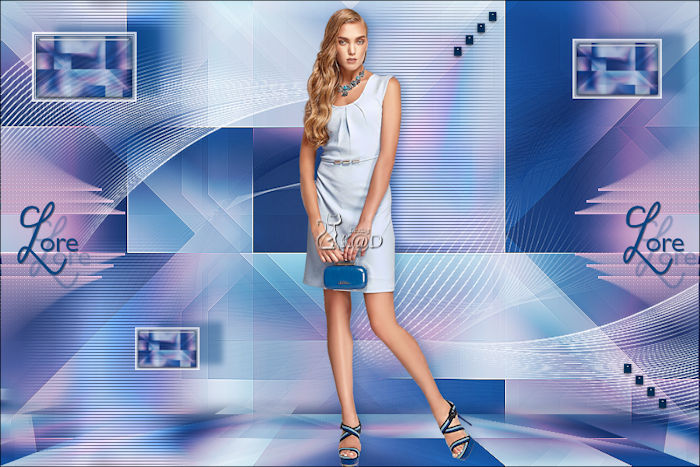
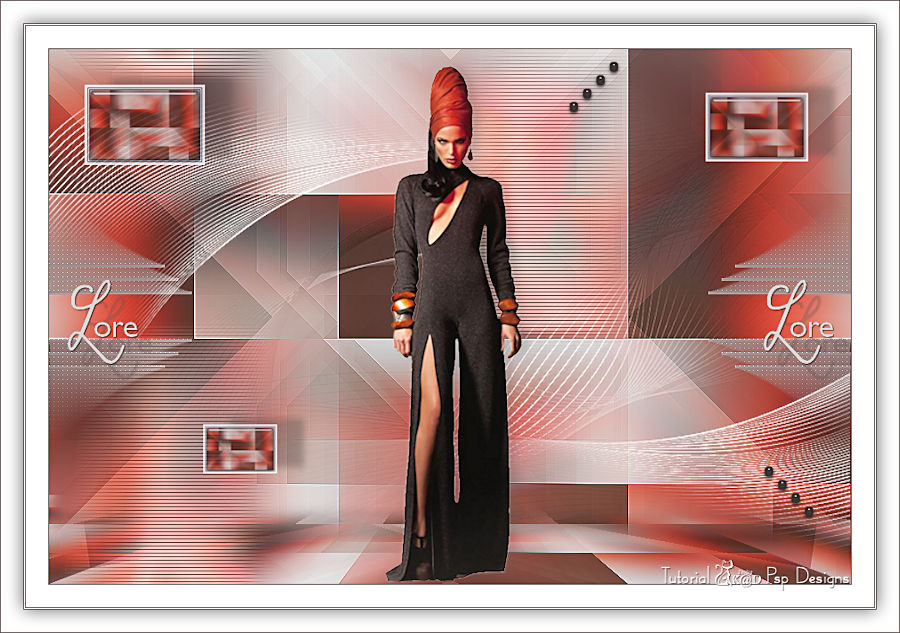
Result
18
Image – Add borders :
1 pix Color 1
25 pix Color 5
1 pix Color 1
1 pix Color 5
1 pix Color 1
Select all
19
Image – Add borders : 25 pix Color 5
Effects – 3D-effects – Drop Shadow : V&H 0 – 60 – 30 – Color #000000
Select none
20
Add your name or watermark,
Add my watermark to your creation HERE
21
Image – Add Borders : 1 pix color 1
Image – Resize – Width 900 Pixels - Resize all Layers checked
Adjust – Sharpness – Unsharp Mask : 2 – 30 – 2 – no check marks
Save as JPG file and you're done!
I hope you enjoyed this tutorial
Karin
21/01/2021
Mail me your version 
Extra example – Tube Nicole

Click on banner below to go to the gallery


