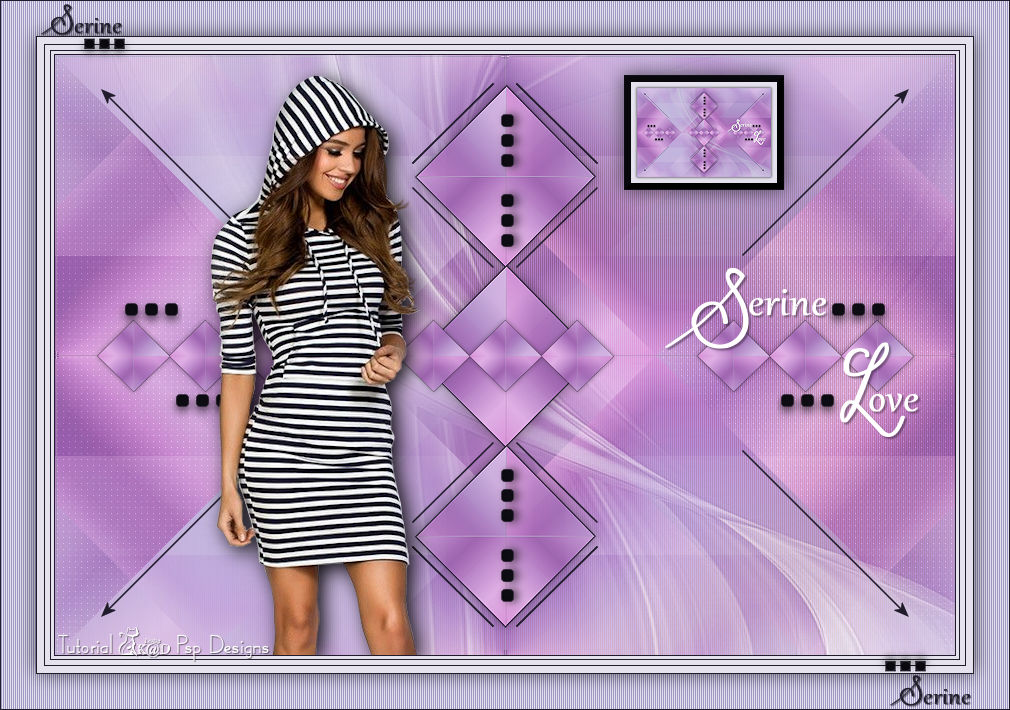
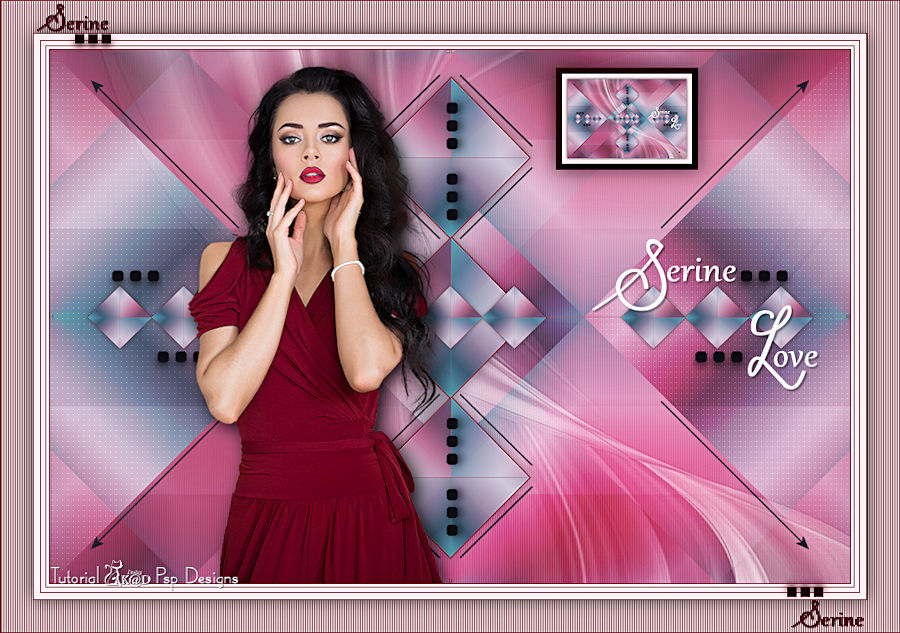
1/ KaD_Woman_233
2/ 512_KaD_Element1 + 512_KaD_Element2 + 512_KaD_Element3
Alpha Selections : open in PSP and minimize
(this image is not empty – it contains alpha selections)
1/ 512_KaD_Alfakanaal
Masks : open in PSP and minimize
1/ Narah_mask_0347
Color palette :
If you work with your own colors, make your own color palette with the alpha channel,
so you can easily switch between your colors.
There are color differences in the different versions of Psp.
Therefore, use the html codes of the color palette to be sure,
that you have the same colors. Also when merging layers, there may be color differences.

Plugins :
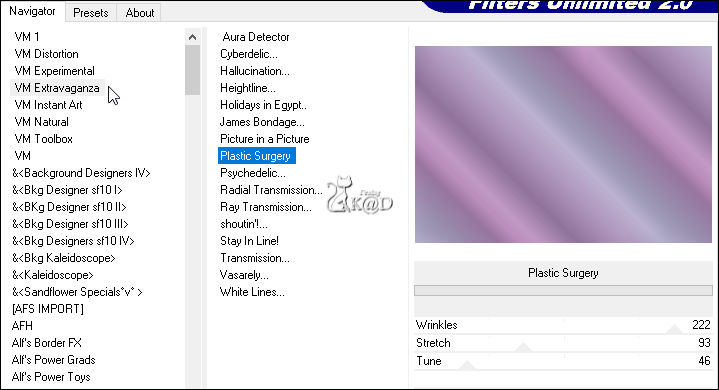
1/ Unlimited 2.0 – VM Extravaganza – Plastic Surgery (-)
2/ Unlimited 2.0 - &<BKG Designers sf10IV>– @Blueberry Pie (-)
3/ Mock – Windo
4/ MuRa’s Meister – Copies
5/ Carolaine and Sensibility – CS-LDots
6/ Alien Skin – Eye Candy 5 – Impact
(-) Import into Filters Unlimited
------------------------------------------------
THE TUTORIAL
When working with your own colors, play with the Blend mode and/or Opacity at your own discretion
From now on I use the terms "MIRROR" and "FLIP" again
MIRROR : mirror horizontal - FLIP : mirror vertical
Let’s get started.
Remember to save your work often
Some print screens have other colors than the original.
Colors :
Foreground color : Color 1
Background color : Color 4
Foreground gradient : Linear – see PS
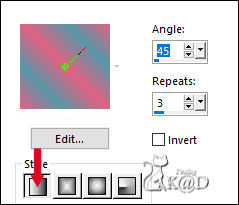
1
Open the alpha channel : 512_KaD_Alfakanaal
Window – Duplicate
Minimize the original – we continue on the copy
2
Fill with gradient
Plugins – Unlimited 2.0 – VM Extravaganza – Plastic Surgery – see PS
3
Plugins – Unlimited 2.0 - &<BKG Designers sf10IV>– @Blueberry Pie
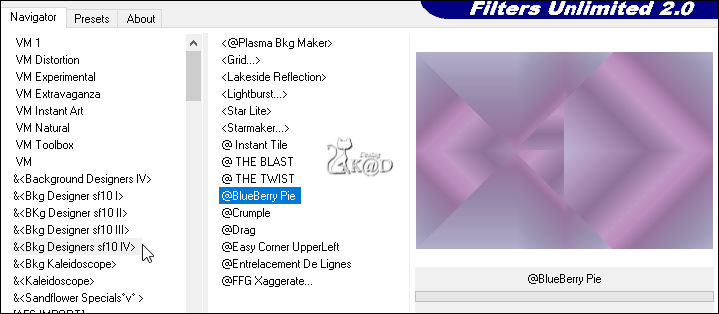
Repeat 1x
4
Layers – Duplicate (Copy of Raster 1)
Effects – Reflection effects – Rotating Mirror – DEFAULT
5
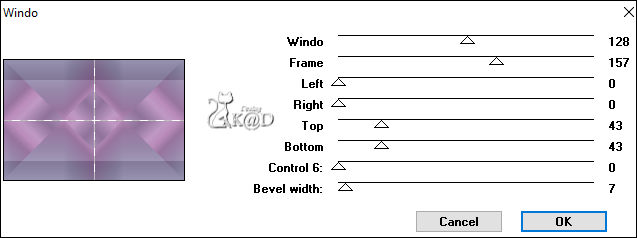
Plugins – Mock – Windo – see PS
* Do not take bottom 2 values into account.
6
Effects – Image effects – Seamless Tiling – see PS
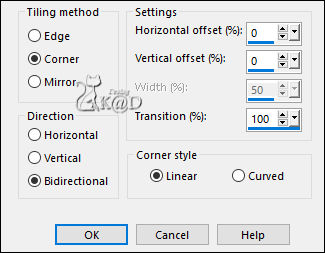
Change Blend mode to Hard Licht
7
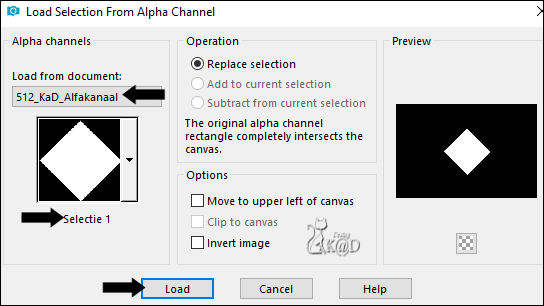
Selections – Load/Save Selection – Load Selection From Alpha Channel – Selectie 1 – see PS
Edit – Copy special – Copy merged
Layers – New Raster layer (Raster 2)
Edit – Paste into selection
Select none
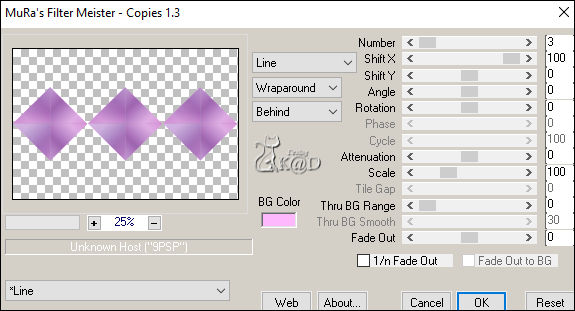
Plugins – MuRa’s Meister – Copies – see PS
8
Image – Resize : 60%, all layers NOT checked
9
Change Foreground color to Color 3
Selections – Load/Save Selection – Load Selection From Alpha Channel – Selectie 2 – see PS
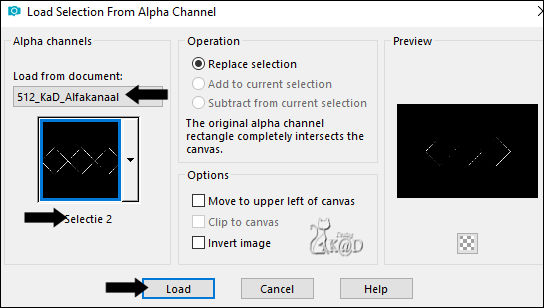
Fill selection with foreground color
Select none
10
Image – Free rotate – Right – 90 – no checkmarks
Effects – 3D-effects – Drop shadow : V&H 0 – 40 – 20 – Color #000000
Adjust – Sharpness – Sharpen
11
Layers – Duplicate (Copy of Raster 2)
Image – Resize : 40%, all layers NOT checked
Image – Free rotate – Right – 90 – no checkmarks
Plugins – MuRa’s Meister – Copies – same values
Result
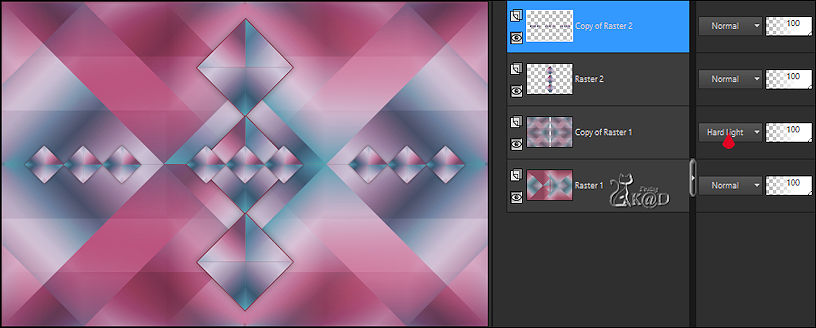
12
Activate Raster 1
Selections – Load/Save Selection – Load Selection From Alpha Channel – Selectie 3 – see PS
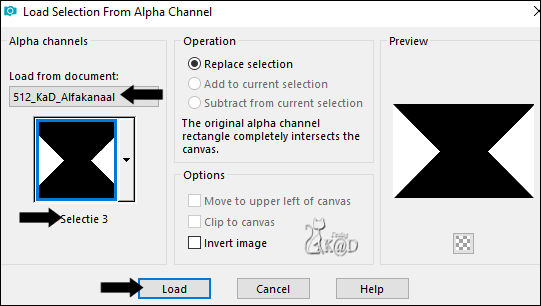
Plugins – Carolaine and Sensibility – CS-LDots : 50 – 3 – 2
Select none
13
Change Background color to Color 2
Layers – New Raster layer
Layers – Adjust – Move Up
Fill with background color
Layers – New Mask layer – From image “Narah_mask_0347” – see PS
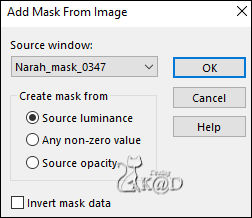
Layers – Merge – Merge group (Group - Raster 3)
Adjust – Sharpness – Sharpen more
14
Activate and copy : 512_KaD_Element1
Edit – Paste as a new layer (Raster 3)
Layers – Arrange – Bring to top
Press K – Pos X : 610 – Pos Y : 212 – Press M UITLEG
Effects – 3D-effects – Drop shadow : V&H 2 – 35 – 5 – Color #000000
15
Activate and copy : 512_KaD_Element2
Edit – Paste as a new layer (Raster 4)
Don’t move
16
Edit – Copy merged
Edit – Paste as a new image
Image – Add borders :
1 pix Color 3
1 pix Color 2
1 pix Color 3
Select all
17
Image – Add borders : 35 pix Color 2
Effects – 3D-effects – Drop shadow : V&H 0 – 60 – 30 – Color #000000
Select none
Image – Resize: 15%, all layers
Adjust – Sharpness – Sharpen
Edit – Copy
Back to your work
18
Edit – Past as a new layer (Raster 5)
Press K – Pos X : 576 – Pos Y : 27 – Press M
Effects – 3D-effects – Chisel – see PS
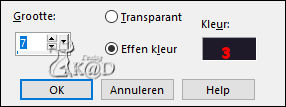
18-1
Effects – 3D-effects – Drop shadow : V&H 0 – 60 – 30 – Color #000000
19
Activate and copy : KaD_Woman_233
Edit – Paste as a new layer (Raster 6)
Image – Resize : 95%, all layers NOT checked
Press K – Pos X : 155 – Pos Y : 20 – Press M
20
Layers – Duplicate (Copy of Raster 6)
Adjust – Blur – Gaussian blur : 50
Adjust – Blur – Radial blur – see PS
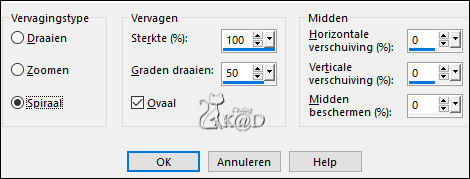
Image – Mirror
21
Effects – Texture effects – Blinds – Color 1 – see PS
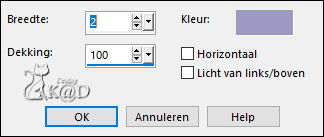
Change Blend mode to Hard Light
Layers – Arrange – Move down 6x
22
Activate top layer (Raster 6)
Plugins – Alien Skin – Eye Candy 5 – Impact – Perspective Shadow : Drop Shadow Lowest
23
Image – Add borders :
1 pix Color 3
3 pix Color 2
1 pix Color 3
5 pix Color 2
1 pix Color 3
7 pix Color 2
1 pix Color 3
Select all
24
Image – Add borders : 35 pix Color 2
Selection – Invert
Effects – Texture effects – Blinds – Color 1 – sale values
24-1
Selection – Invert
Effects – 3D-effects – Drop shadow : V&H 0 – 60 – 30 – Color #000000
Select none
25
Activate and copy: 512_KaD_Element3
Edit – Paste as a new layer
Press K – Pos X : 40 – Pos Y : 3 – Press M
26
Add your name or watermark,
Add my watermark to your creation HERE
27
Image – Add Borders : 1 pix color 3
Image – Resize – Width 900 Pixels - Resize all Layers checked
Adjust – Sharpness – Unsharp Mask : 2 – 30 – 2 – no check marks
Save as JPG file and you're done!
I hope you enjoyed this tutorial
Karin
21/09/2022
Mail me your version 
Extra Ex with tube by LB

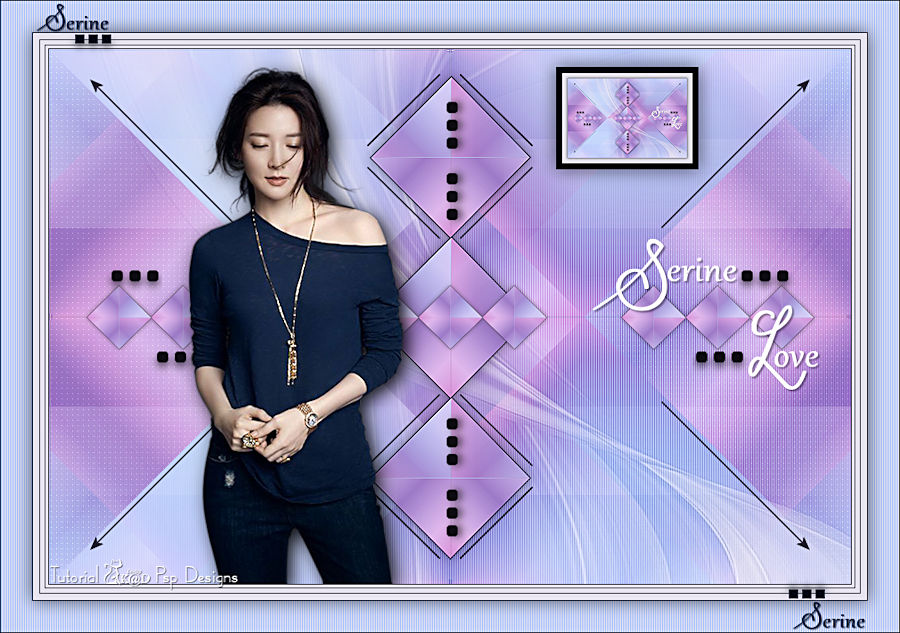
Extra Ex with tube by JvdE


Click on banner below to go to the gallery


