Materials for the tutorial :
Disclaimer :
Each Graphic is the property of the original artist to whom the copyright
belongs and may not be placed in a collection or offered for sale on-line or otherwise.
1/ 536_KaD_Element1
2/ 536_KaD_Element2
3/ AntwerpStreet1-AIGeneratedByKaD_MetMasker2020
4/ KaD_Woman_AIGenerated_259
Masks : open in PSP and minimize
1/ Narah_Mask_0906
2/ Narah_Mask_1165
Alpha Selections :
(this image is not empty – it contains alpha selections)
1/ 536_KaD_Alfakanaal
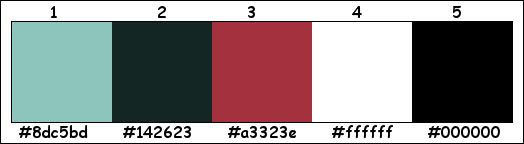
Color palette :
If you work with your own colors, make your own color palette with the alpha channel,
so you can easily switch between your colors.
There are color differences in the different versions of Psp.
Therefore, use the html codes of the color palette to be sure,
that you have the same colors. Also when merging layers, there may be color differences.
Plugins :
1/ Toadies – What are You?
2/ Alien – Skin – Eye Candy 5 – Impact
3/ Tramages – Tow the Line - Pool Shadow
4/ Graphics Plus : Emboss – Quick Tile II – Cross Shadow
(-) Import into Filters Unlimited
------------------------------------------------
THE TUTORIAL
When working with your own colors, play with the Blend Mode and/or Opacity at your own discretion
From now on I use the terms "MIRROR" and "FLIP" again.
Mirror: Mirror horizontal - Flip: Mirror vertical
Let’s get started.
Remember to save your work often
Some print screens have other colors than the original.
Colors :
Foreground color : Color 1
Background color : Color 2
1
Open the alpha channel : 536_KaD_Alfakanaal
Window – Duplicate
Minimize the original – we continue on the copy
2
Fill with foreground color
Layers – New raster layer (Raster 2)
Fill with background color
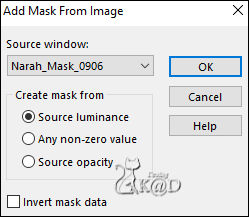
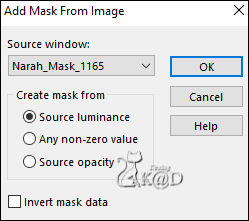
Layers – New Mask layer – From image “Narah_Mask_0906” – see PS
Layers – Merge – Merge Group (Group - Raster 2)
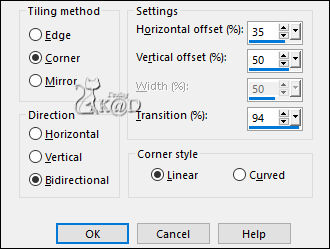
Effects– Image effects – Seamless Tiling – see PS
3
Plugins – Toadies – What are You? : 20-20
Adjust – sharpness – sharpen
4
Change foreground color to Color 4
Layers – New raster layer
Fill with foreground color
Layers – New Mask layer – From image “Narah_Mask_1165” – see PS
Layers – Merge – Merge Group (Group - Raster 2)
5
Effects – Edge effects – Enhance
6
Effects– Image effects – Seamless Tiling – same values
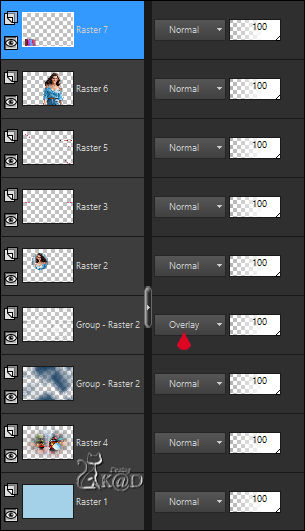
Change Blend mode to Overlay
7
Layers – New raster layer (Raster 2)
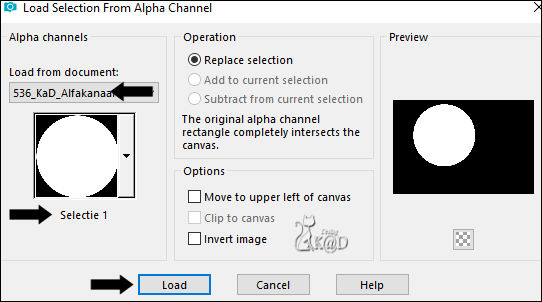
Selections – Load/Save Selection – Load Selection From Alpha Channel – Selectie 1 – see PS
Fill selection with foreground color
Selection – Modify – Contract : 3
Press Delete on the keyboard
8
Change opacity of the flood fill tool to 50
Fill selection with background color
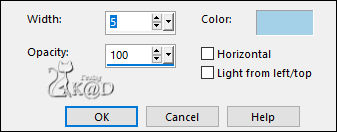
Effects – texture effects – Blinds – see PS
Keep selection!
Change opacity of the flood fill tool back to 100
9
Activate, Mirror and copy : KaD_Woman_AIGenerated_259
Edit – Paste as a new layer (Raster 3)
Move into the circle – see PS
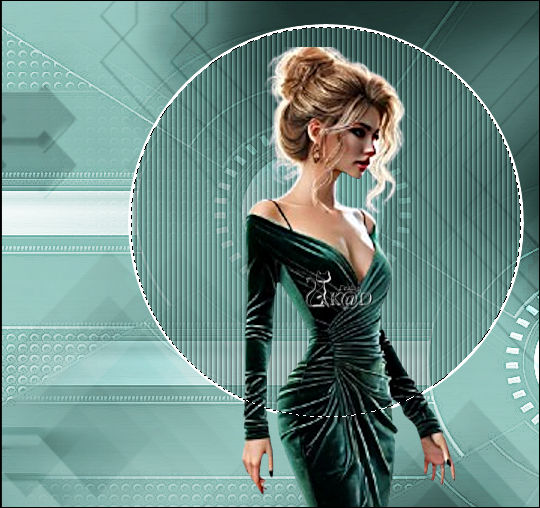
Selection – invert
Press Delete on the keyboard
Select none
Effects – 3D-effects – Drop shadow : V 0 – H 7 – 50 – 20 – Color #000000
10
Change foreground color to Color 3
Layers – New raster layer (Raster 4)
Selections – Load/Save Selection – Load Selection From Alpha Channel – Selectie 2 – see PS
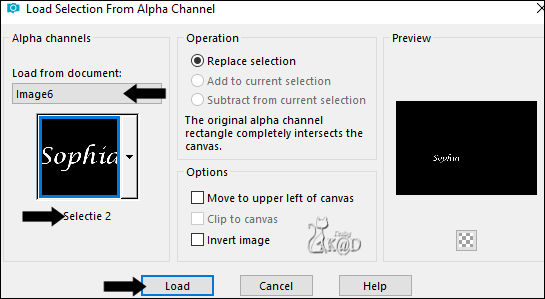
Fill selection with foreground color
Select none
11
Plugins – Alien – Skin – Eye Candy 5 – Impact – Gradient Glow :
Select the preset on the left : KaD_White soft smal glow or enter manually – see PS

12
Effects – 3D-effects – Drop shadow : V&H 2 – 35 – 2 – Color #000000
13
Layers – Merge – Merge Down 2x (Raster 2)
14
Image – Resize : 80%, all layers NOT checked
Press K – Pos X : 136 – Pos Y : 56 – Press M UITLEG
15
Layers – New raster layer (Raster 3)
Selections – Load/Save Selection – Load Selection From Alpha Channel – Selectie 3 – see PS
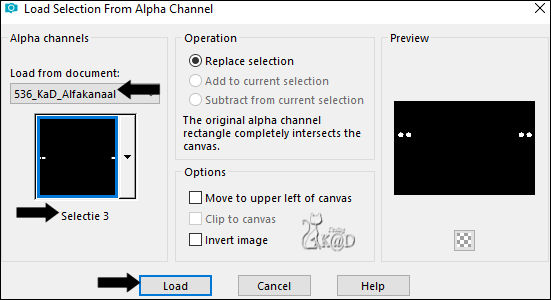
Fill selection with foreground color
Plugins – Alien – Skin – Eye Candy 5 – Impact – Glass : Clear
Select none
16
Layers – New raster layer (Raster 4)
Select all
Activate and copy : AntwerpStreet1-AIGeneratedByKaD_MetMasker2020
Edit – Paste into selection
Select none
Effecten – Graphics Plus – Emboss – STANDAARD
Layers – Arrange – Move down 4x
17
Selections – Load/Save Selection – Load Selection From Alpha Channel – Selectie 4 – see PS
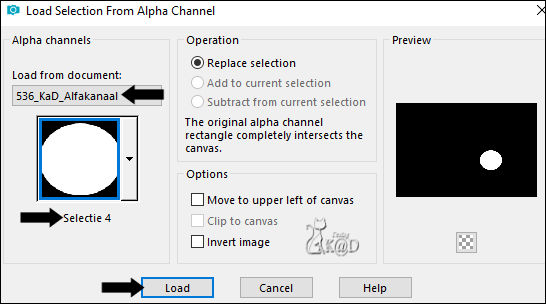
Press Delete on the keyboard
18
Edit – copy special – copy merged
Edit – Paste into selection
Plugins – Alien – Skin – Eye Candy 5 – Impact – Glass : Clear
Select none
19
Activate and copy : 536_KaD_Element1
Edit – Paste as a new layer (Raster 5)
Layers – Arrange – Bring to top
Press K – Pos X : 24 – Pos Y : 38 – Press M
(You can colorize this with “color changer” to your color 3)
20
Activate, Mirror and copy : KaD_Woman_AIGenerated_259
Edit – Paste as a new layer (Raster 6)
Image – Resize : 76%, all layers NOT checked
Press K – Pos X : 450 – Pos Y : 31 – Press M
Effects – 3D-effects – Drop shadow : V 0 – H 7 – 50 – 20 – Color #000000
21
Activate and copy : 536_KaD_Element2
Edit – Paste as a new layer (Raster 7)
Image – Resize : 80%, all layers NOT checked
Effects – 3D-effects – Drop shadow : V 0 – H 7 – 50 – 20 – Color #000000
Press K – Pos X : 28 – Pos Y : 433 – Press M
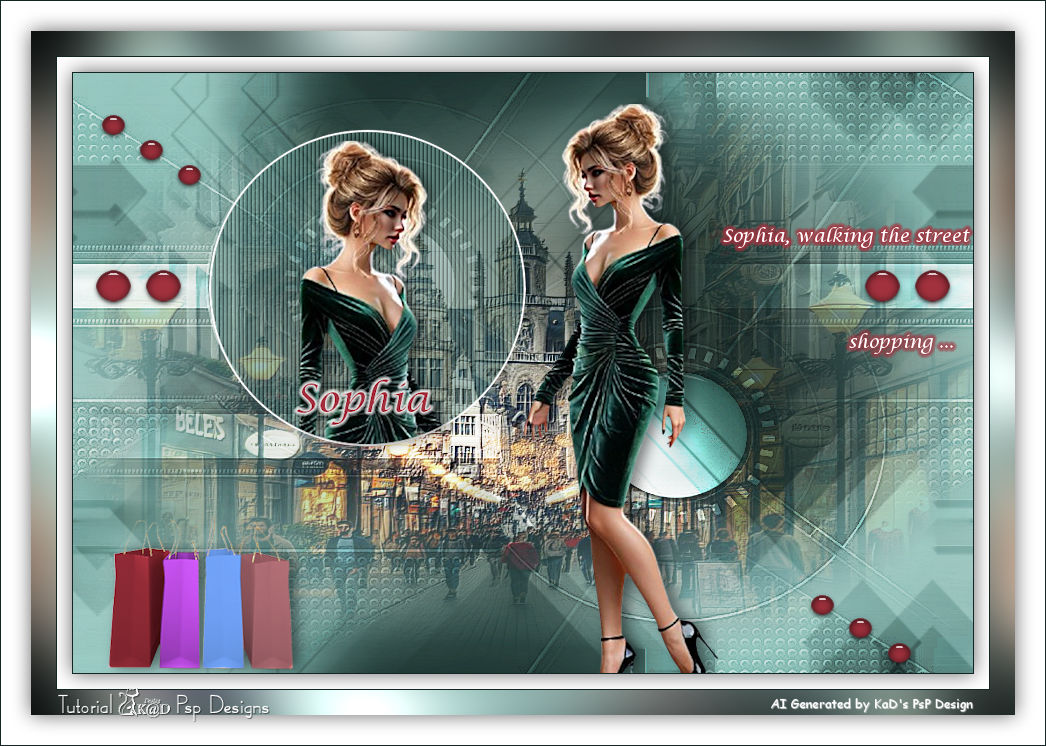
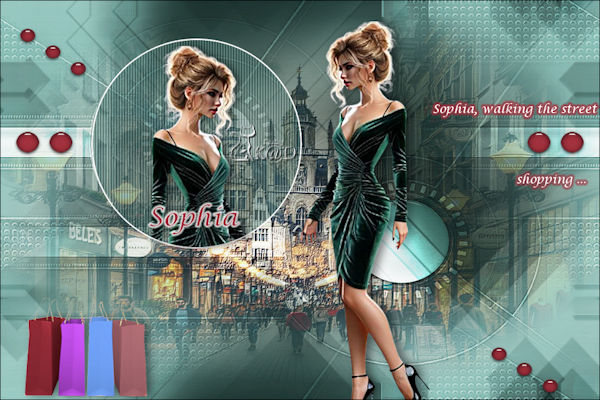
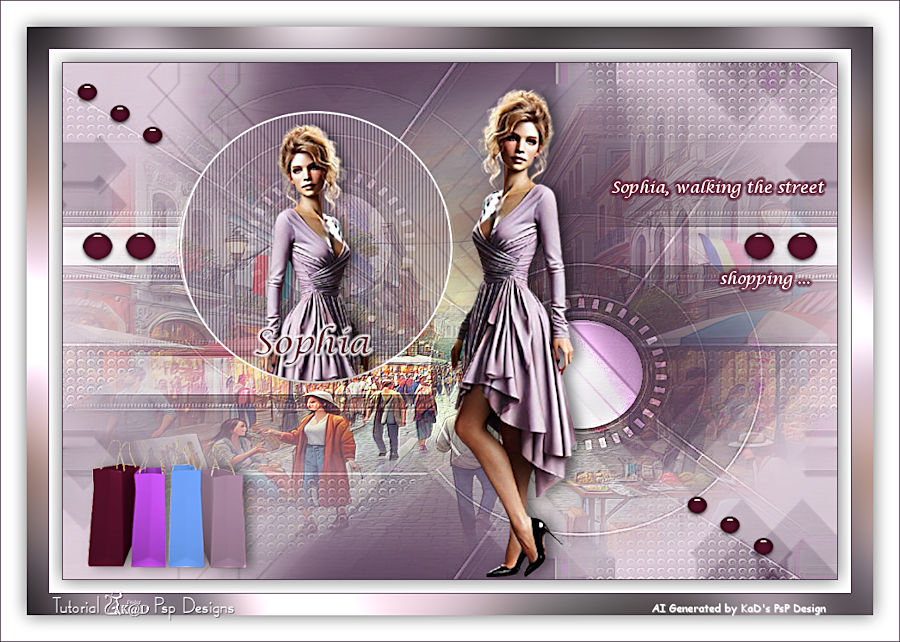
Result
22
Is everything to your liking ?
Image – Add borders : 1 pix Color 2
Select all
23
Image – Add borders :
15 pix Color 4
1 pix Color 2
Effects – 3D-effects – Drop shadow : V&H 0 – 60 – 30 – Color #000000
Select all
24
Image – Add borders : 25 pix Color 4
Selection invert
Effecten – Graphics Plus – Quick Tile II – all on 0
Adjust – Blur – Gaussian blur : 35
Effecten – Graphics Plus – Cross Shadow : STANDAARD
24
Select all
Image – Add borders :
30 pix Color 4
1 pix Color 2
Effects – 3D-effects – Drop shadow : V&H 0 – 60 – 30 – Color #000000
Select none
25
Add your name or watermark,
Add my watermark to your creation HERE
If you use my AI-made tubes, please also add this watermark from me: “AIGeneratedAndTubedByKaD”
Thanks !
26
Layers – Merge – Merge all
Image – Resize – Width 900 Pixels – Resize all Layers checked
Adjust – Sharpness – Unsharp Mask : 2 – 30 – 2 – no check marks
Save as JPG file and you're done!
I hope you enjoyed this tutorial
Karin
08/01/2025
Mail me your version 
Extra ex tubes by myself

Extra ex tubes by Kamil


Click on banner below to go to the gallery