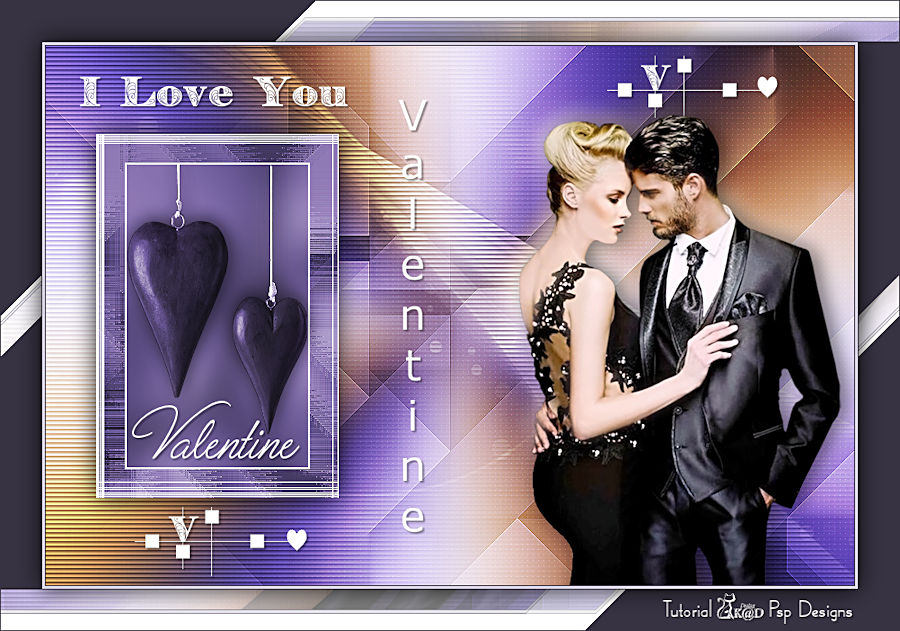
In order not to ruin the surprise for others PLEASE do not post your version in puclic
before the end of the challenge.
In this case it’s 29/02.
Hand in your work no later than 28/02.
Thanks !
Materials for the tutorial :
Disclaimer :
Each Graphic is the property of the original artist to whom the copyright belongs and
may not be placed in a collection or offered for sale on-line or otherwise.
Tubes :
(*) If you recognize them as one of your own, please let me know, so I can add your name or remove the tube.
THEMA
VALENTINE
Tubes : (*)
Do you recognize a tube of yourself, please contact me so that I can mention your name or – if you wish – the tube can be removed.
Choose a tube of a couple
I’m using a tube from Mina
1/ tulipe_coeur_rouge_tubed_by_thafs
2/ BL58_KaD_Element1
3/ BL58_KaD_Text
Alpha Selections : open in PSP and minimize
1/ BL58_KaD_Alfakanaal (this image is not empty – it contains alpha selections)
Masks : open in PSP and minimize
1/ Narah_Mask_1000
Color palette :
If you work with your own colors, make your own color palette with the alpha channel,
so you can easily switch between your colors.
There are color differences in the different versions of Psp.
Therefore, use the html codes of the color palette to be sure,
that you have the same colors. Also when merging layers, there may be color differences.
Plugins :
1/ Simple : Pizza Slice Mirror
2/ Effecten – Unlimited 2.0 : Funhouse – Loom (-)
3/ Mehdi : Wavy Lab 1.1
4/ Carolaine & Sensibility : CD-LDots
5/ Toadies : What are You
(-) Import into Filters Unlimited
---------------------------------------
THE TUTORIAL
When working with your own colors, play with the Blend Mode and/or Opacity at your own discretion
From now on I use the terms "MIRROR" and "FLIP" again.
Mirror: Mirror horizontal - Flip: Mirror vertical
Let’s get started.
Remember to save your work often.
Some print screens have other colors than the original.
Colors :
First create your own color palette, so you can easily switch between your colors.
Use the Alfa_Kleurenpallet-6 in the materials for this.
Colors :
Color 1 = Foreground = dark color from your tube
Color 2 = Background = Slightly lighter than color 1
Color 3 = Lighter than color 2 (almost white)
Color 4 = Contrasting Color
Color 5 = #ffffff
Color 6 = #000000
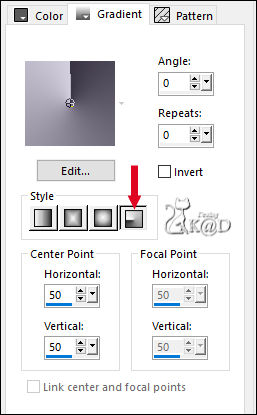
Foreground gradient : Radial – see PS
1
Open the alpha channel : BL58_KaD_Alfakanaal
Window – Duplicate
Minimize the original – we continue on the copy
2
Fill with gradient
Effects – Image effects – Seamless Tiling – Stutter Diagonal – see PS
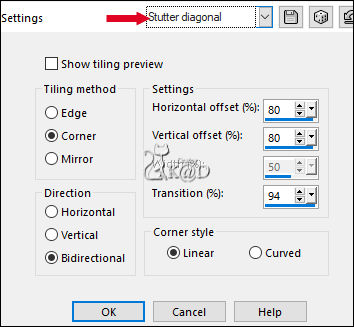
Repeat 1x
3
Plugins – Simple – Pizza Slice Mirror
Repeat 1x
Layers – Duplicate
Change Blend mode to Multiply
Layers – Merge – Merge down
4
Effects – Image effects – Seamless Tiling – Stutter Diagonal
Repeat 1x
Layers – Duplicate
Change Blend mode to Hard Light
Layers – Merge – Merge down
5
Effects – Edge effects – Enhance
6
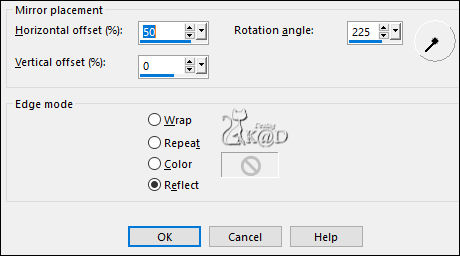
Effects – Reflection Effects – Rotating Mirror – see PS
7
Layers – Duplicate
Image – Resize : 45%, all layers NOT checked
Plugins – Unlimited 2.0 – Funhouse – Loom – see PS
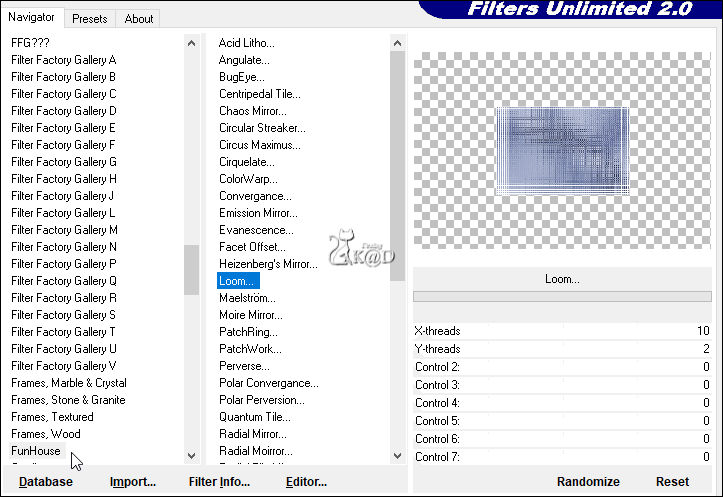
Image – Free Rotate – Right – 90 – Nothing checked
Repeat the filter Funhouse – Loom
8
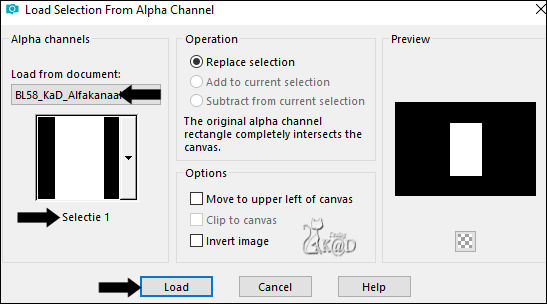
Selections – Load/Save Selection – Load Selection From Alpha Channel – Selectie 1 – see PS
Adjust – Blur – Gaussian blur : 20
9
Change Background color to Color 5 (#ffffff)
Layers – New Raster layer
Fill with background color
Selection – Modify – Contract : 2
Press Delete on the keyboard
Keep selection!
10
Layers – New Raster layer
Activate & Copy : tulipe_coeur_rouge_tubed_by_thafs
Edit – Paste into selection
Change Blend mode to Luminance
Select none
Adjust – Sharpness – Sharpen
Effects – 3D- Effects – Drop Shadow : V -3 – H 2 – 30 – 30 – Color #000000
11
Stay on this layer
Close Raster 1 by clicking on the eye
Layers – Merge – Merge visible (Merged)
Press K – Pos X : 56 – Pos Y : 98 – Press M HELP
Open Raster 1 again
12
Layers – Duplicate
Change Blend mode to Overlay and Layer opicity to 50
Layers – Merge – Merge down
Effects – 3D- Effects – Drop Shadow : V&H 0 – 80 – 40 – Color #000000
13
Activate Raster 1
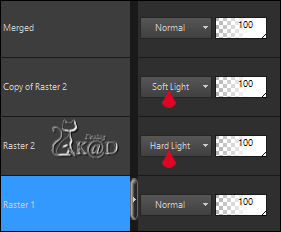
Layers – New Raster layer (Raster 2)
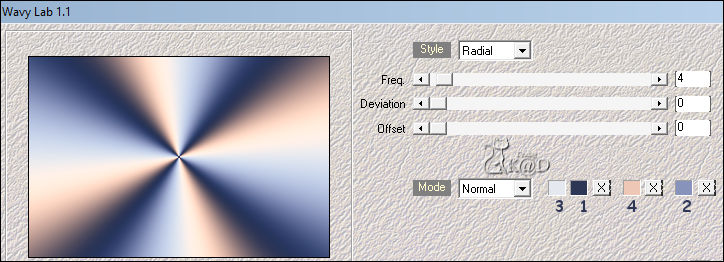
Plugins – Mehdi – Wavy Lab 1.1 – see PS
Adjust – Blur – Gaussian blur : 30
Change Blend mode to Hard Light
14
Layers – Duplicate (Copy of Raster 2)
Adjust – Blur – Gaussian blur : 50
Change Blend mode to Soft Light
15
Activate Raster 1
Plugins – Carolaine & Sensibility – CD-LDots – standaard
Result
16
Activate & Copy : BL58_KaD_Text
Edit – Paste as a new layer (Raster 3)
Layers – Arrange – Bring to top
Press K – Pos X : 38 – Pos Y : 34 – Press M
Effects – 3D- Effects – Drop Shadow : V&H 2 – 35 – 2 – Color #000000
17
Activate & Copy : BL58_KaD_Element 1
Edit – Paste as a new layer (Raster 4)
Press K – Pos X : 99 – Pos Y : 11 – Press M
Effects – 3D- Effects – Drop Shadow : V&H 2 – 35 – 2 – Color #000000
18
Activate & Copy : Your couple tube
Edit – Paste as a new layer (Raster 5)
Adjust if necessary
Place to the right but keep a little from the side
19
Layers – Duplicate (Copy of Raster 5)
Activate the layer just below (Raster 5)
Adjust – Blur – Gaussian blur : 15
Change Blend mode to Screen
20
Activate top layers (Copy of Raster 5)
Effects – 3D- Effects – Drop Shadow : V 0 – H 7 – 50 – 30 – Color #000000
21
Activate Raster 1
Layers – New Raster layer
Fill with background color
Layers – New Mask Layer – From Image “Narah_Mask_1000” – see PS
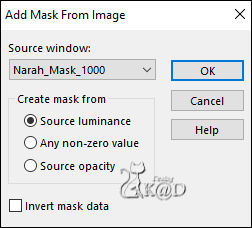
Layers – Merge – Merge Group (Group Raster 6)
22
Effects – Texture effects – Blinds – see PS
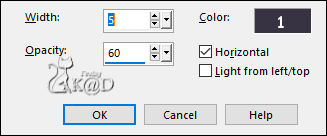
Adjust – Sharpness – Sharpen more
23
Image – Add borders :
1 pix Color 1
3 pix Color 3
1 pix Color 1
Select all
24
Image – Add borders : 45 pix Color 5
Selection – Invert
Plugins – Toadies – What are You? : 20 – 20
Selections – Promote selection to layer
25
Effects – Geometric Effects – Skew – see PS
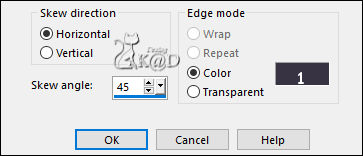
Selection – Invert
Effects – 3D- Effects – Drop Shadow : V&H 0 – 80 – 40 – Color #000000
Select none
26
Add your name or watermark,
Add my watermark to your creation HERE
27
Image – Add Borders : 1 pix color 1
Image – Resize - Width 900 Pixels – Resize all Layers checked
Adjust – Sharpen – Unsharp Mask : 2 – 30 – 2 – no check marks
Save as JPG file and you're done!
I hope you enjoyed this tutorial
Karin
14/0/2023
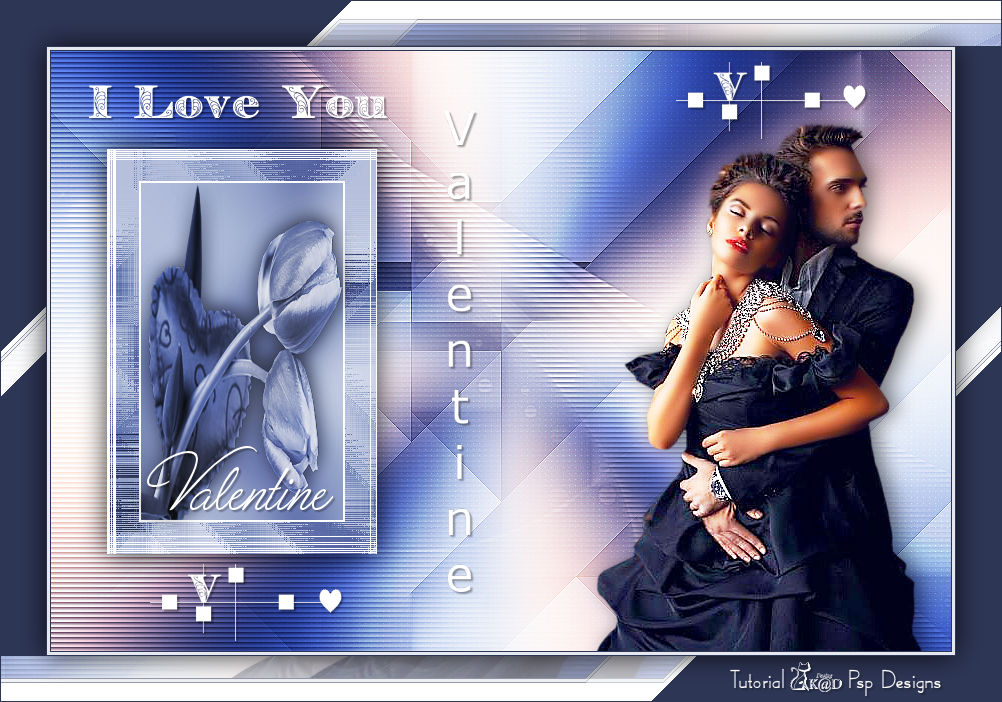
Extra voorbeeld met tube van GB
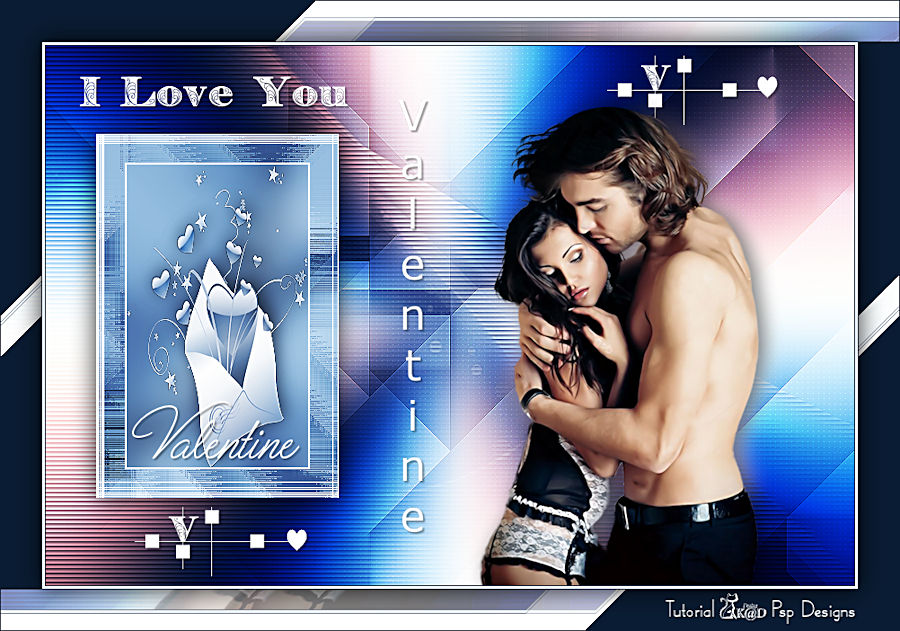
Extra vb met tube van CibiBijoux & Calguis
