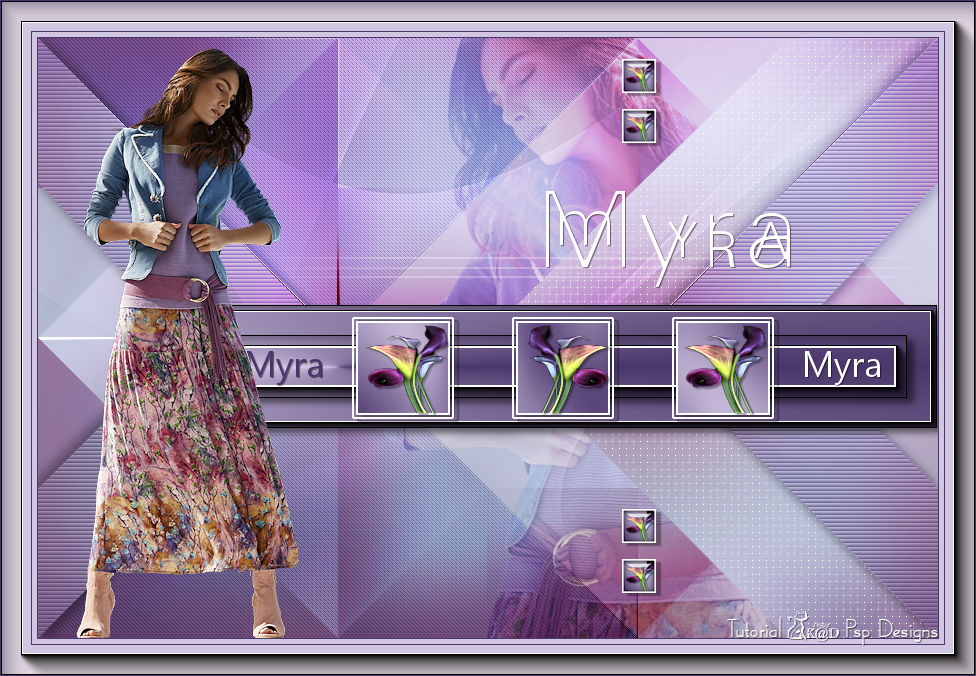
1/ KaD_Woman_235
2/ 514_KaD_Element1
3/ 514_KaD_Element2
4/ calguiscallalilies27311
Alpha Selections : open in PSP and minimize
(this image is not empty – it contains alpha selections)
1/ 514_KaD_Alfakanaal
Masks : open in PSP and minimize
1/ Narah_Mask_1140
Color palette :
If you work with your own colors, make your own color palette with the alpha channel,
so you can easily switch between your colors.
There are color differences in the different versions of Psp.
Therefore, use the html codes of the color palette to be sure,
that you have the same colors. Also when merging layers, there may be color differences

Plugins :
1/ Mehdi : Wavy Lab 1.1 – Sorting Tiles
2/ Unlimited 2.0 – &<BKG Kaleidoscope>
3/ AAA Frames – Foto Frame
4/ L&K – landksiteofwonders – L en K’s Frederiek
5/ Alien Skin Eye Candy 5 – Impact – Glass
(-) Import into Filters Unlimited
------------------------------------------------
THE TUTORIAL
When working with your own colors, play with the Blend Mode and/or Opacity at your own discretion
From now on I use the terms "MIRROR" and "FLIP" again.
Mirror: Mirror horizontal - Flip: Mirror vertical
Let’s get started.
Remember to save your work often
Some print screens have other colors than the original.
Colors :
Foreground color : Color 1
Background color : Color 2
1
Open the alpha channel : 514_KaD_Alfakanaal
Window – Duplicate
Minimize the original – we continue on the copy
2
Plugins – Mehdi – Wavy Lab 1.1 – see PS
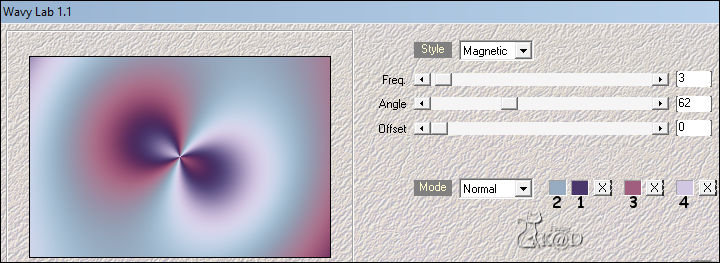
3
Effects – Image effects – Seamless Tiling – DEFAULT but transition on 100
Adjust – Blur – Gaussian blur : 50
4
Plugins – Unlimited 2.0 – &<BKG Kaleidoscope> – @Blueberry Pie – see PS
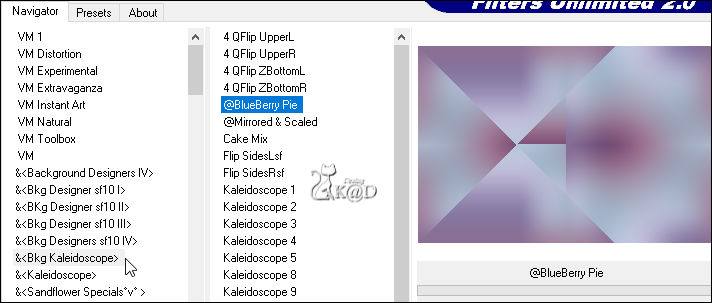
5
Effects – Image effects – Seamless Tiling – DEFAULT but transition on 100
6
Effects – Edge effects – Enhance
7
Selections – Load/Save Selection – Load Selection From Alpha Channel – Selectie 1 – see PS
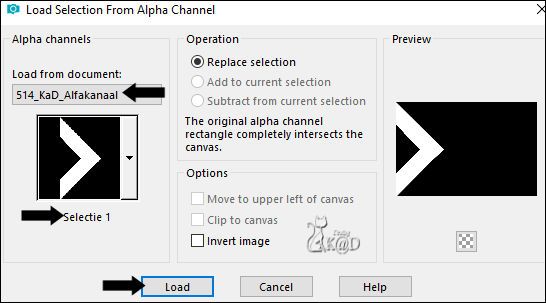
Selections – Promote selection to layer (Promoted selection)
Effects – Texture effects – Blinds – see PS
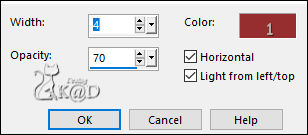
Select none
Layers – Duplicate
Image – Mirror
Layers – Merge – Merge down
Effects – 3D-effects – Drop Shadow : V&H 5 – 35 – 15 – Color 1
Repeat with V&H -5
8
Change Background color to Color 4
Change foreground color to gradient Radiaal – see PS
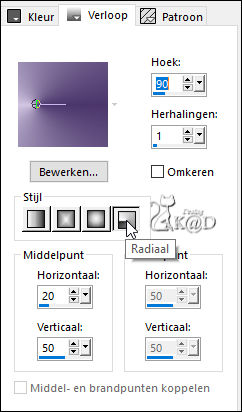
Layers – New Raster layer (Raster 2)
Selections – Load/Save Selection – Load Selection From Alpha Channel – Selectie 2 – see PS
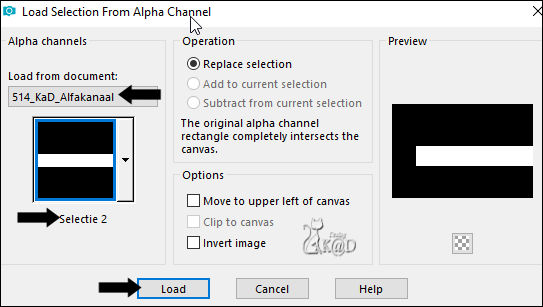
Fill selection with gradient
9
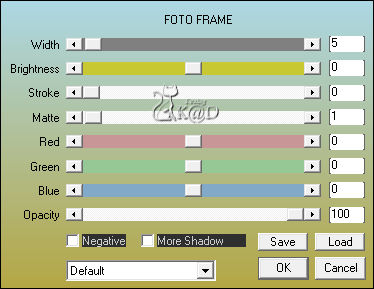
Plugins – AAA Frames – Foto Frame – see PS
10
Selection – Modify – Contract : 30
Plugins – AAA Frames – Foto Frame – see PS
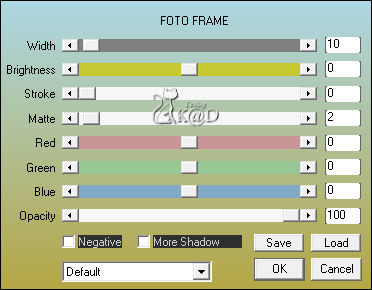
11
Effects – 3D-effects – Drop Shadow : V 5 – H 7 – 50 – 10 – Color #000000
Select none
Repeat Drop shadow
12
Change Foreground color to Color 5
Layers – New Raster layer (Raster 3)
Selections – Load/Save Selection – Load Selection From Alpha Channel – Selectie 3 – see PS
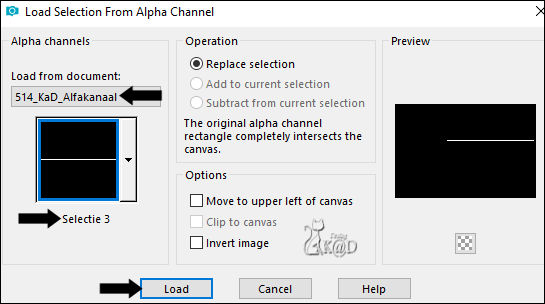
Fill selection with Foreground color
Select none
13
Effects – Distortion effects – Wind – From Right : 100 – see PS
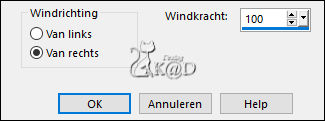
Repeat 1x
Effects – Distortion effects – Wind – From Left : 100
Change Blend Mode to Soft Light and Layer Opacity to 70
14
Activate Raster 1
Selections – Load/Save Selection – Load Selection From Alpha Channel – Selectie 4 – see PS
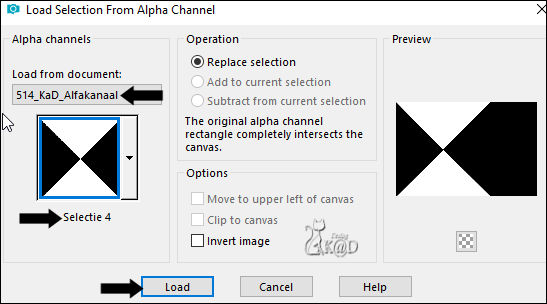
Selections – Promote selection to layer (Promoted selection 1)
Plugins – L&K – landksiteofwonders – L en K’s Frederiek – see PS
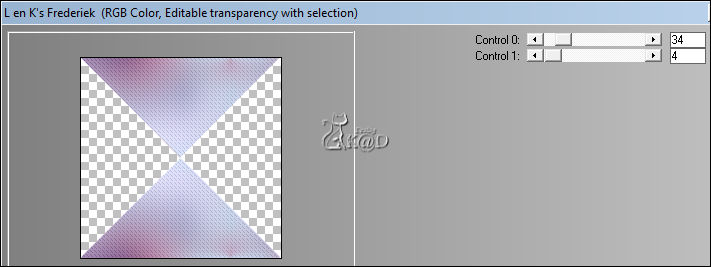
Select none
Change Blend Mode to Multiply
Adjust – Sharpness – Sharpen
15
Activate Raster 1
Selections – Load/Save Selection – Load Selection From Alpha Channel – Selectie 5 – see PS
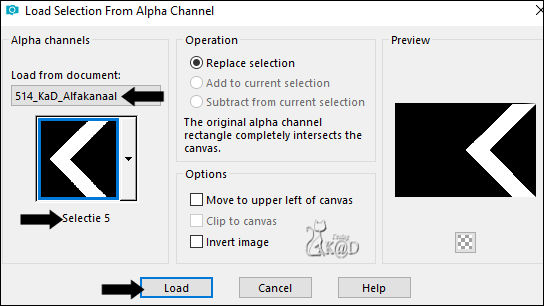
Selections – Promote selection to layer (Promoted selection 2)
Effects – Texture effects – Weave – see PS
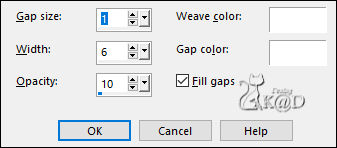
Select none
16
Activate top layer (Raster 3)
Activate and Copy : 514_KaD_Element1
Edit – Paste as a new layer (Raster 4)
Press K – Pos X : 314 – Post Y : 279 – Press M
(K : activate the Pick Tool – M : deactivate the Pick Tool)
17
Change foreground color to Color 1 and then to gradient see PS
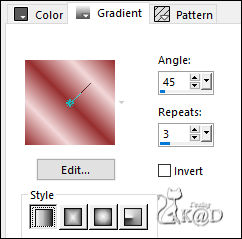
Layers – New Raster layer (Raster 5)
Selections – Load/Save Selection – Load Selection From Alpha Channel – Selectie 6 – see PS
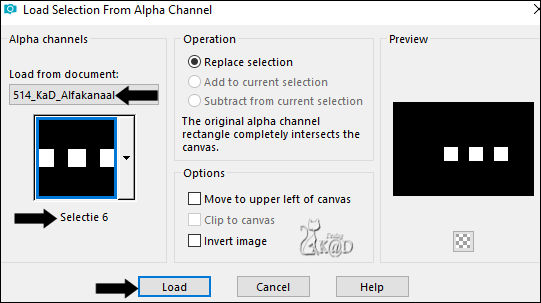
Fill selection with gradient
Adjust – Blur – Gaussian blur : 15
Sometimes you also have to fill with your gradient on the layer below
18
Deselect the two back squares
Tool selection Set Mode to Delete

Then draw a selection around the two back squares
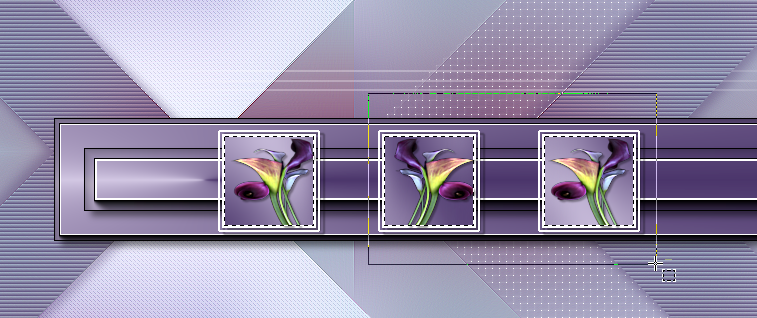
Only the first (left) square is now selected.
18-1
Layers – New Raster layer (Raster 6)
Activate and Copy : calguiscallalilies27311
Edit – Paste into selection
Select none
Adjust – Sharpness – Sharpen more
19
Layers – Duplicate
Image – Mirror
It is now in the middle square (adjust if necessary)
20
Layers – Duplicate
Image – Mirror
Place this in your right square
Layers – Merge – Merge down 2x
Effects – 3D-effects – Drop Shadow : V&H2 – 35 – 2 – Color #000000
21
Layers – Merge – Merge down 2x (Raster 4)
Effects – 3D-effects – Drop Shadow : V 3 – H 5 – 35 – 2 – Color #000000
22
Activate Raster 1
Plugins – Mehdi – Sorting Tiles – see PS
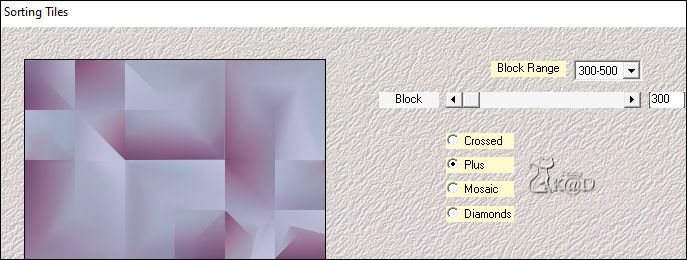
Plugins – Mehdi – Sorting Tiles – see PS
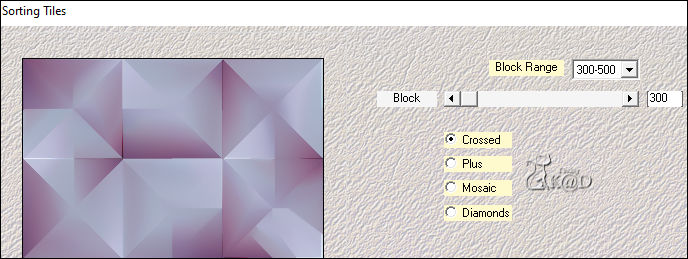
Result
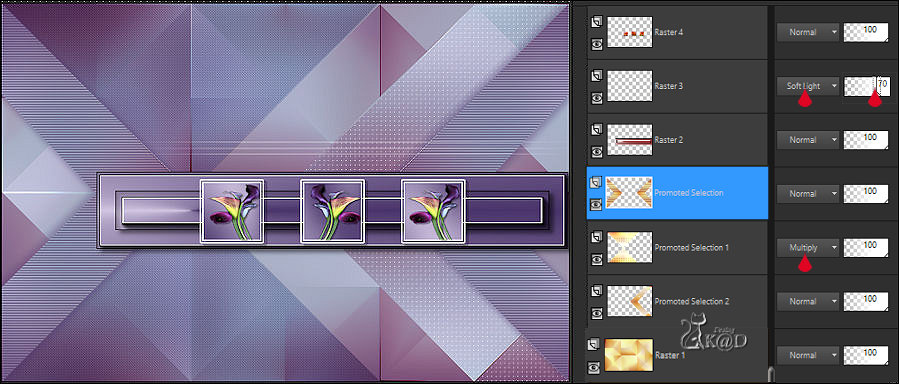
23
Activate “Promoted selection (see PS above)
Layers – New Raster layer
Fill with background color
Layers – New Mask Layers – From image “Narah_Mask_1140” – see PS
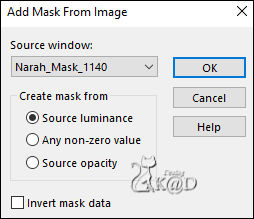
Layers – Merge – Merge group (Group - Raster 5)
Adjust – Sharpness – Sharpen
Change Blend mode to Overlay
24
Activate and Copy : 514_KaD_Element2
Edit – Paste as a new layer (Raster 5)
Layers – Arrange – Bring to top
Press K – Pos X : 209 – Post Y : 153 – Press M
* You can color with 'change to target brush'
25
Activate Raster 4
Selections – Load/Save Selection – Load Selection From Alpha Channel – Selectie 7 – see PS
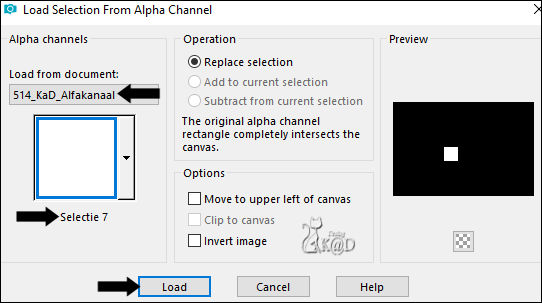
Edit – Copy
Edit – Paste as a new image
26
Plugins – Alien Skin Eye Candy 5 – Impact – Glass – CLEAR
Image – Add borders : 3 pix color 5
Image – Resize: 35%, al layers
Edit – Copy
27
Return to your work
Select none
Edit – Paste as a new layer (Raster 6)
Press K – Pos X : 584 – Pos Y : 21
28
Layers – Duplicate (Copy of Raster 6)
Press K – Pos X : 584 – Pos Y : 71
29
Layers – Duplicate (Copy (2) of Raster 6)
Press K – Pos X : 584 – Pos Y : 471
30
Layers – Duplicate (Copy (3) of Raster 6)
Press K – Pos X : 584 – Pos Y : 521 – Press M
Layers – Merge – Merge down 3x (Raster 6)
Effects – 3D-effects – Drop Shadow : V 3 – H 5 – 35 – 2 – Color #000000
31
Activate and Copy : KaD_Woman_235
Edit – Paste as a new layer (Raster 5)
Layers – Arrange – Bring to top
Image – Mirror
Image – Resize: 42%, all layers NOT checked
Place it on the left (Pos X : 38 – Pos Y: 10)
Adjust – Sharpness – Sharpen
31-1
Plugins – Alien Skin – Eye Candy 5 – Perspective Shadow – Lowest
32
Activate Raster 1
Edit – Paste as a new layer – tube is still in memory (Raster 8)
Enlarge your tube if necessary
Press K – Pos X : 301 – Pos Y : -57 – Press M
Change Blend mode to Soft Light
33
Activate Raster 1
Select all
Image – Crop to selection
Result
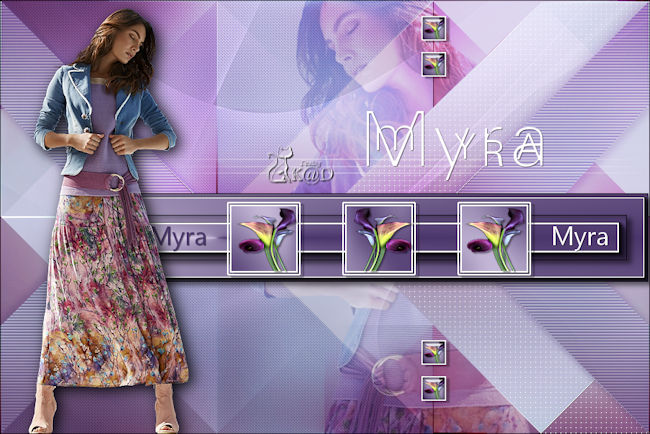
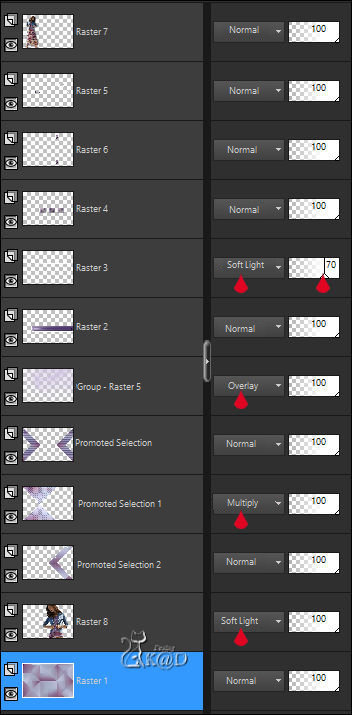
34
Image – Add borders :
1 pix Color 1
5 pix Color 4
1 pix Color 1
Select all
35
Image – Add borders : 30 pix Color 4
Selection invert
Plugins – AAA Frames – Foto Frame – see PS
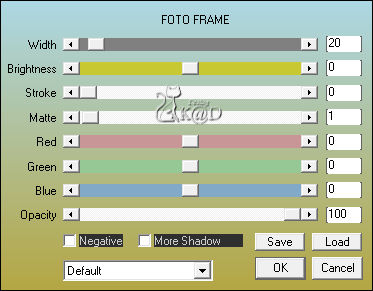
Select none
36
Add your name or watermark,
Add my watermark to your creation HERE
37
Image – Add Borders : 1 pix color 1
Image – Resize – Width 900 Pixels – Resize all Layers checked
Adjust – Sharpness – Unsharp Mask : 2 – 30 – 2 – no check marks
Save as JPG file and you're done!
I hope you enjoyed this tutorial
Karin
27/01/2023
Mail me your version 
Extra Ex with tubes by LB

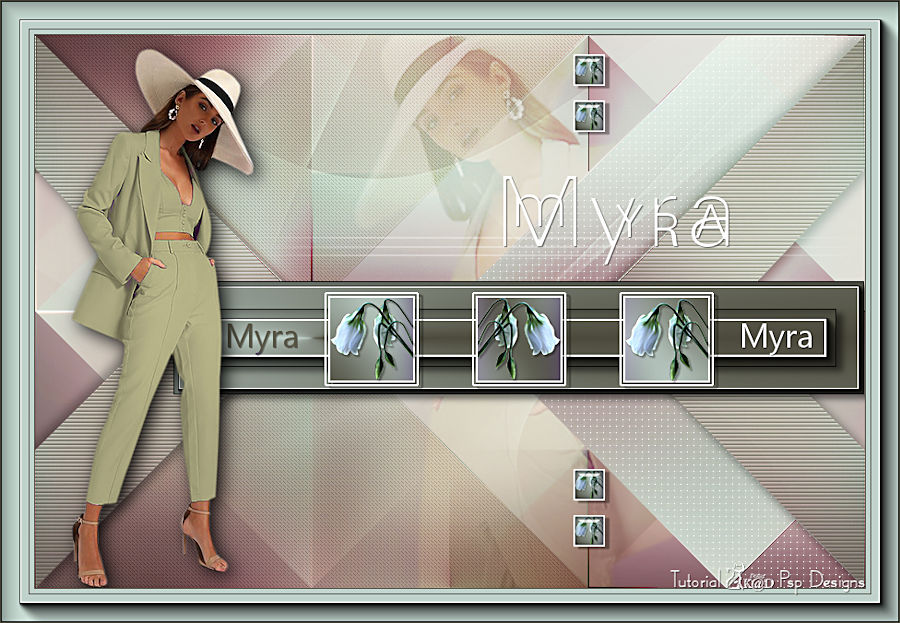
Extra Ex with tubes by JVDE & LB

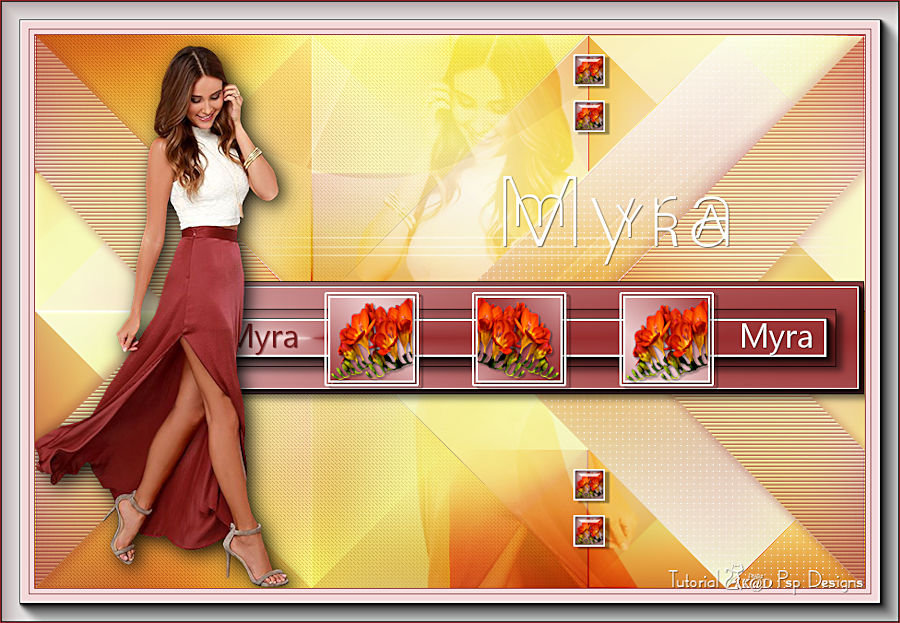

Click on banner below to go to the gallery


