Materials for the tutorial :
Disclaimer :
Each Graphic is the property of the original artist to whom the copyright
belongs and may not be placed in a collection or offered for sale on-line or otherwise.
Tubes :
(*) If you recognize them as one of your own, please let me know, so I can add your name or remove the tube.
Open your tubes, duplicate, remove watermarks, close original tubes.
1/ 533_KaD_Deco 1 + 2 + 3 + 4
2/ 533_KaD_Lijst
3/ 533_KaD_Text1
4/ KaD_WinterScenery24
5/ KaD_WinterWoman35
6/ SL-Monika75-sniezynka5
Alpha Selections : open in PSP and minimize
(this image is not empty – it contains alpha selections)
1/ 533_KaD_Alfakanaal
Masks : open in PSP and minimize
1/ Narah_Mask_0980
Color palette :
If you work with your own colors, make your own color palette with the alpha channel,
so you can easily switch between your colors.
There are color differences in the different versions of Psp.
Therefore, use the html codes of the color palette to be sure,
that you have the same colors. Also when merging layers, there may be color differences.

Plugins :
1/ Mehdi : Wavy Lab 1.1 – Sorting Tiles
2/ Toadies – What are You?
3/ Graphics Plus – Cross shadow
4/ Alien Skin – Eye Candy 5 – Impact
5/ VanDerLee (of VDL Adrenaline) – Snowflakes
(-) Import into Filters Unlimited
------------------------------------------------
THE TUTORIAL
When working with your own colors, play with the Blend Mode and/or Opacity at your own discretion
From now on I use the terms "MIRROR" and "FLIP" again.
Mirror: Mirror horizontal - Flip: Mirror vertical
Let’s get started.
Remember to save your work often
Some print screens have other colors than the original.
Colors :
Color 1 = Foreground : #534d57
Color 2 = Background : #737f95
Color 3 = #84a4c0
Color 4 = #665252
Color 5 = #ffffff
Color 6 = #000000
Color 7 = #404d7f
1
Open the alpha channel : 533_KaD_Alfakanaal
Window – Duplicate
Minimize the original – we continue on the copy
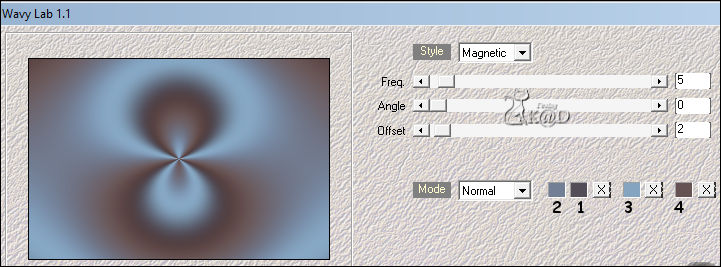
Plugins – Mehdi – Wavy Lab 1.1 – see PS
2
Effects – Image effects – Seamless Tiling – see PS
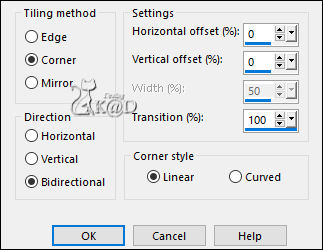
Adjust – Blur – Gaussian blur : 45
3
Layers – New Raster layer (Raster 2)
Select all
Activate and copy : KaD_WinterWoman35
Edit – Paste into selection
Select none
4
Effects – Image effects – Seamless Tiling – same values
Adjust – Blur – Radial blur
5
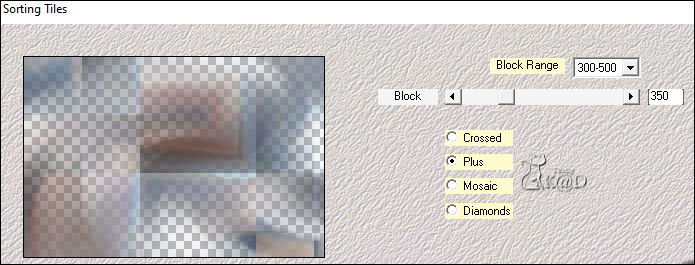
Plugins – Mehdi – Sorting Tiles – see PS
6
Effects – Edge effects – Enhance
7
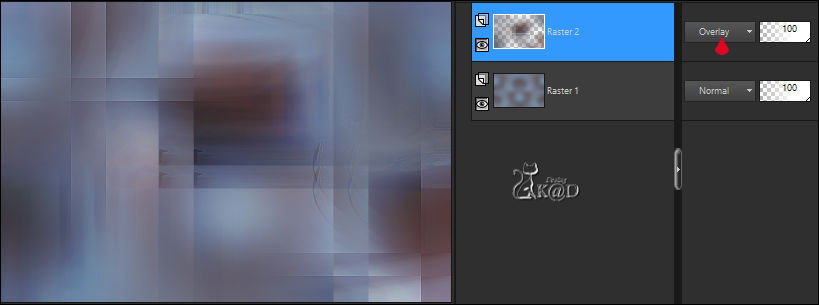
Plugins – Toadies – What are You? : 20 – 20
Change Blend mode to Overlay
Result
Layers – Merge – Merge down (Raster 1)
8
Layers – Duplicate
Image – Mirror and Flip
Change Blend mode to Overlay and Layer opacity to 61
Result
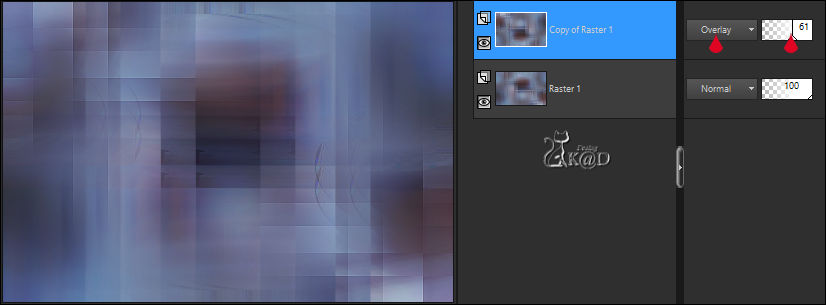
Layers – Merge – Merge down (Raster 1)
9
Layers – Duplicate (Copy of Raster 1)
Plugins – Graphics Plus – Cross shadow – see PS

9-1
Effects – Geometric effects – Skew – see PS
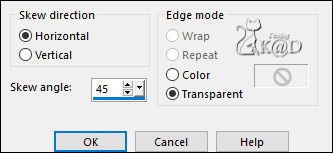
Change Blend mode to Soft Light
10
Activate Raster 1
Selections – Load/Save Selection – Load Selection From Alpha Channel – Selectie 1 – see PS
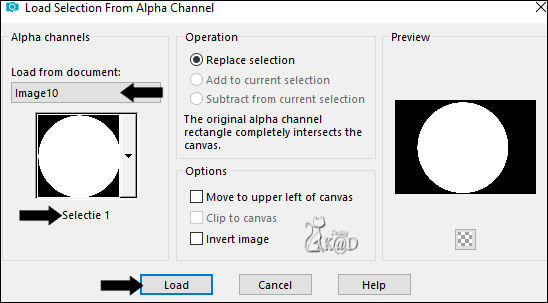
Selections – Promote selection to layer (Promoted selection)
Layers – Arrange – Bring to top
11
Adjust – Blur – Gaussian blur : 45
Activate and copy : KaD_WinterScenery24
Edit – Paste into selection
Change Blend mode to Soft Light and Layer opacity to 50
Effects – 3D-effects – Drop shadow : V&H 0 – 40 – 20 – Color #000000
Select none
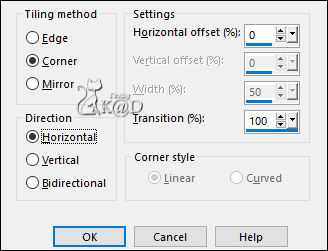
12
Effects – Image effects – Seamless Tiling – see PS
13
Change Foreground color to Color 5
Layers – New Raster layer
Fill with Foreground color
Layers – New Mask layer – From image “Narah_Mask_0980” – see PS
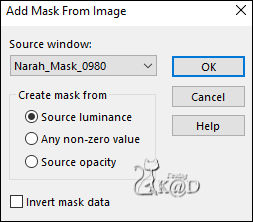
Layers – Duplicate
Layers – Merge – Merge Group (Group - Raster 2)
14
Image – Flip
Effects – Image effects – Seamless Tiling – Change Direction to Bidirectional, rest is same
15
Activate Raster 1
Activate and copy : 533_KaD_Deco 1
Edit – Paste as a new layer (Raster 2)
Don’t move
16
Activate and copy : 533_KaD_Text1
Edit – Paste as a new layer (Raster 3)
Layers – Arrange – Bring to top
Image – Resize : 65%, all layers NOT checked
Press K – Pos X : 78 – Pos Y : 10 – Press M HELP
17
Activate and copy : 533_KaD_Deco 2
Edit – Paste as a new layer (Raster 4)
Press K – Pos X : 21 – Pos Y : 6 – Press M
18
Activate and copy : 533_KaD_Deco 3
Edit – Paste as a new layer (Raster 5)
Objects – Align – Bottom
Adjust – Sharpness – Sharpen
19
Activate and copy : KaD_WinterWoman35
Edit – Paste as a new layer (Raster 6)
Image – Resize : 80%, all layers NOT checked
Press K – Pos X : 244 – Pos Y : 41 – Press M
Adjust – Sharpness – Unsharp Mask : 2 – 30 – 2 – no check marks
Plugins – Alien Skin – Eye Candy 5 – Impact – Perspective Shadow : click on Lowest
and adjust at basic “Center Offset Direction”– see PS
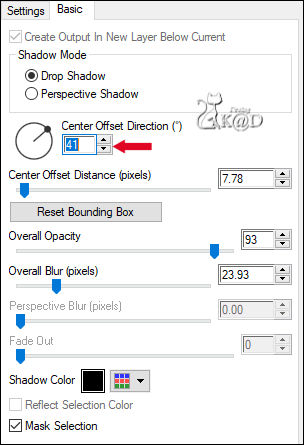
20
Activate : Promoted selection – see PS
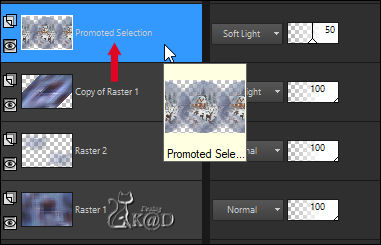
Select all – selection Float – selection Defloat
Activate the layer just above (Group - Raster 2)
Plugins – VanDerLee (or VDL Adrenaline) – Snowflakes – see PS
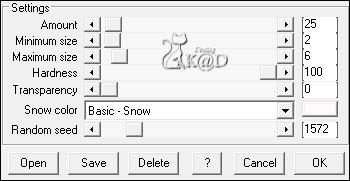
Select none
Result
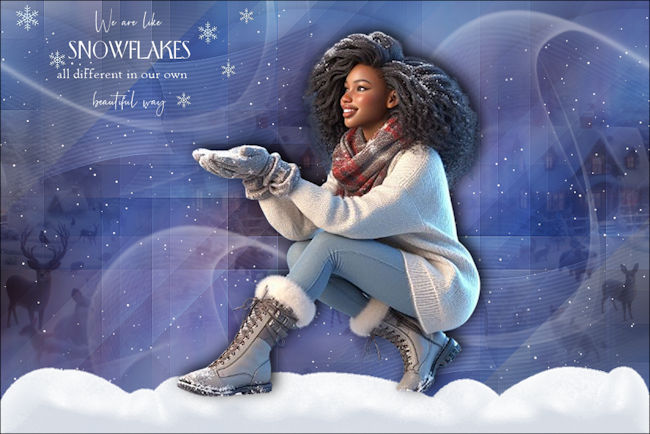
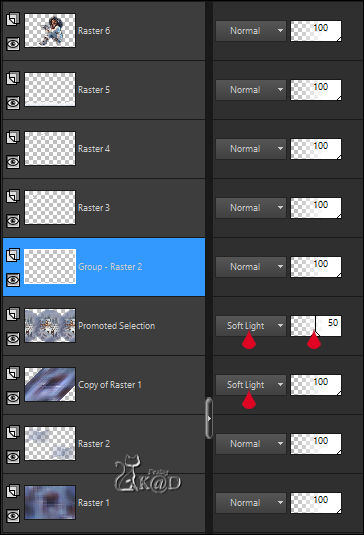
Layers – Merge – Merge visible (Merged)
21
Edit – copy
Activate en duplicate: 533_KaD_Lijst
Click in the blanco part in the middle with magic wand
Edit – Paste into selection
Effects – 3D-effects – Drop Shadow : V&H 0 – 60 – 30 – Color #000000
Select none
22
Activate and copy : 533_KaD_Deco 4
Edit – Paste into selection
Don’t move
23
Add your name or watermark,
Add my watermark to your creation HERE
If you use my AI-made tubes, please also add this watermark from me: “AIGeneratedAndTubedByKaD'sPsPDesign”HIER
24
Image – Add Borders : 1 pix color 7
Image – Resize – Width 900 Pixels - Resize all Layers checked
Adjust – Sharpness – Unsharp Mask : 2 – 30 – 2 – no check marks
Save as JPG file and you're done!
I hope you enjoyed this tutorial
Karin
Karin
06/09/2024
Mail me your version 
Extra ex tubes by myself

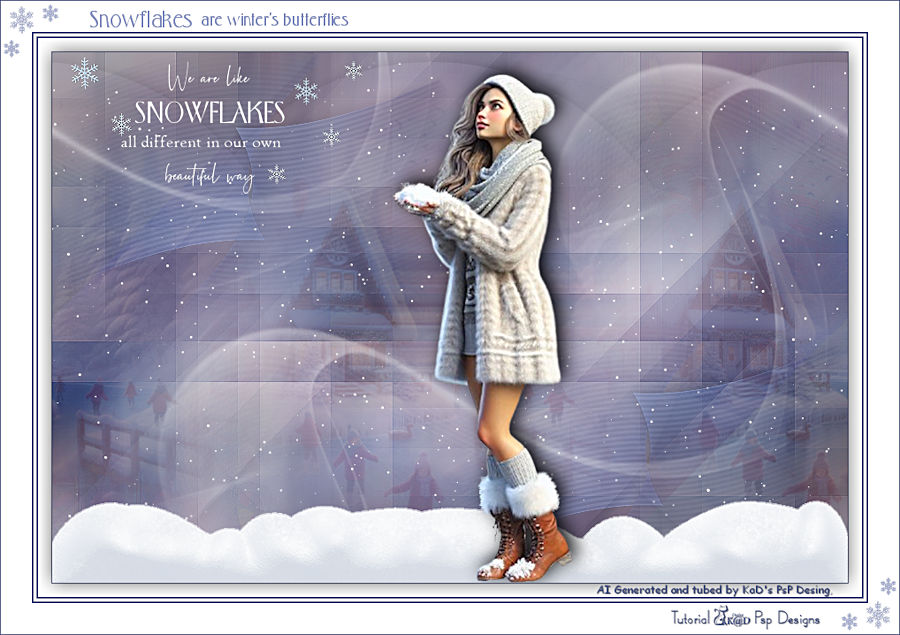
Extra ex tubes by myself

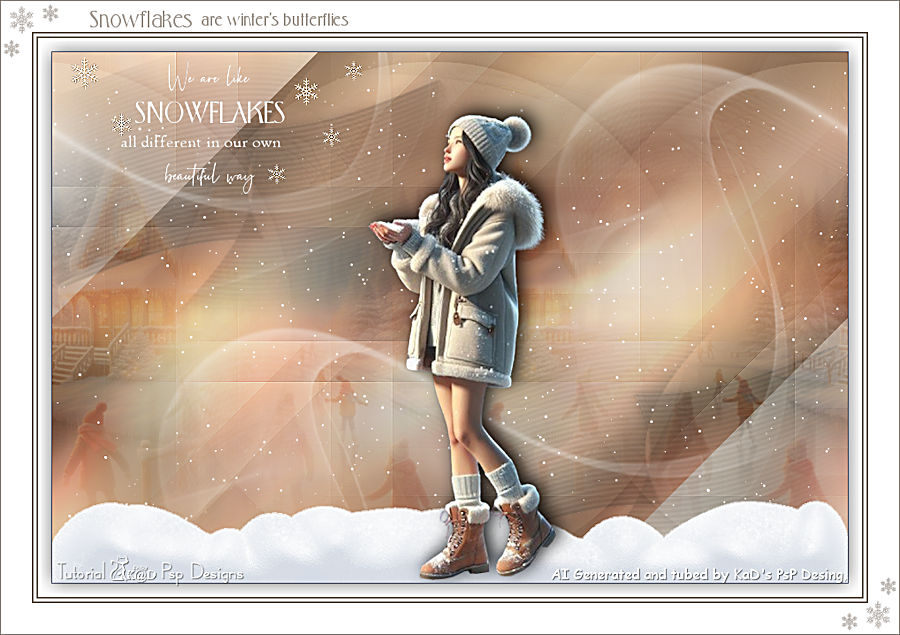

Click on banner below to go to the gallery


