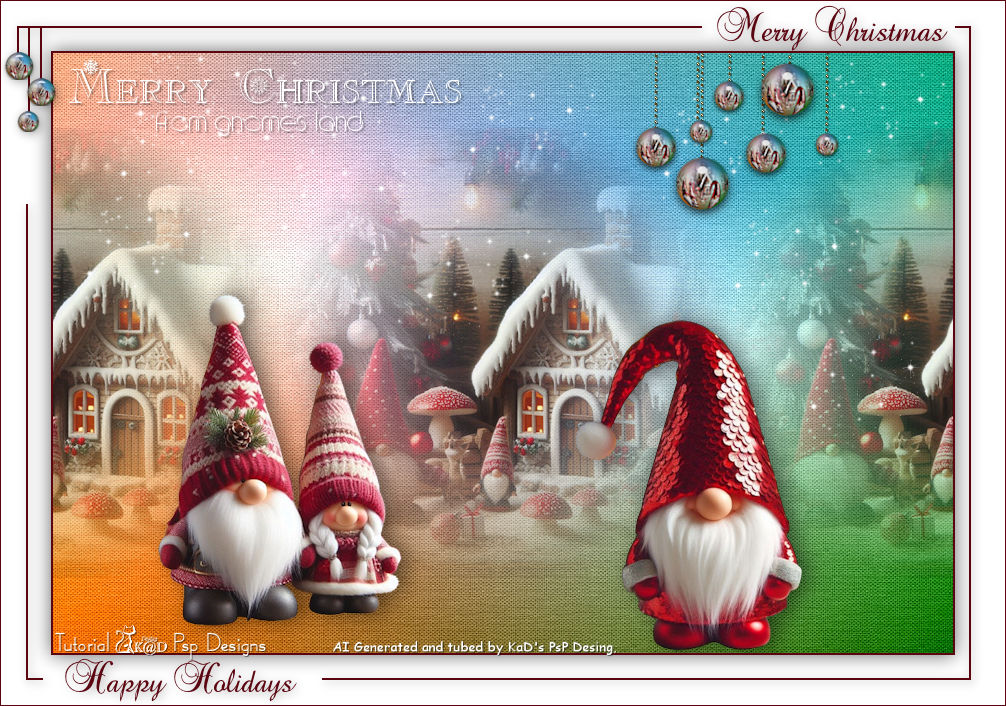
Materials for the tutorial :
Disclaimer :
Each Graphic is the property of the original artist to whom the copyright
belongs and may not be placed in a collection or offered for sale on-line or otherwise.
Tubes :
(*) If you recognize them as one of your own, please let me know, so I can add your name or remove the tube.
Open your tubes, duplicate, remove watermarks, close original tubes.
1/ KaD_ChristmasGnomesLand4
2/ KaD_Kerstgnome4 + 8
3/ 534_KaD_Deco
4/ 534_KaD_Ketting
5/ 534_KaD_Text
6/ extra tubes Gnomes and landschappen
Gradient : Put it in your gradients folder
1/ 534_KaD_Gradoe,t
Brushes : open and export as custom brush
1/ Constellation
Patern : Put it in your pattern folder if you want to make your own chain
1/ beadtile
Alpha Selections : open in PSP and minimize
(this image is not empty – it contains alpha selections)
1/ 534_KaD_Alfakanaal (this is only used at the very end)
Filter: import into Unlimited
1/ Atmosphe
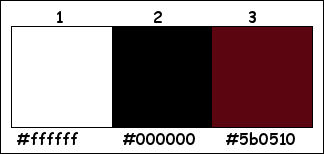
Color palette :
If you work with your own colors, make your own color palette with the alpha channel,
so you can easily switch between your colors.
There are color differences in the different versions of Psp.
Therefore, use the html codes of the color palette to be sure,
that you have the same colors. Also when merging layers, there may be color differences.
Plugins :
1/ Unlimited 2.0 – ColorRave : Atmospherizer 1.1 (-)
2/ Alien Skin – Eye Candy 5 – Impact : Glass
(-) Import into Filters Unlimited
------------------------------------------------
THE TUTORIAL
When working with your own colors, play with the Blend Mode and/or Opacity at your own discretion
From now on I use the terms "MIRROR" and "FLIP" again.
Mirror: Mirror horizontal - Flip: Mirror vertical
Let’s get started.
Remember to save your work often
Some print screens have other colors than the original.
Colors :
Foreground color : #ffffff
Background color : #000000
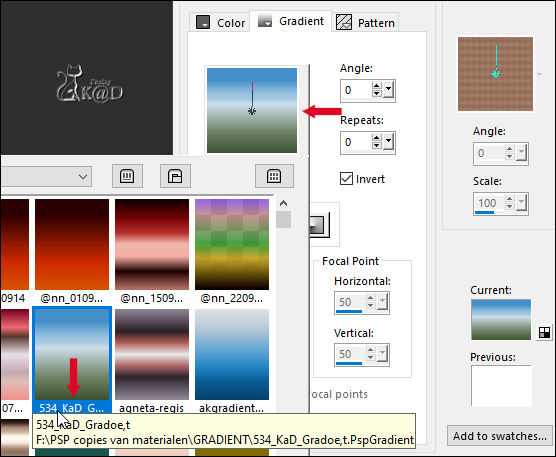
Foreground gradient : 534_KaD_Gradoe,t – Linear – see PS
1
Open a new transparent image 900 x 600 pix
Fill with gradient
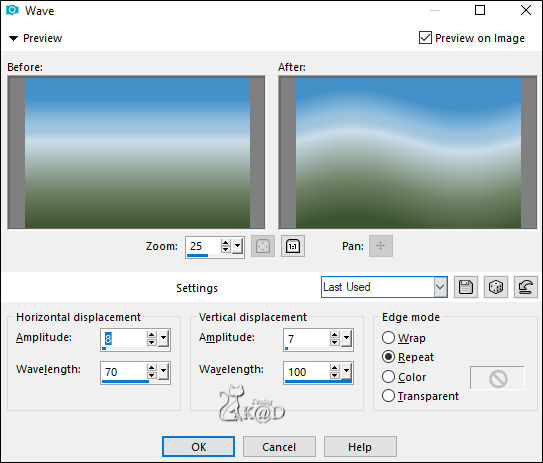
Effects – Distortion effects – Wave – see PS
2
Plugins – Unlimited 2.0 – ColorRave – Atmospherizer 1.1 – see PS
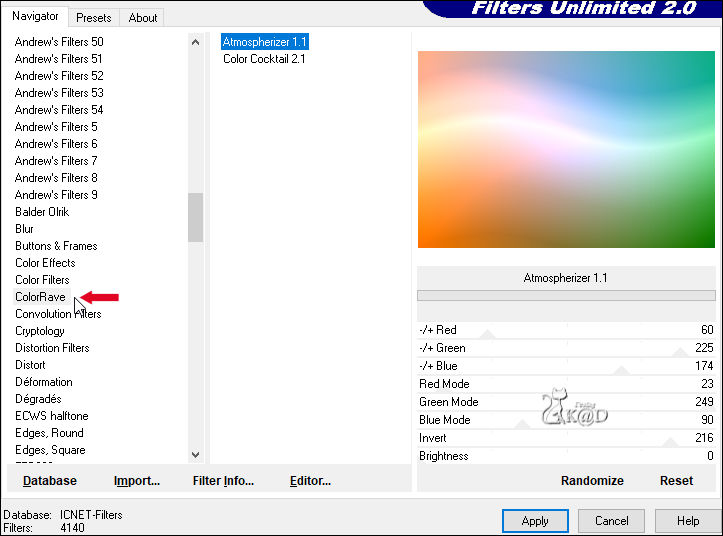
3
Plugins – Unlimited 2.0 – Paper Texture – Canvas fine –see PS
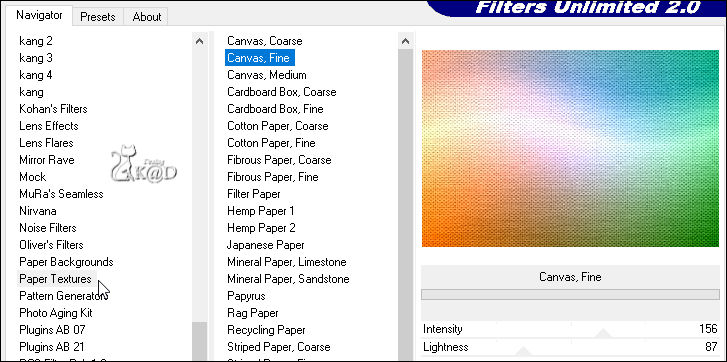
4
Activate and copy : KaD_ChristmasGnomesLand4
Edit – Paste as a new layer (Raster 2)
Image – Resize : 50%, all layers NOT checked
Effects – Image effects – Seamless Tiling – see PS
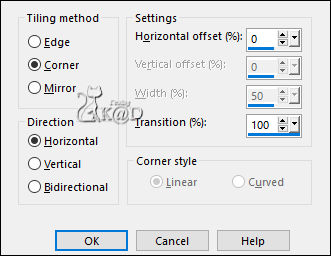
5
Activate and copy : 534_KaD_Text
Edit – Paste as a new layer (Raster 3)
Press K – Pos X : 15 – Pos Y : 6 – Press M HELP
Effects – 3D-effects – Drop Shadow : V&H 2 – 35 – 2 – Color #000000
6
Activate and copy : KaD_Kerstgnome4
Edit – Paste as a new layer (Raster 4)
Image – Resize : 50%, all layers NOT checked
Press K – Pos X : 520 – Pos Y : 267 – Press M
Effects – 3D-effects – Drop Shadow : V 0 – H 7 – 50 – 30 – Color #000000
7
Activate and copy : KaD_Kerstgnome8
Edit – Paste as a new layer (Raster 5)
Image – Mirror
Image – Resize : 50%, all layers NOT checked
Press K – Pos X : 105 – Pos Y : 239 – Press M
Effects – 3D-effects – Drop Shadow : V 0 – H 7 – 50 – 30 – Color #000000
8
Edit – Copy special – Copy merged
Edit – Paste as a new image
Image – Resize : 20%, all layers
Effects – Geometrics effects – Circle – Transparent
9
Image – Resize : 50%, all layers
Adjust – Sharpness – Sharpen more
Edit – Copy
Back to your work
Minimize this image!
You will need it later for your own version
10
Edit – Paste as a new layer (Raster 6)
Plugins – Alien Skin – Eye Candy 5 – Impact – Glass : CLEAR
Image – Resize : 90%, all layers NOT checked
Press K – Pos X : 611 – Pos Y : 96 – Press M
11
Layers – Duplicate (Copy of Raster 6)
Press K – Pos X : 696 – Pos Y : 2 – Press M
12
Layers – Duplicate (Copy 2 of Raster 6)
Image – Resize : 75%, all layers NOT checked
Press K – Pos X : 575 – Pos Y : 69 – Press M
13
Layers – Duplicate (Copy 3 of Raster 6)
Press K – Pos X : 685 – Pos Y : 75 – Press M
14
Layers – Duplicate (Copy 4 of Raster 6)
Image – Resize : 75%, all layers NOT checked
Press K – Pos X : 655 – Pos Y : 24 – Press M
15
Layers – Duplicate (Copy 5 of Raster 6)
Image – Resize : 75%, all layers NOT checked
Press K – Pos X : 633 – Pos Y : 65 – Press M
16
Layers – Duplicate (Copy 6 of Raster 6)
Press K – Pos X : 759 – Pos Y : 78 – Press M
Result
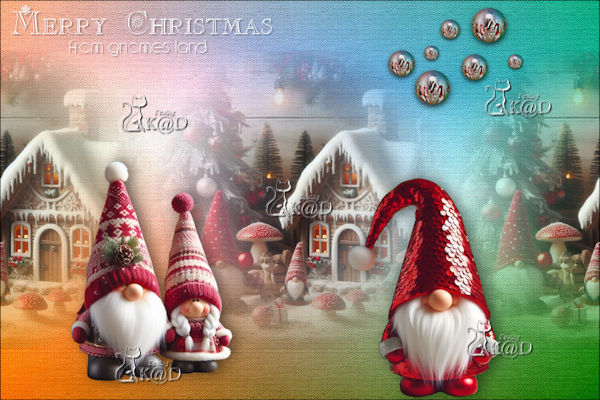
17
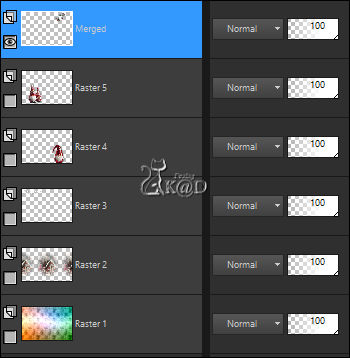
Close Raster 1 to 5 by clicking on the eye, but stay on this layer (Copy 6 of Raster 6) !!
Layers – Merge – Merge visible (Merged)
Result
18
Layers – View – All
Activate and copy : 534_KaD_Ketting
Edit – Paste as a new layer (Raster 6)
Press K – Pos X : 649 – Pos Y : 0 – Press M
Layers – Arrange – Move down
19
Layers – Duplicate (Copy of Raster 6)
Press K – Pos X : 601 – Pos Y : -41 – Press M
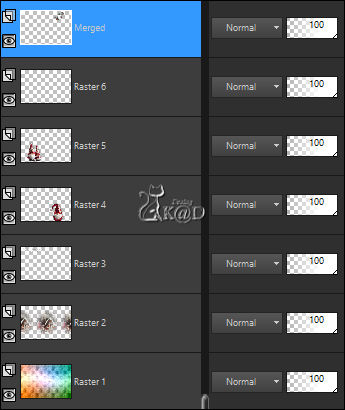
Repeat this step until all balls have a chain (7 in total)
Then merge all layers with a chain (Raster 6)
20
Activate top layer
Select all
Image – Crop to selection
Layers – Merge – Merge down (Raster 6)
21
Change foreground color to white
Activate tool : Paint brush and choose the brush “Constellation”
Change size to 170
Layers – New Raster Layers (Raster 7)
Now stamp some stars on your creation with the left mouse button – take a look at the example
Change Blend mode to Screen
Layers – Arrange – Move down
22
Image – Add borders :
2 pix Color 3
Select all
50 pix Color 1
Effects – 3D-effects – Drop Shadow : V&H 0 – 60 – 30 – Color #000000
Select none
23
Activate and copy : 534_KaD_Deco
Edit – Paste as a new layer
You can colorize with your Color 3
Press K – Pos X : 2 – Pos Y : 4 – Press M
*
Use selections 1 – 2 – 3 from the alpha channel to paste your ball into the selection
Then repeat glass effect
*
Effects – 3D-effects – Drop Shadow : V&H 2 – 35 – 15 – Color #000000
24
Add your name or watermark,
Add my watermark to your creation HERE
If you use my AI-made tubes, please also add this watermark from me: “AIGeneratedAndTubedByKaD” HIER
25
Image – Add Borders : 1 pix color 3
Image – Resize – Width 900 Pixels – Resize all Layers checked
Adjust – Sharpness – Unsharp Mask : 2 – 30 – 2 – no check marks
26
Save as JPG file and you're done!
I hope you enjoyed this tutorial
Karin
23/09/2024
Mail me your version 
Extra ex tubes by myself

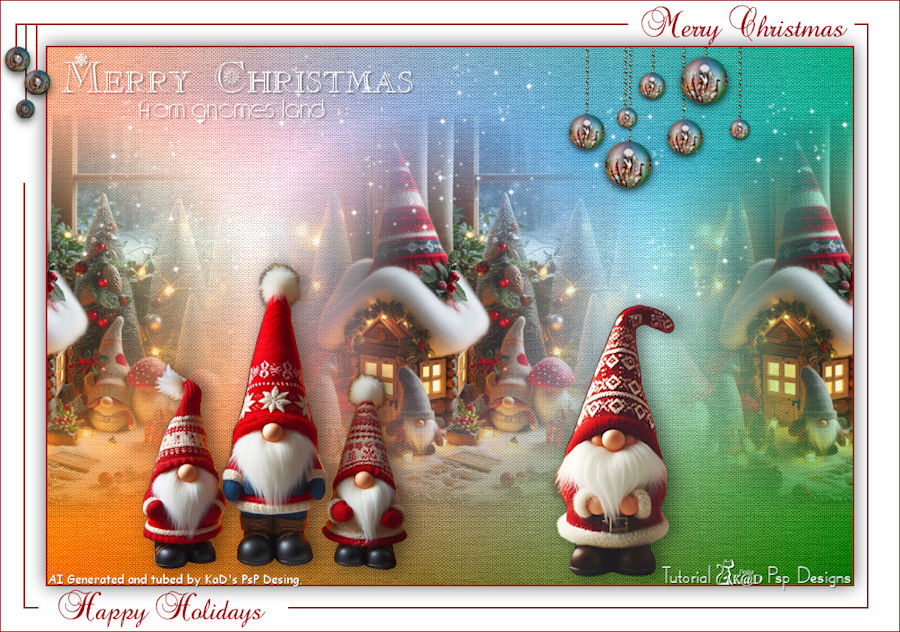

Click on banner below to go to the gallery


